Section 3: Operation
3-68
013-100199-04
3. Working with one projector at a time, use the center brightness slide bar to adjust
the center brightness (brightness of the non-blended region) so that the center
intensity matches that of the brightest blended region (the center of all images
when blending a 2 x 2 display is the target area).
4. Use the following three color slide bars, Black Red Level, Black Green Level and
Black Blue Level, so the black hue of each projector matches.
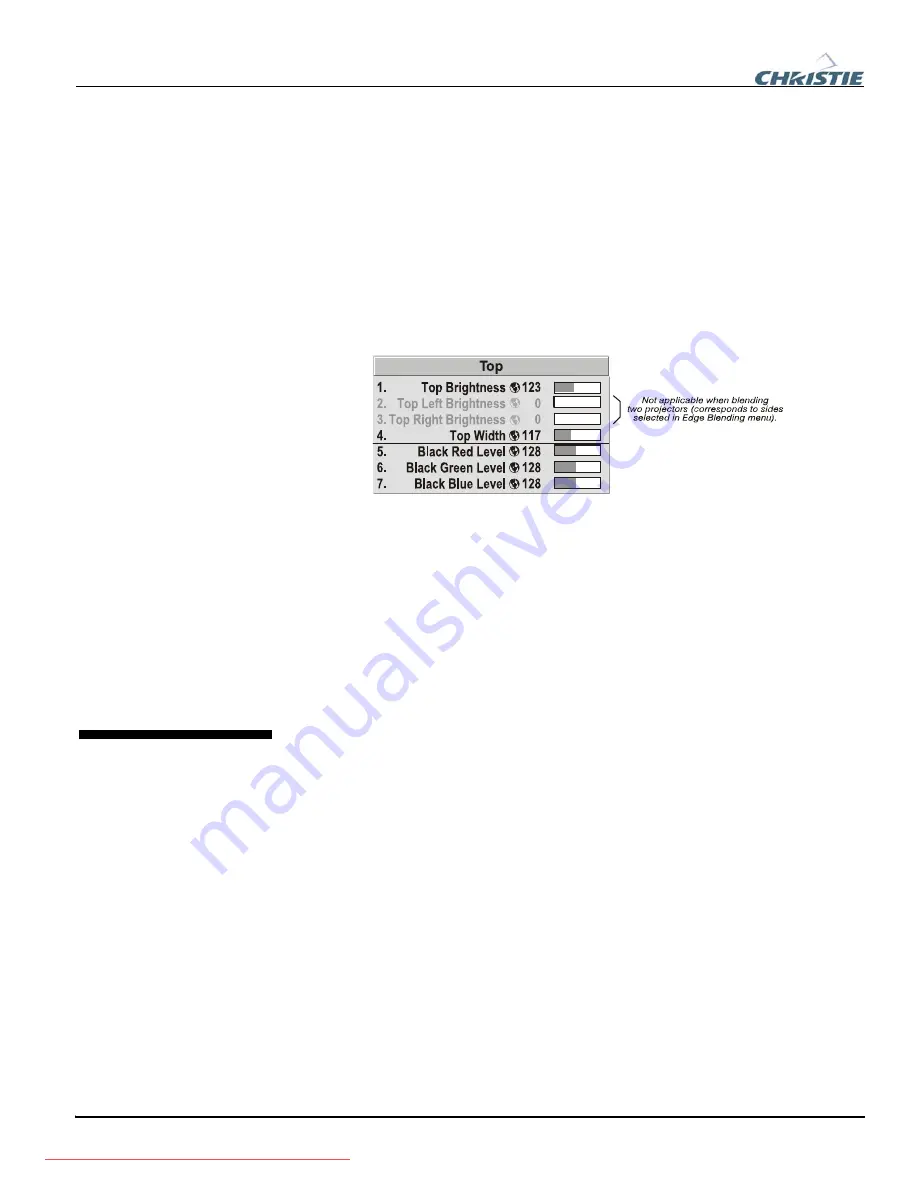
5. You can choose which of the next four options, Top, Bottom, Left, Right, to use
depending on which edge of the projector you are working with has been edge
blended. The blend width can be adjusted to line up properly but by default it
corresponds to the edge blending setting determined for that edge.
6. The brightness and black hues of the blended region can be adjusted in more
detail in case fine-tuning is needed (may be only necessary for blending a 2 x 2
projector display because of blending differs for the sides and center).
NOTES: 1) The menu options vary depending on the Edge Blending parameters.
2) You may need to re-adjust the black level hues following the overlap
adjustments on each blended edge. 3) When adjusting six or more projectors, you
need to ensure that the hue and brightness of each target area is matched at
closely as possible.
As an alternative to using a keypad, most projector functions can be controlled
remotely, typically at a controller such as a PC, via 1) simple bi-directional ASCII
messaging on an Ethernet or serial communication link or 2) a web interface or
“ChristieNET” on an Ethernet network. Using a PC interface can also prove to be
useful in instances where extreme warping is applied and the menu items become
illegible and hard to navigate.
VIA ASCII MESSAGING —
Connect a serial link between your controller and the RS232
or RS422 port (recommended), or open an Ethernet socket (i.e., Telnet) between your
controller and the valid projector address. Valid ASCII codes and messages are
documented in the
Christie Serial Communications
document available at the Christie
website.
VIA WEB INTERFACE —
Connect your PC to the projector’s Ethernet port. In your web
browser (
Internet Explorer
, for example), enter the IP address of the projector you
wish to control. This will start a password-protected ChristieNET application—enter
the factory default “
ccm7
”
login and password to open the program. If the projector is
powered up, you can access assorted menu options and slide bars.
3.11 Remote
Control
of the Projector
Содержание 1920-DX
Страница 2: ...Downloaded from ProjectorsManual com Manuals ...
Страница 4: ...Downloaded from ProjectorsManual com Manuals ...
Страница 8: ...Downloaded from ProjectorsManual com Manuals ...
Страница 116: ...Downloaded from ProjectorsManual com Manuals ...
Страница 130: ...Downloaded from ProjectorsManual com Manuals ...
Страница 132: ...Downloaded from ProjectorsManual com Manuals ...
Страница 134: ...Downloaded from ProjectorsManual com Manuals ...
Страница 136: ...Appendix D Throw Distance D 2 013 100199 04 SXGA Lenses f Downloaded from ProjectorsManual com Manuals ...
Страница 137: ...Appendix D Throw Distance 013 100199 04 D 3 Downloaded from ProjectorsManual com Manuals ...
Страница 138: ...Appendix D Throw Distance D 4 013 100199 04 Downloaded from ProjectorsManual com Manuals ...
Страница 139: ...Appendix D Throw Distance 013 100199 04 D 5 Downloaded from ProjectorsManual com Manuals ...
Страница 140: ...Appendix D Throw Distance D 6 013 100199 04 Downloaded from ProjectorsManual com Manuals ...
Страница 141: ...Appendix D Throw Distance 013 100199 04 D 7 Downloaded from ProjectorsManual com Manuals ...
Страница 142: ...Appendix D Throw Distance D 8 013 100199 04 Downloaded from ProjectorsManual com Manuals ...
Страница 143: ...Appendix D Throw Distance 013 100199 04 D 9 Downloaded from ProjectorsManual com Manuals ...
Страница 144: ...Appendix D Throw Distance D 10 013 100199 04 Downloaded from ProjectorsManual com Manuals ...
Страница 168: ...Downloaded from ProjectorsManual com Manuals ...


