


INSTRUCTION MANUAL
OSD CONTROL
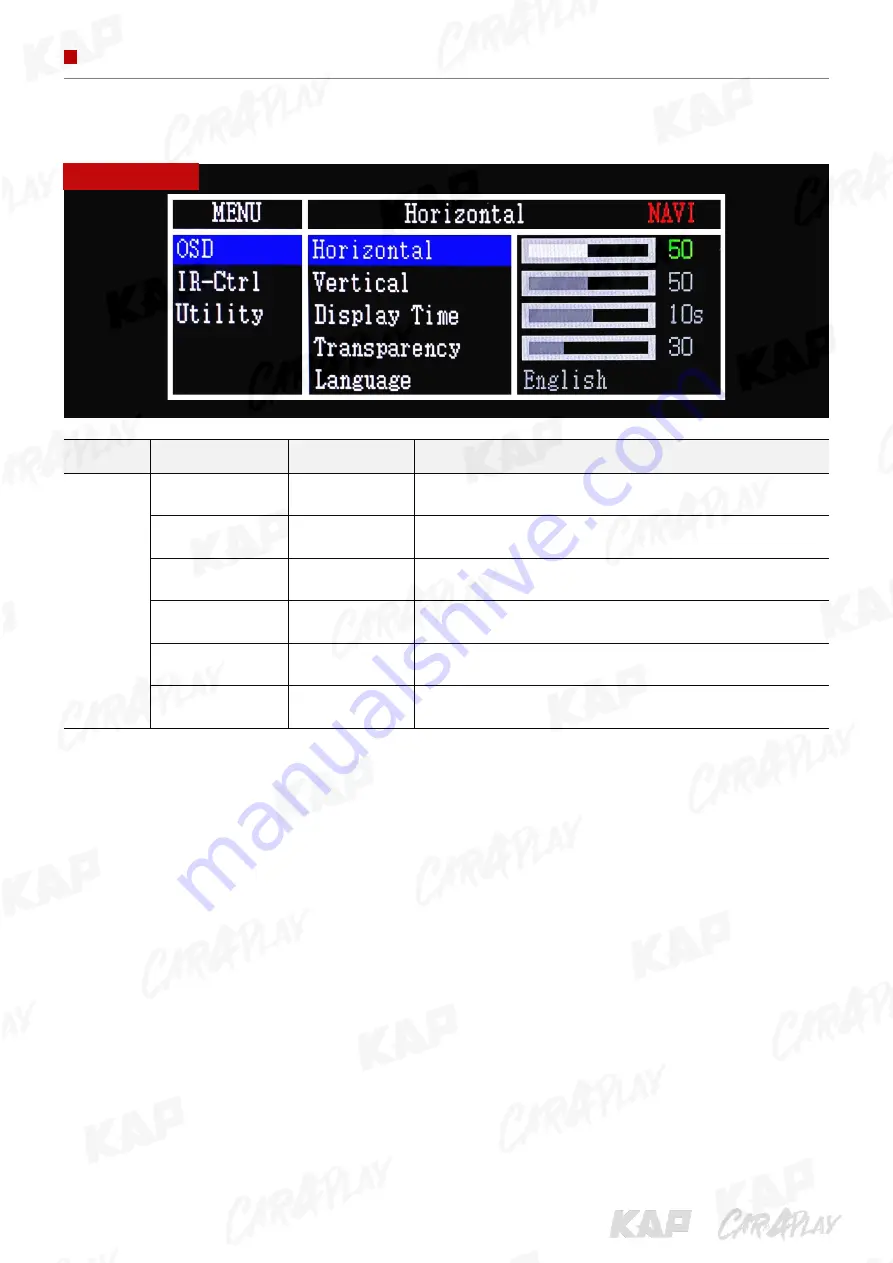
First Menu
Second Menu
Third Menu
Description
OSD
Horizontal
value
OSD Menu Horizontal Shift
Vertical
value
OSD menu vertical Shift
Display Time
value
OSD Menu Display Time (in seconds)
Transparency
value
OSD menu transparency
Language
OSD menu display language
Reset
Execute
Initialize OSD settings
OSD
Содержание 2012 TDC
Страница 23: ...INSTRUCTION MANUAL INSTALL MANUAL INSTALLATION REGAL ...
Страница 24: ...INSTRUCTION MANUAL INSTALL MANUAL INSTALLATION REGAL CAN CAN ...
Страница 25: ...INSTRUCTION MANUAL INSTALL MANUAL INSTALLATION GL8 ...
Страница 26: ...INSTRUCTION MANUAL INSTALL MANUAL INSTALLATION GL8 CAN CAN ...
Страница 27: ...INSTRUCTION MANUAL INSTALL MANUAL INSTALLATION GL8 ...
Страница 28: ...INSTRUCTION MANUAL INSTALL MANUAL INSTALLATION GL8 CAN CAN SWC ...
Страница 40: ......


