Chery QQ Service Manual 465 Engine Mechanical System
- 28 –
Chery Automobile Co., Ltd
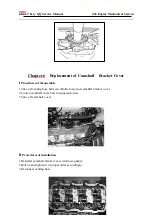
front to the rear, intake side 6237,exhaust
side 5148.
3 Install camshaft.
4 Install rocker shaft and rocker.
5 Smear mixture of sealing agent on the
placing side of crankshaft.
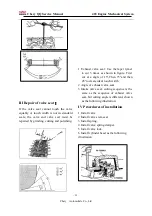
6 Install cylinder head set bolt, tighten the
bolts accordingly.
7 Install timing belt rear cover set bolt and
fasten the bolts.
8 Install camshaft timing gear and bolt,
fixture.
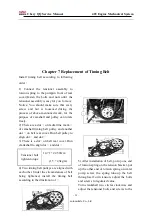
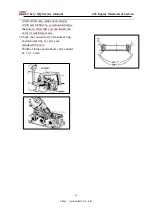
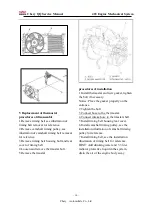
9 Install timing belt, see the illustration for
reference.
10 Install exhaust manifold and gasket.
11 Install oxygen sensor to exhaust
manifold ,make it connected with the
wires.
12 Install exhaust pipe.
13 Install fuel pipe to fuel rail.
14 Connect ignition coil harness to ignition
module connector.
15 Install hose that connect cylinder head
and intake manifold, then connect harness.
16 Connect low pressure hose to radiator.
17 Fill the coolant in the cooling system,
see relevant content of article 6.3.
18 Install air filter and intake hose, then
connect temperature sensor to harness.
19 Connect negative pole cable of battery.
Chapter 9 Replacement of Sealing Washer of Valve Spring
I
Procedures of disassemble
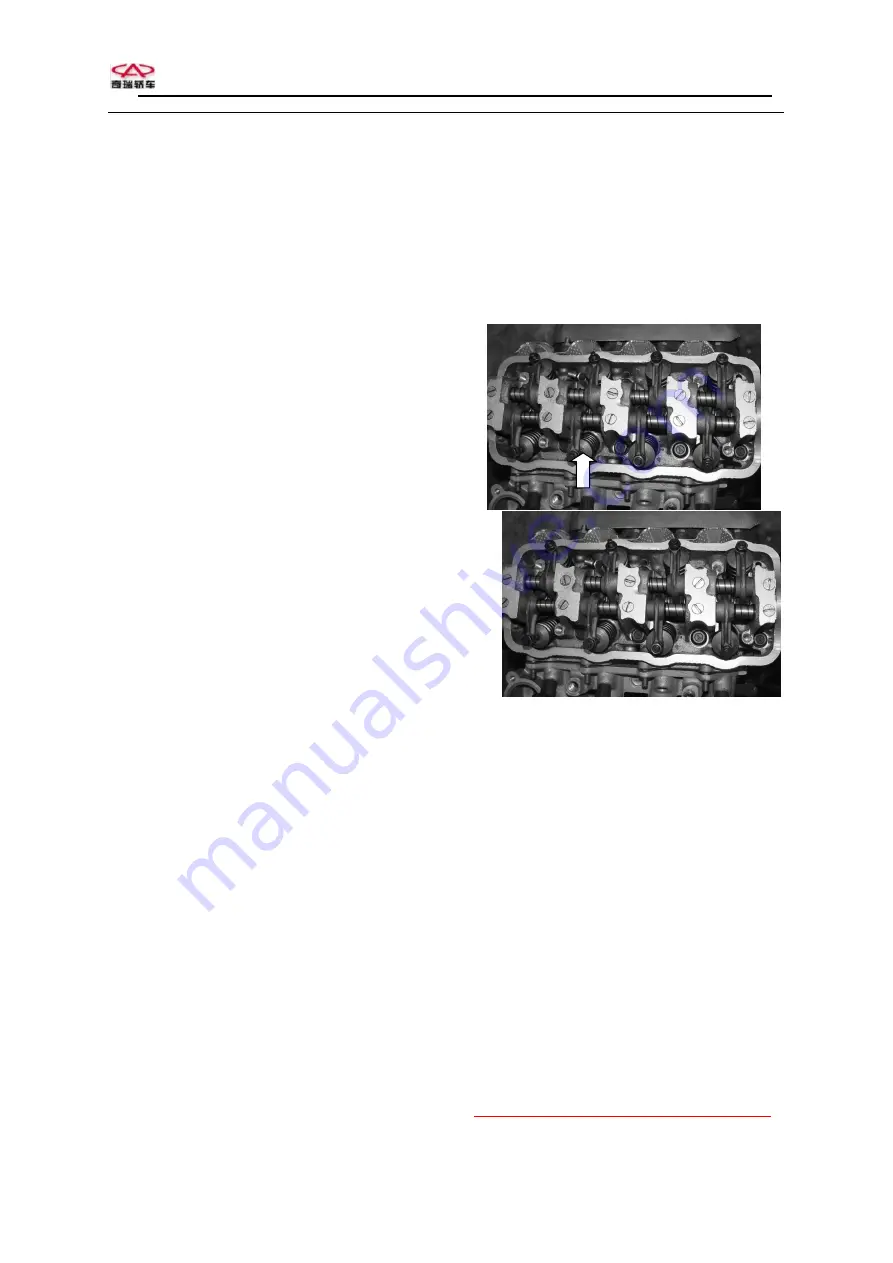
1 Remove cylinder accordingly.
2 Remove valve lock from cylinder head
assembly.
3 Take off valve spring baffle.
4 Take off valve spring.
5 Take off valve oil seal of valve stem.
6 Take off valve.
II
Cleaning
Clean the combustion chamber. It is
necessary to put a special brush in the
drilling machine for check and inspection
1 Check exhaust pipe and combustion
chamber whether or not there are some
cracks
2 Check to see whether or not there are
burning trail on the valve top, check to
see whether or not there are some cracks
in the surface and check to see if there are
some damage of the valve rod.
3 Check the clearance between the valve rod
and guide, measure the diameter of valve
rod in upper, middle and lower position
with microscope, different value between
guide and valve rod is the distance of them.
4 If the distance is not within the scope of


