4 Installation and Start-up
17
4 Installation and Start-up
4.1
Power on, power off
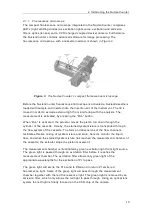
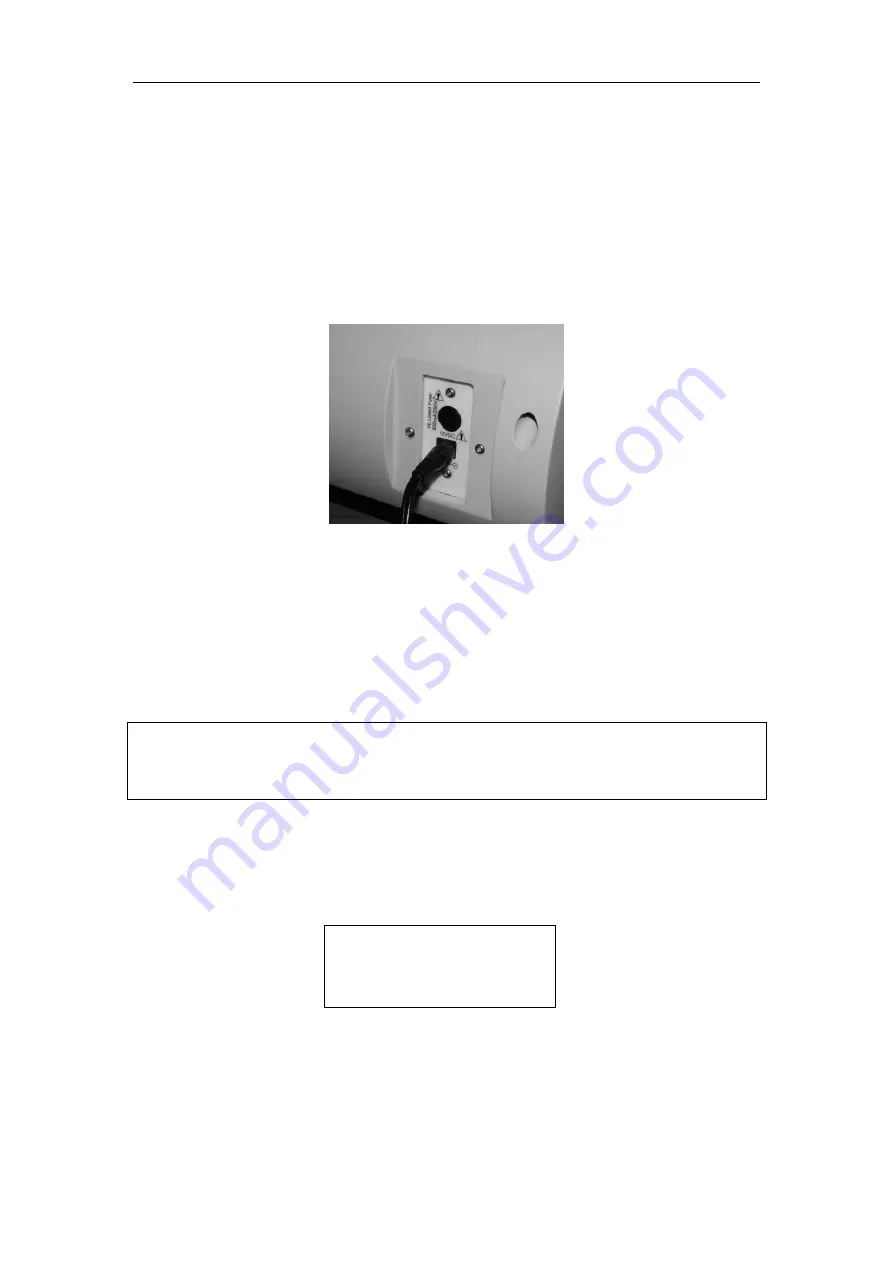
The NucleoCounter is powered by a 12VDC external power supply. To connect the
power supply to the NucleoCounter, connect it to the DC socket (see Figure 7), and
plug the mains power cord of the power supply into a wall outlet.
Figure 7.
Connecting the 12VDC power cord plug to the NucleoCounter
The NucleoCounter can now be turned on and off by pressing the “ On/Off” button on
the front panel.
4.1.1 Starting up
Caution! During start-up the NucleoCounter performs a self-check.
Never insert or remove any cassette during the start-up.
During start-up a brief noise is heard as the actuator motor is activated for test
purposes. This is a part of a normal start -up procedure. W hile the NucleoCounter is
starting up the display shows for a few seconds instr ument details as follows:
NucleoCounter
YC-100
V4.xx 2005-MM-DD
S/N: 002-01
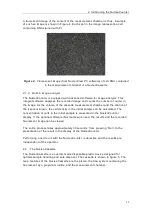
Figure 8.
The start-up display
The start-up display shows the version number and date (year -month-date) of the
internal software of the NucleoCounter Y C-
100 in line 3 (“v4.XX” in Figure 8). The
Содержание 900-0300
Страница 1: ...NucleoCounter YC 100 User s Guide Revision 1 3 Technology that counts...
Страница 2: ...i This page was intentionally left blank...
Страница 4: ...iii This page was intentionally left blank...
Страница 6: ...v This page was intentionally left blank...
Страница 8: ...vii This page was intentionally left blank...
Страница 10: ...ix This page was intentionally left blank...
Страница 12: ...Introduction and intended use xi This page was intentionally left blank...
Страница 20: ...1 Inspection and Unpacking of Equipment 8 This page was intentionally left blank...
Страница 26: ...Fejl Henvisningskilde ikke fundet 14 This page was intentionally left blank...
Страница 44: ...7 Maintenance of NucleoCounter 32 This page was intentionally left blank...
Страница 48: ...8 Troubleshooting Error messages 36 This page was intentionally left blank...
Страница 55: ...43 2 1 3 Metal E nclosure Figure 36 Printer Output connector seen from the cable entry side...
Страница 56: ...44 This page was intentionally left blank...


