Chauvet Arena HAZER 2 Скачать руководство пользователя страница 1


3000 N 29

th

 Ct, Hollywood, FL 33020 U.S.A.  

(800) 762-1084 

– (954) 929-1115 

FAX (954) 929-5560 

www.chauvetlighting.com
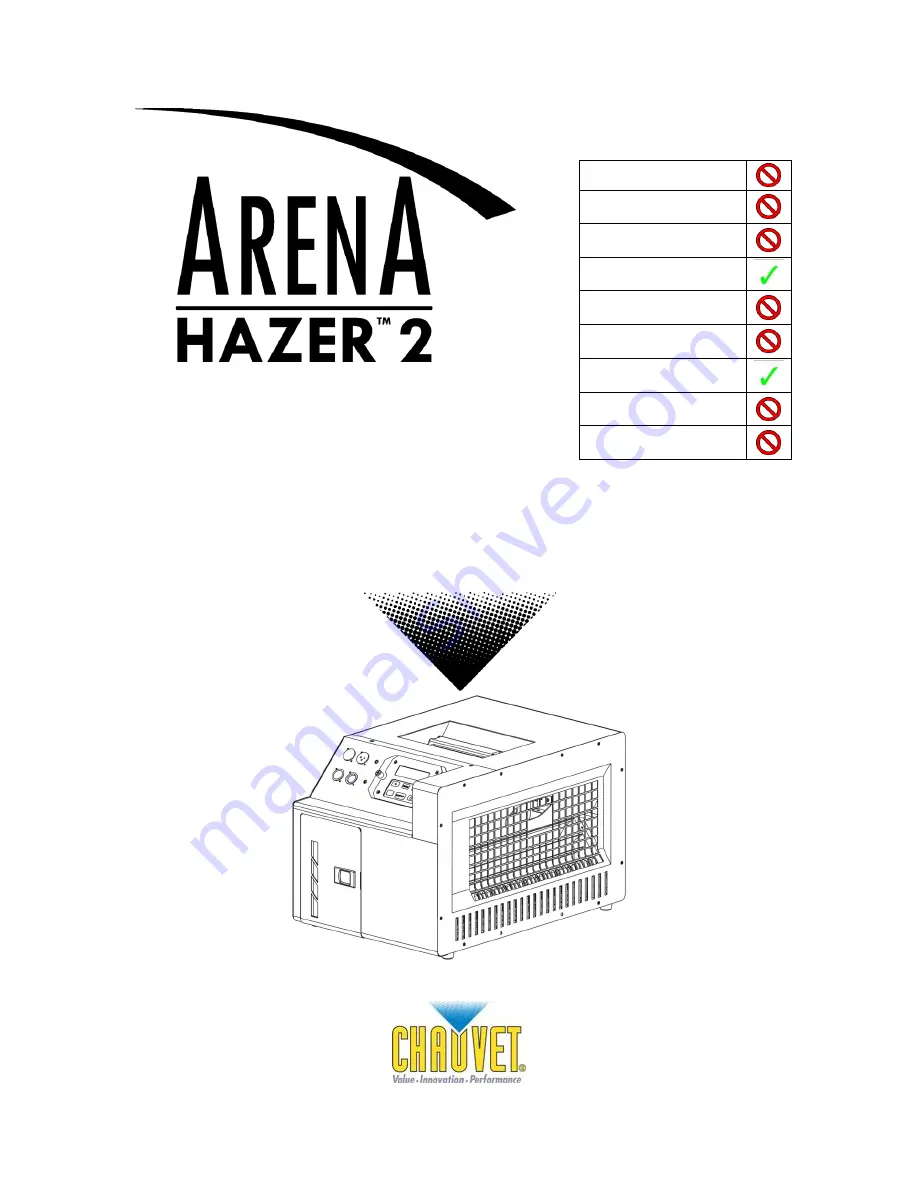


User Manual 


Snapshot 

Use on Dimmer 


Outdoor 


Sound Activated 


DMX 


Master/Slave 


115 V / 230 V Switch 


Resettable Breaker 


User Serviceable 


Duty Cycle 


Содержание Arena HAZER 2

Страница 1: ...d FL 33020 U S A 800 762 1084 954 929 1115 FAX 954 929 5560 www chauvetlighting com User Manual Snapshot Use on Dimmer Outdoor Sound Activated DMX Master Slave 115 V 230 V Switch Resettable Breaker User Serviceable Duty Cycle ...

Страница 2: ...G INSTRUCTIONS 9 CONFIGURING THE STARTING ADDRESS 9 CONTROL PANEL FUNCTIONS 9 CONTROL PANEL FUNCTIONS CONT 10 DMX 10 DMX CHANNEL VALUES 10 ADJUSTABLE BLOWER ANGLES 10 LED INDICATORS 11 AUTO CUT OFF FEATURE 11 GENERAL TROUBLESHOOTING 12 CONTACT US 12 5 APPENDIX 13 DMX PRIMER 13 GENERAL MAINTENANCE 13 WARNING 14 Maintenance 14 Storage 14 FIXTURE LINKING 15 Data Cabling 15 DMX Data Cable 15 Cable Con...

Страница 3: ...the regular text CONVENTION MEANING 10 A DIP switch to be configured Menu A key to be pressed on the fixture s control panel 1 512 A range of values 50 60 A set of values of which only one can be chosen Settings A menu option not to be modified for example showing the operating mode current status MENU Settings A sequence of menu options to be followed ON A value to be entered or selected Icons Th...

Страница 4: ...ed Always disconnect from power source before servicing or replacing fuse and be sure to replace with same fuse source Secure fixture to fastening device using a safety chain Maximum ambient temperature Ta is 104 F 40 C Do not operate fixture at temperatures higher than this In the event of a serious operating problem stop using the unit immediately Never try to repair the unit by yourself Repairs...

Страница 5: ...ed remote or DMX Adjustable blower speed via wired remote or DMX Additional Features Adjustable blower angle 3 pin and 5 pin DMX connections Wired remote with LCD screen 2 5 L tank capacity 8 min heat up Low fluid indicator and auto shut down LED illuminated tank Water based hazer DMX Channel Summary CHANNEL FUNCTION 1 Blower 2 Haze ...

Страница 6: ...2 User Manual 6 4 20 2010 4 23 PM Product Overview 5 pin DMX in out Door latch Wired remote with LCD backlit control panel 3 pin DMX in out LED illuminated tank Power switch Power in Breaker Carrying handle Blower ...

Страница 7: ...Arena Hazer 2 User Manual 7 4 20 2010 4 23 PM Product Dimensions ...

Страница 8: ...t this breaker trips you may reset it very easily 1 Unplug the product from the power outlet 2 Allow to cool for 5 15 min 3 Press on the breaker button until it remains in place In the event that this breaker will not reset contact CHAUVET for troubleshooting The fixture may need to be serviced LED Illuminated Tank The fluid tank on this hazer is equipped with LEDs in order to provide visual fluid...

Страница 9: ...annels If this is your first time using DMX we recommend reading the DMX Primer section in the Appendix Control Panel Functions Access control panel functions using the six buttons located underneath the LCD Display on the included wired remote The Control Panel shows the current state of the unit It also has a sub menu which is used for setting the DMX starting address You may select any combinat...

Страница 10: ...ection in the Appendix of this manual 1 Press FUNCTION 2 Using FAN ADDRESS and buttons select the desired DMX address 3 Press FUNCTION DMX Channel Values CHANNEL VALUE FUNCTION 1 000 255 Blower 0 100 2 000 255 Haze 0 100 Adjustable Blower Angles The blower output angle may be adjusted by using a knob located on the side of the hazer 1 Loosen the knob by turning it counter clockwise 2 Using the kno...

Страница 11: ...t and the tank LED is flashing blue It will take approximately 30 seconds to 1 minute for this feature to engage once the fluid has emptied from the tank In order for the hazer to automatically reset the trigger must be released This may be from the wired remote or via a DMX controller If it is via a DMX controller then the DMX channel will have to be brought to a value of 000 0 in order to allow ...

Страница 12: ...able connections Faulty DMX interface Replace DMX input Faulty Main PCB Replace Main PCB Loss of signal Non DMX cables Use only DMX compatible cables Bouncing signals Install terminator as suggested Long cable Low level signal Install amplifier right after fixture with strong signal Too many fixtures Install an optically coupled DMX splitter after unit 32 Interference from AC wires Keep DMX cables...

Страница 13: ...ir cable with three pin XLR male to female connectors The shield connection is pin 1 while pin 2 is Data Negative S and pin 3 is Data positive S General Maintenance To maintain optimum performance and minimize wear fixtures should be cleaned frequently Usage and environment are contributing factors in determining frequency As a general rule fixtures should be cleaned at least twice a month Dust bu...

Страница 14: ...aning solution to tank Plug unit in and begin warm up 2 Run the unit in a well ventilated area until the tank is almost empty Do not allow the pump to run dry 3 Replace nozzle 4 Cleaning is now complete Refill with fog liquid Run the machine briefly to clear any cleaning solution from the pump and heater 5 Do not operate the machine without liquid at any time Storage 1 When storing the machine run...

Страница 15: ...n cable please use data grade cables that can carry a high quality signal and are less prone to electromagnetic interference DMX Data Cable Use a Belden 9841 or equivalent cable which meets the specifications for EIA RS 485 applications Standard microphone cables cannot transmit DMX data reliably over long distances The cable must have the following characteristics Type shielded 2 conductor twiste...

Страница 16: ...ERSION CHART Conductor 3 Pin Female Output 5 Pin Male Input Ground Shield Pin 1 Pin 1 Data signal Pin 2 Pin 2 Data signal Pin 3 Pin 3 Not used Pin 4 Not used Pin 5 Setting up a DMX Serial Data Link 1 Connect the male 3 pin connector side of the DMX cable to the output female 3 pin connector of the controller 2 Connect the end of the cable coming from the controller which will have a female 3 pin c...

Страница 17: ...n proper UPS packing or double boxing is always a safe method to use CHAUVET reserves the right to use its own discretion to repair or replace product s If you are given an RMA please include the following information on a piece of paper inside the box 1 Your name 2 Your address 3 Your phone number 4 The RMA 5 A brief description of the symptoms Claims Damage incurred in shipping is the responsibi...

Страница 18: ...umption 47 ml min Output 3 500 cfm THERMAL Maximum ambient temperature 104 F 40 C CONTROL PROGRAMMING Data input 3 pin locking 3 pin XLR male socket Data output 3 pin locking 3 pin XLR female socket Data pin configuration 3 pin pin 1 shield pin 2 pin 3 Data input 5 pin locking 5 pin XLR male socket Data output 5 pin locking 5 pin XLR female socket Data pin configuration 5 pin pin 1 shield pin 2 pi...

Отзывы: