background image

Chapter  2 


5. Mounting a Mainboard into a Chassis

:   

Use standoffs and screws to securely mount the mainboard and make sure that all the 

mounting holes are properly screwed. 


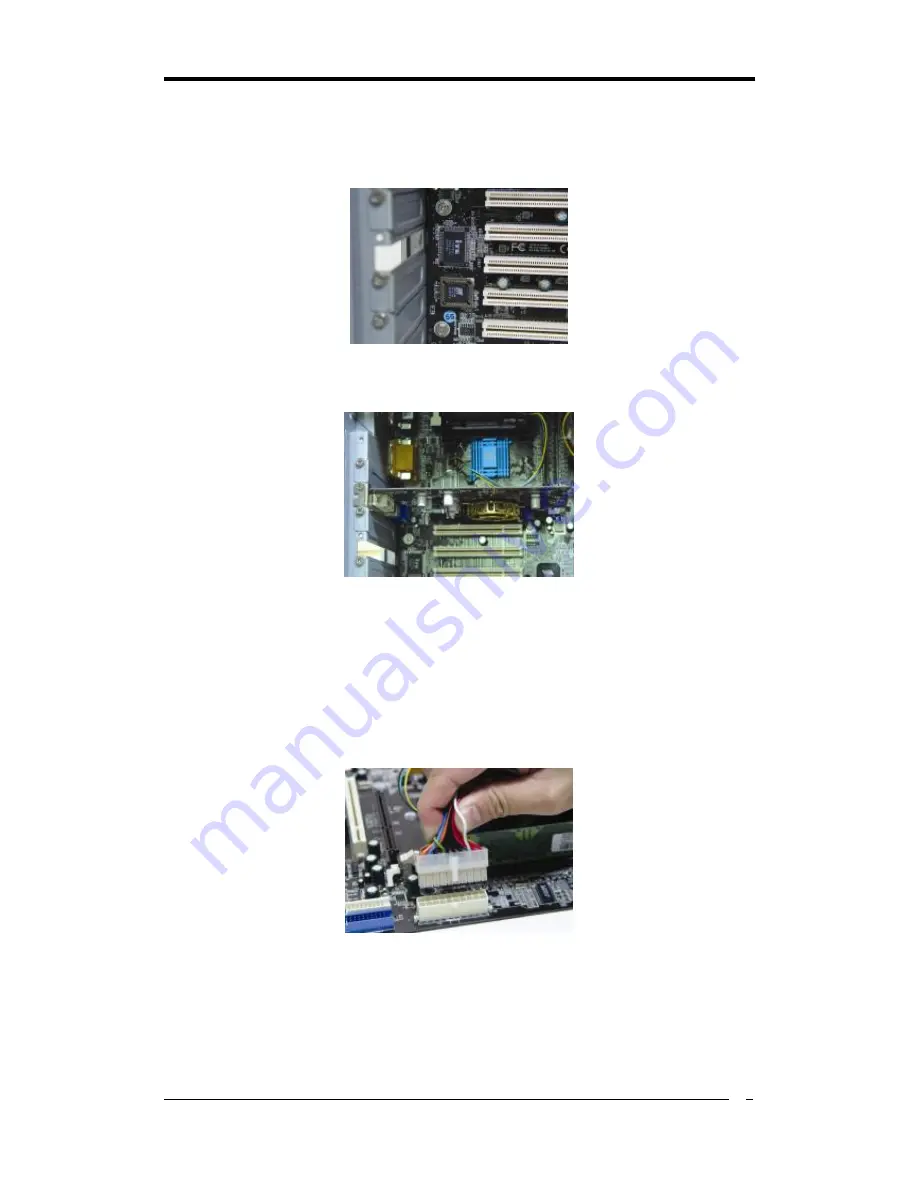
6. Adding an expansion card

:   

Gently fasten the card to the proper slot. 


7. Connecting I/O ports and device connectors

:   

Simply plug the cable into the respective device port or connector as shown in the 

manual or silkscreen printed on the mainboard. 


8. Connecting the Power Supply Cables

:   

Plug in the ATX power cable to the mainboard

s power connector and make sure the 

cable is connected. 


Содержание S1689

Страница 1: ...1 S1689 ULi M1689 Micro ATX Motherboard User s Guide...

Страница 2: ...f the FCC Rules Operation is subject to the following two conditions 1 This device may not cause harmful interference 2 This device must accept any interference received including interference that ma...

Страница 3: ...ith FCC regulations Changes or modifications to this unit not expressly approved by the party responsible for compliance could void the user s authority to operate this equipment Canadian Department o...

Страница 4: ...6 PC D I Y Korean 14 2 7 Connector and Jumper Settings 16 Chapter 3 BIOS Setup Program 20 3 1 Standard CMOS Setup 20 3 2 Advanced BIOS Features 20 3 3 Advanced Chipset Features 21 3 4 Integrated Peri...

Страница 5: ...5 Revision History Revision Description P N V 1_M Original Issue 9413507010...

Страница 6: ......

Страница 7: ...o DIMM1 2 3 4 is not recommended Expansion Slots One AGP slot for 8X 4X AGP Five 32 Bit PCI slots v2 2 compliant 5 1 Channel Audio With external high quality 5 1 channel AC 97 Codec Complete software...

Страница 8: ...s Two 5x2 pin USB connectors for additional 4 USB ports 3x1 pin wake on LAN connector with housing Two 4x1 pin CD in connectors 5x2 pin Front Audio connector 10x2 pin Front Panel connector 8x2 pin Gam...

Страница 9: ...Chapter 1 3 1 3 Back Panel S1689 1 4 Motherboard Layout PS 2 Mouse PS 2 Keyboard Printer Port Serial ports USB 2 0 ports RJ 45 port Line In port Line Out port Microphone port...

Страница 10: ...he pin 1 of the drive connector on the mainboard and gently attached it Attach the other end of the cable by aligning the colored edge to the pin 1 of the device connector Make sure that all drives ar...

Страница 11: ...ing an expansion card Gently fasten the card to the proper slot 7 Connecting I O ports and device connectors Simply plug the cable into the respective device port or connector as shown in the manual o...

Страница 12: ...Chapter 2 6 2 2 Chinese 1 CPU 2 FDD IDE IDE Pin 1 3 CPU CPU CPU CPU CPU 4...

Страница 13: ...Chapter 2 7 5 6 7 I O 8...

Страница 14: ...carte m re et fixez le c ble en douceur Raccordez l autre extr mit du c ble en alignant le c t color en rouge du c ble avec la broche n 1 du connecteur du p riph rique V rifiez que tous les p riph riq...

Страница 15: ...on Fixez avec pr caution la carte dans le logement adapt 7 Raccordement des ports d E S et des connecteurs des p riph riques Branchez simplement le c ble dans le port ou le connecteur du p riph rique...

Страница 16: ...sanschlu es auf dem Motherboard an Bringen Sie das andere Kabelende am Ger teanSchlu Richten Sie dabei die rot markierte Kabelseite mit Stift 1 aus berpr fen Sie den stabilen Sitz aller Laufwerke Kabe...

Страница 17: ...kt miet einer Schraube versekhen werden 6 Steckkarte einbauen F hren Sie die Karte vorsichtig in einen geeingneten Steckplatz ein 7 Vo und Ger teanschlu e verbinden Verbinden Sie das Kabel mit dem ens...

Страница 18: ...Chapter 2 12 2 5 Russian 1 2 IDE PIN1 PIN1 3 PIN1 PIN1 4...

Страница 19: ...Chapter 2 13 5 6 7 5 8 ATX...

Страница 20: ...Chapter 2 14 2 6 PC D I Y Korean 1 CPU 2 3 CPU CPU 1 CPU CPU 4...

Страница 21: ...Chapter 2 15 5 1 1 6 7 I O I O 8 ATX...

Страница 22: ...e system is in Soft Off mode this trickle supply maintains the system in its minimum power state The ATX 12V power supply has a new 12V 4 pin and 5V 3 3V 6 pin auxiliary power connector to enable the...

Страница 23: ...ushing the button while in Full On mode for more than 4 seconds will switch the system completely off See Over ride Power Button Operation diagram 1 P LED Power LED Connector The power indicator LED s...

Страница 24: ...rs The board s hardware management is able to detect the CPU and system fan speed in rpm revolutions per minute The wiring and plugging may vary depending on the manufacturer On standard fans the red...

Страница 25: ...BIOS s Integrated Peripherals menu See Section 3 4 This board contains a USB Host controller and a root hub with two connectors is also included for an optional USB Adaptor USB 6 7 and 4 5 CN19 Front...

Страница 26: ...nd all other BIOS screens When a field is highlighted on line help information is displayed on the right side of the screen Figure 3 1 Setup Program Initial Screen 3 1 Standard CMOS Setup The Standard...

Страница 27: ...e current CPU temperature external voltages input and the current CPU FAN operating speed 3 8 Frequency Voltage Control This section allows users to adjust the frequency voltage control of the motherb...

Страница 28: ...wed by Enter the values entered in the setup utilities will be recorded in the CMOS memory of the BIOS chip 3 12 Exit Without Saving Selecting this option and pressing Y followed by Enter lets you exi...

Страница 29: ...f drivers To do so simply follow the instructions below Step by step guide 1 Make certain that your computer and display are powered on 2 Insert the support CD into the CD ROM and the autorun screen w...

Страница 30: ...GP Controller Driver ULi M5289 SATA Controller Driver ULi M5289 SATA Raid Function To install them simply follow the instructions below Step by step guide 1 Click Integrated Driver then the Welcome sc...

Страница 31: ...lick Continue Anyway 5 The following message simply tells you that it is better to install the driver prior to the potential installation of the graphics driver 6 Choose Yes I want to restart my compu...

Страница 32: ...9 0c Driver To do so please follow the instructions below Step by step guide 1 Click DirectX 9 0c to enter the Installing Microsoft DirectX After reading the license agreement choose I accept the agre...

Страница 33: ...ltek Codec Audio Driver To install this simply follow the instructions below Step by step guide 1 Click Realtek Codec Audio Driver and wait until the figure below pops up 2 Select Yes I want to restar...

Страница 34: ...When the message Press F6 if you need to install a third party SCSI or RAID driver shows up during Win2000 XP installation press F6 c Put the floppy disk in and wait for a little while d Press S to in...

Страница 35: ...ll rights are reserved for the products and corporate names logos that appear in this manual to their original owners We reserve all rights to change this manual All information is subject to change w...

Страница 36: ...2 8748 8888 Fax 61 2 8748 8801 http www protac com au Melbourne Unit 7 2 Sarton Rd Clayton VIC 3168 Tel 61 3 9560 7188 Fax 61 3 9560 7288 For America CHAINTECH AMERICA CORP 4427 Enterprise St Fremont...

Отзывы: