Center 342 Скачать руководство пользователя страница 14

Humidity Recorder 


12

View : Open LCD display window. 
Window : Arrange windows 
Help : On line help. 


DataLogger 

When you have the Temperature Recorder connected to 
PC. Start SE342 software and select "DataLogger" from 
main menu or click     from tool bar to load recorded 
data from the logger. There will be a progress indicator to 
show the download progress. If error occurs, just click 
"DataLogger" again. After the data has been downloaded 
completely, on the top left hand side the widow will show 
how many data sets were loaded and information for each 

data set (start data, start time, recording rate and record 
numbers).  
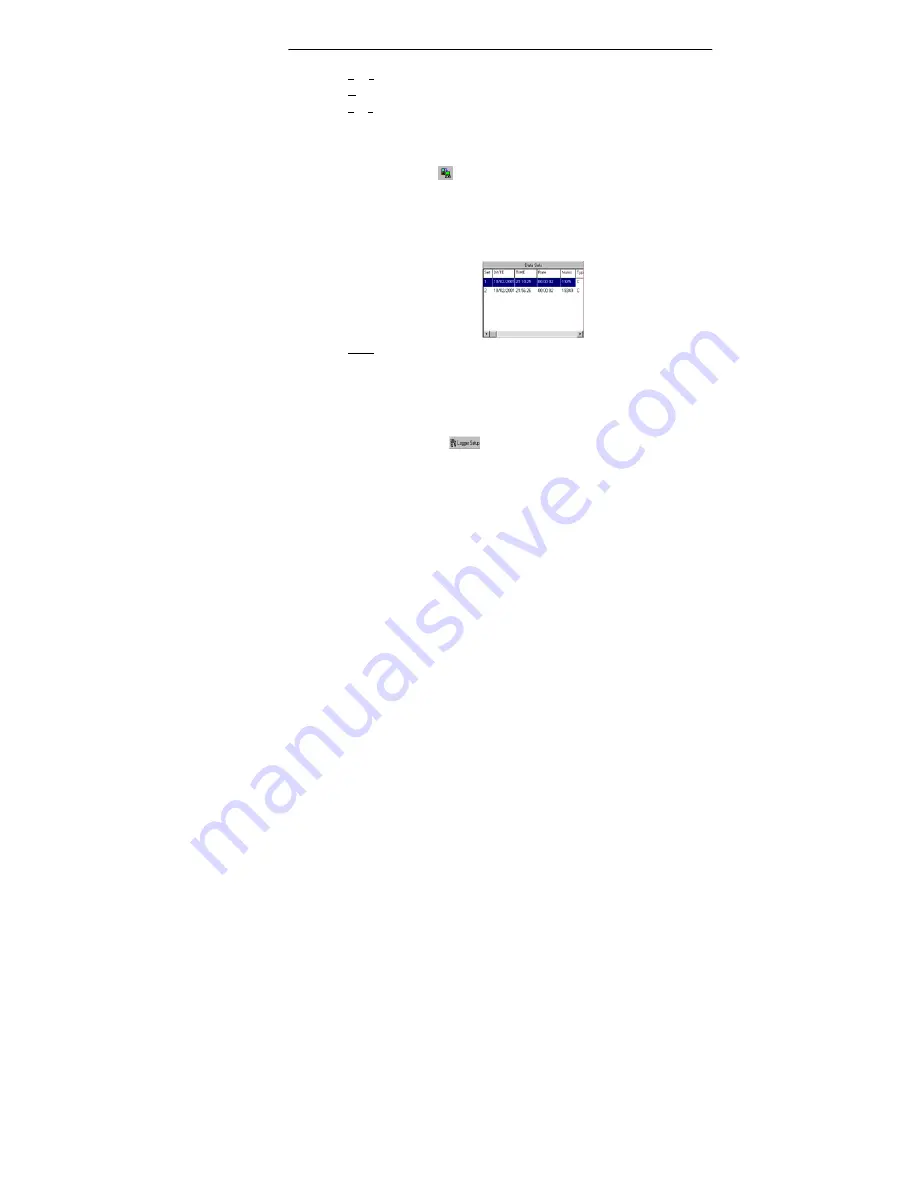
For examples, the figure 
below indicates that there 
are two data sets. Set 1 has 
1325 records and set 2 has 
19349 records. 

Note: 

It will transfer first data set to the graph on the 

right hand side and list data after loading; you can click 
another data set to view the graph and list of the data set 
you select. 


Setup Logger 

You can setup Logger from software, just select “Setup” 
from main menu or click              from tool. 

Содержание 342

Страница 1: ...INTV SELECT 3 Sec Erase MEMORY 1 Sec REC HUMIDITY RECORDER 342 SE 342 ...

Страница 2: ...I FEATURE 1 III GENERAL SPECIFICATION 2 IV NAME AND FUNCTION 3 V OPERATION INSTRUCTIONS 5 1 Setup 5 5 2 Record Temperature 7 5 3 Erase Memory 8 5 4 Download Memory 8 5 5 Replace Battery 9 VI Software 6 1 Installation 10 6 2 Introduction 11 ...

Страница 3: ... repairs or servicing not covered in this manual Periodically wipe the case with a dry cloth Do not use abrasives or solvents on this instrument Safety symbols Dangerous refer to this manual before using the meter Apply with European CE II FEATURE LCD With Back Light Battery Status Display Memory Status Display Easy To Setup Windows Interface Software 32 000 Records Data Logger ...

Страница 4: ... to 100 RH Response time 20minutes humidity 1minute to 95 under slow air Battery Size AAA 1 5V x 2 alkaline battery Battery Life more than1 year 1 minute interval 25 C Dimension Recorder 92 x 55 x 21mm Base 107 5 x 62 x 28 mm Weight Recorder 95g Approx Base 60g Approx Standard Accessory Instruction Menu Wall Hanger Alkaline Battery Size AAA 1 5V x 2 Optional Accessory Communication Base RS 232 Con...

Страница 5: ...C LR03 1 5V X 2 MANUAL FOR SAFET PLEASE READ Y 6 1 2 3 4 5 MEMORY Erase 3 Sec INTV SELECT 1 Sec REC IV NAME AND FUNCTION 1 LCD Display 3 Select Button 2 INTV Setup Button 4 Back Light Button 5 Sensor Window 6 Infrared RS232 Interface ...

Страница 6: ...L FOR SAFET PLEASE READ Y 2 1 3 1 RS 232 Jack 2 Slip Proof Rubber 3 Infrared RS232 Port Record Interval Symbol Recording Symbol Battery Status Temperature Unit Temperature Reading Memory Status Display Communication Status RH Indication ...

Страница 7: ... setup mode 2 Press to select year month day hour and minute setup 3 Press to set value on year month day hour and minute Note Be sure to setup date and time again after replacing battery The user can also setup the time through the PC software There is a button in the software directly synchronize the setup to the PC INTV SELECT SELECT INTV ...

Страница 8: ...ct record interval Options are 1 2 5 10 15 20 30 seconds and 1 2 5 10 20 30 60 minutes 3 Press to finish record interval setup and go to temperature unit setup mode P 2 4 Press to select C or F 5 Press to save and exit setup mode INTV P 1 P 2 Data Logger 64 000 Records SELECT 3 Sec MEMORY Erase TV REC 1 Sec 64 000 Records Data Logger 3 Sec MEMORY Erase SELECT 1 Sec REC TV ...

Страница 9: ...corder Note 1 It is important to check the memory status before starting recording 2 LCD will show FULL when 32 000 records are stored in Recorder or 15 data sets are stored in Recorder 3 If recording is not active recorder will power off automatically after 60 seconds It can be powered on by pressing any button SELECT SELECT 32 000 records available totally and each segment represents about 4 000...

Страница 10: ...ry 1 Press and hold simultaneously for 3 seconds to clear memory 2 LCD will display CLr Memory display will resume to full status Note It is not allowed to erase memory when recording is active 5 4 Download Data 1 Dock the recorder to the communication base and connect the RS 232 cable to PC 2 Run the SE 342 software LCD will display RS 232 to indicate the linking status INTV 64 000 Records Data L...

Страница 11: ...lling SE 342 software 2 Refer to page 11 6 2 about software introduction 5 5 Replace Battery 1 Please stop data recording before replacing battery 2 Use two Alkaline Battery Size AAA 1 5V 3 After replacing the battery please make sure to screw in the three screws tightly with the gasket to keep the unit airtight ...

Страница 12: ...sk space available to install SE 342 Installation 1 We recommend closing all other applications before installing the TestLink SE 342 software 2 Insert the setup CD disc to CD ROM drive and the installation program should start automatically 3 If installation dose not start automatically choose the start button on the Taskbar and select Run 4 Type E SETUP and choose OK it will then copy SE342 exe ...

Страница 13: ...nt the data graph or list Printer Setup Select printer Exit Terminates program DataLogger By opening the DataLogger Window the user can download recorded data form meter to PC in this window Setup Setup Recorder from PC COM port Select PC communication port manually Main menu Tool menu DataLogger window Data Set List Data List Graph Max Min Avg display ...

Страница 14: ...as been downloaded completely on the top left hand side the widow will show how many data sets were loaded and information for each data set start data start time recording rate and record numbers For examples the figure below indicates that there are two data sets Set 1 has 1325 records and set 2 has 19349 records Note It will transfer first data set to the graph on the right hand side and list d...

Страница 15: ... the Temperature Recorder on the Communication Base and connect it to a PC serial port with the SE 120 cable 2 Run the SE342 Software 3 If the connection is successful the LCD will display the same value as the Temperature Recorder If the communication fails there will be no RS 232 symbol on the LCD window bar Memory Status Erase Data Adjust Time Select Interval Select Unit ...

Страница 16: ...e name and file type to save 3 There are three types of file you can choose they are binary file ghf text file txt and EXCEL format file csv The ghf file use much fewer disk space to save the data than the other two file formats but it can only be used in TestLink SE342 software Text file can be opened by TestLink SE342 and any other word processor program like word notepad etc EXCEL format file c...

Страница 17: ... Connect the Communication Base to PC 2 Put the Temperature Recorder on the Communication Base 3 Start SE342 program 4 Choose Data Logger from main menu or click from tool bar 5 Refer to Page 12 for more information about recording Data For more operation instruction please refer to the online help while executing SE 342 ...

Страница 18: ...CENTER TECHNOLOGY CORP 4 F NO 415 Jung Jeng Rd 238 Shu Lin Taipei Taiwan E Mail center centertek com http www centertek com 342 01 ...

Отзывы: