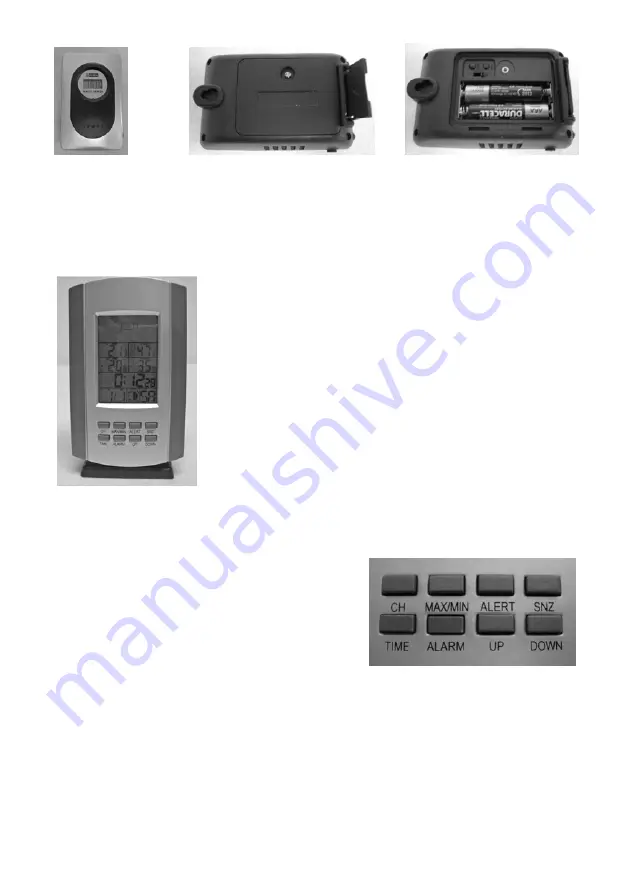
2
If the battery power becomes low on the Sensor, a low battery icon will appear on the LCD display
and if so change batteries to ensure a strong signal is being sent to the Receiver in order that the
Sensor will send accurate information to the Receiver.
Settings and Operation of the Receiver
y
Indoor & Outdoor Temperature & Humidity –
the indoor
temperature and humidity is shown on the 2
nd
section of the LCD
display and the outdoor temperature and humidity is shown on the
3
rd
section of the display. The humidity trend (indoor and outdoor)
will be displayed in a small box to the right of the temperature
display. You will see an icon of indoor humidity of various faces –
happy, sad, or in between depending on the readings of very dry to
very wet.
y
Data displayed in “C” or “F” –
push the “DOWN” button (when
in a normal mode) to change from “C” (Centigrade) or “F”
(Fahrenheit) for the display you desire.
y
Clock & Calendar –
Press the “TIME” button and hold down for a
couple of seconds to enter the setup mode. Use the “UP” or
“DOWN” buttons to make changes. Press the “TIME” after each
setting is correct. The settings in sequence will be:
year/month/date/weekday language/hour/minute/time difference/exit. The weekday language to
choose is available in German, English, Italian, French, Dutch, Spanish, and Danish. The clock
format can be 12 or 24 hour mode – use the “UP” button (in normal mode) to change the format that
you wish to use.
y
Moon Phase –
will automatically be seen near the
center of the last display and will be correct if the
calendar is set accurately
.
y
Max/Min Memory –
in normal mode, press the button
“MAX/MIN” to see the minimum temperature and
humidity both indoors and out, press the button again
to see the maximum temperature and humidity both
indoors and out, press the button again to return to the
normal mode. Hold down the button for three seconds to erase the memory.
y
Temperature Alert –
you can set a range of outdoor temperature alerts (high and low). In normal
mode press the “ALERT” button once and it will display an icon that the alert is enabled (to the
right of the outdoor temperature) and press again and the icon will be removed to indicate the alert
is disabled. To set the maximum and minimum temperatures for the alert, hold the “ALERT”
button down for a few seconds and a icon (top part) will flash to tell you to set the maximum
temperature alert – use the “UP” and “DOWN” buttons to choose your alert temperature and push
the “ALERT” button to set and then push the button again the lower icon will flash and you will
set the minimum temperature alert. When the temperature outdoors reaches the alarm stage, the
icons will flash and make a sound and last 5 seconds and then repeat every minute until you press
any button to stop the alarm.


