CE-2500-HVE Band Sealer
Page 13
6.6.
Starting procedure
6.6.1.
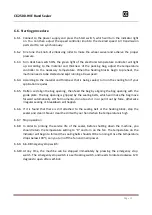
Connect to the power supply and press the Start switch, which will turn the indicator light
on. You can then adjust the speed controller knob to the desired speed. All transmission
parts start to run synchronously.
6.6.2.
Fine tune the knob of embossing roller to make the wheel swivel and acheive the proper
pressure.
6.6.3.
Turn Heat Seal switch ON, the green light of the electronic temperature controller will light
up. According to the material and thickness of the packing bag, adjust the temperature
controller to the necessary temperature. When the heating blocks begin to preheat, the
machine needs to be started and kept running at low speed.
6.6.4.
According to the material and thickness that is being sealed, turn on the cooling fan if your
application requires.
6.6.5.
Flatten and align the bag opening, then feed the bag by aligning the bag opening with the
guide plate. The bag opening is gripped by the sealing belts, which will make the bag move
forward automatically. At that momento, do not push it in or pull it out by force, otherwise
irregular sealing or breakdown will happen.
6.6.6.
If it is found that there is dirt attached to the sealing belt or the heating block, stop the
sealer and clear it. Never clear the dirt with your hand when the temperature is high.
6.6.7.
Stop operation
6.6.8.
In order to prolong the service life of the sealer, before shutting down the machine, you
should return the temperature setting to “0” and turn on the fan. The temperature on the
indicator will begin to fall and the sealing belts should still be running. Once the temperature
drops below 100
℃
, can you turn off the fan and main power.
6.6.9.
6.6.8 Emergency stop switch:
6.6.10.
At any time, the machine can be stopped immediately by pressing the emergency stop
switch. The emergency stop switch is a self-locking switch, and needs to rotate clockwise 120
degrees to open after self-lock.
Содержание CE-2500-HVE
Страница 9: ...CE 2500 HVE Band Sealer Page 8 Diagram 5 3...
Страница 16: ...CE 2500 HVE Band Sealer Page 15 Step 7 Step 8 Step 9 Step 10 Step 11 Step 12...
Страница 17: ...CE 2500 HVE Band Sealer Page 16 Step 13...
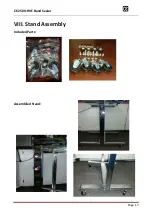
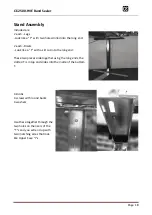
Страница 18: ...CE 2500 HVE Band Sealer Page 17 VIII Stand Assembly Included Parts Assemblied Stand...
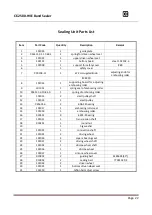
Страница 22: ...CE 2500 HVE Band Sealer Page 21 X Sealing Unit Parts List Diagram 10 1...
Страница 24: ...CE 2500 HVE Band Sealer Page 23 XI Conveyer Parts List Diagram 11 1 18 19 20 18...
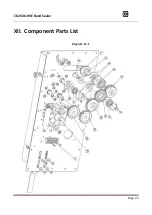
Страница 26: ...CE 2500 HVE Band Sealer Page 25 XII Component Parts List Diagram 12 1...
Страница 28: ...CE 2500 HVE Band Sealer Page 27 XIII Conveyor Table Parts List Diagram 13 1...


