Remtron
®
Engineered Systems
User Manual
35
9M02-9028-A021-EN
Version 4.0
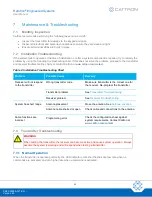
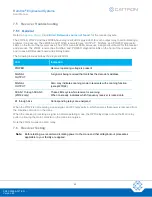
Some transmitters use a red LED only. Others use a multicolored LED that flashes green when no problems are
present and turns red when other problems are encountered. The LED also turns AMBER to indicate a hard-wired
pendant cable connection on those transmitters equipped with it.
Problem
Possible Cause
Remedy
LED is off
Transmitter is off
Press ON/ALARM button
Batteries are dead
Replace batteries
Transmitter failure
Contact Cattron at
LED cycles on-off (½ second
on and ½ second off)
Batteries getting low
Change batteries at the next convenient
opportunity
LED flashes Red/Green (‘A’
series only)
Batteries getting low
Change batteries at the next convenient
opportunity
LED is on continuously (LED
might flicker slightly)
Switch activated at start
Restart transmitter with no other switches
pressed
Transmitter failure
Contact Cattron at
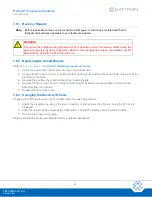
7.3.2 Transmitter Repair
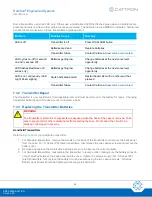
The transmitter is not considered a field-repairable item and must be returned to the factory for repair. Changing
transmitter batteries and ID codes are not considered repairs.
7.3.3 Replacing the Transmitter Batteries
WARNING
The transmitter’s electronic components are exposed when the back of the case is removed. Take
care to prevent dirt or other contaminants from entering the case. Do not allow the circuit to be
scraped or damaged in any way.
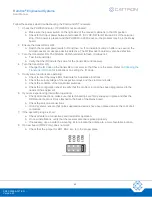
Handheld Transmitters
for your particular transmitter.
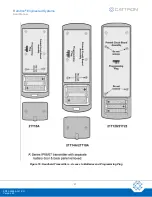
1. For Standard transmitters, remove the screws on the back of the transmitter and remove the back panel
from t
he case. For ‘A’ Series IP67 rated transmitters, fully release the two captive screws and remove the
battery door.
2. Remove and replace the AA Alkaline batteries. Be sure to observe the correct polarity.
3. For Standard transmitters, reassemble the transmitter in reverse order, making sure the battery wires do
not get pinched between the back panel and the case. Tighten the screws snugly. For ‘A’ Series IP67
rated transmitters, fully replace the battery door and secure using the two captive screws. ‘A’ Series
Battery door screws should be tightened until snug, plus half a turn.
!


