History
The History feature remembers up to 1,000 terms you have
looked up in each dictionary.
Viewing History Contents
1
While the initial screen
of a dictionary/mode is
displayed, press
and then
.
2
Use and
, and the
and
keys to move the
highlighting to a term and then press
.
Deleting History Data
1
While the initial screen of a dictionary/mode is
displayed, press
and then
.
This displays the history screen of the dictionary/mode.
The dictionary/mode does not make any difference if you
are planning to delete all history data in all dictionaries/
modes.
2
If you are deleting one specifi c history entry, use
and
to move the highlighting to the entry you want
to delete.
3
Press
.
4
Select an option.
To do this:
Select this option:
Exit the delete menu without
deleting anything.
削除しない
Delete only the currently
highlighted item.
反転中のヒストリーを削除(
1
件)
Delete all history data in the
current dictionary/mode.
モード内のヒストリーを削除
Delete all history data in all
dictionaries/modes.
全てのモードのヒストリーを削除
5
Press
.
This performs the operation you selected.
Useful Functions
Powerful features and functions help make dictionary look ups
quicker and easier.
Viewing Idioms and Compound Expressions
indicates there is idiom
and compound expression
information available. On the
handwriting panel, tap
【成句
複合語】
to display it.
On the main panel, tap
the idiom or compound
expression you want to view
and then tap
【訳/決定】
on
the handwriting panel. This
will display the meaning
of the idiom or compound
expression that you selected.
Viewing Compound Terms
indicates there is
compound term information
available. On the handwriting
panel, tap
【熟語】
to display it.
On the main panel, tap the
compound term you want to
view and then tap
【訳/決定】
on the handwriting panel. This
will display the meaning of
the compound term that you
selected.
Viewing Sample Sentences or Explanations
or
indicates
there is sample sentence
information or an explanation
available. On the handwriting
panel, tap
【用例解説】
to
display it. Use the arrow keys
to move the highlighting to
the icon you want to view and
then tap
【訳/決定】
on the
handwriting panel. This will
display the sample sentence
or explanation.
•
•
•
Reading
Your electronic dictionary can produce native speaker and
simulated voice readings of terms and sample sentences.
To use the built-in speaker
On the side of the electronic
dictionary, slide the
pronunciation output switch to
SPEAKER.
To use earphones
1
Connect the supplied
earphones to the terminal
on the right side of the
electronic dictionary.
Use only the supplied
earphones.
2
On the side of the
electronic dictionary,
slide the pronunciation
output switch to
PHONES.
To adjust the volume
1
While any screen is
displayed, press
.
2
Press
the
音量(大)
(increase volume) and
音量(小)
(decrease volume) arrow keys to adjust the volume
level.
3
Press
.
While audio output is in progress, you can adjust its volume
by pressing
or
.
Using TRUE VOICE
®
for Native Speaker
Pronunciation
TRUE VOICE
®
capabilities let you hear native speaker readings
of terms and sample sentences.
Playing TRUE VOICE
®
Pronunciation while a
Defi nition Screen is Displayed
Use the following steps to listen to a TRUE VOICE
®
reading of
an item that has a
icon next to it.
1
Press
音声
.
The
icon becomes
highlighted and the
icon appears on
the display.
2
Press
.
This reads the item next to or below the highlighted
icon.
If there are multiple
icons, use
and
to select
one.
3
After you are fi nished using TRUE VOICE
®
, press
so the
icon disappears from the
display.
Playing TRUE VOICE
®
Pronunciation while an
English Term Displayed
Use the following steps to listen to a TRUE VOICE
®
reading of
an English term.
1
Press
音声
.
The
and
icons appears on the
display.
2
Use the arrow keys to move the highlighting to an
English term.
3
Press
.
If there is only one pronunciation, it plays immediately.
If there are multiple pronunciations, a list of candidates
appears.
4
If native speaker pronunciation is not available,
a message appears asking if you want to hear a
simulated voice reading.
5
After you are fi nished, press
.
Note that pronunciation may not be correct if a non-English
term is selected.
Pronunciation may not be correct in cases that two terms
have the same spelling but different pronunciations.
■
■
•
■
•
•
•
•
•
•
•
•
•
Synthesized Voice Readings
A synthesized voice can be used to check the readings of
terms in seven languages: English, Spanish, German, French,
Italian, Chinese, and Korean.
Some dictionaries/modes do not support synthetic voice readings.
Chinese reading can be selected for a Chinese model electronic
dictionary and Korean for a Korean model electronic dictionary
only. For other models, these languages can be selected after the
applicable optional software is installed.
For Chinese, pinyin and alphabetic terms, and some kanji terms
cannot be read by the synthetic voice.
For Korean, only hangul terms can be read.
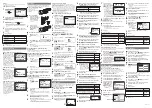
To play readings on a defi nition and
explanation screen
1
Press
and then
音声
読み上げ
.
The
icon appears
and the fi rst term or
sample sentences
that can be read by
the synthesized voice
becomes highlighted on
the display.
2
Use and
to move the highlighting to the term,
idiom, or sample sentence you want to have read.
3
Press
to produce the reading of the term or
sample sentence.
4
After you are fi nished, press
.
Confi guring Audio Settings
Use the procedures below to confi gure audio settings.
To display the
音声設定
(Audio Settings)
Screen
1
Press
and then
.
2
Use and
to select
音声設定
and then press
.
To adjust the reading speed
1
On
the
音声設定
screen,
use
and
to select
音声速度設定
(Reading
Speed) and then press
.
2
Use and
to select a speed and then press
.
You can set one of fi ve speeds: Approximately 130%,
120%, 100% 85%, or 75% of normal speed.
To specify the pronunciation language to use
for a specifi c dictionary/mode
1
Access a dictionary/mode.
2
Perform the steps under “To display the
音声設定
Screen”.
3
Use and
to select
音声言語設定
(Reading
Language) and then press
.
4
Use the arrow keys to select a language setting and
then press
.
To adjust the reading volume level
1
On
the
音声設定
screen,
use
and
to select
音
量設定
(Reading Volume)
and then press
.
2
Use and
to select a volume level and then press
.
Flash Cards
Your electronic dictionary lets you create up to six stacks of
fl ash cards, with up to 100 cards in each stack. You can create
fl ashcards from the
学習帳
(Exercise Book) mode or from a
meaning/explanation screen.
To create a fl ash card from the
学習帳
(Exercise Book) mode
1
Press
twice.
2
Use and
to select
暗記カード
(Flash Card) and
then press
.
This displays the fl ash card menu screen.
3
Use the arrow keys to select
暗記カードを作成する
(Create
fl ash card) and then press
.
4
Use the arrow keys to select
a fl ash card stack and then
press
.
●
●
●
●
■
•
■
■
•
■
■
■
•
Flash card
Front
Back
Flash card
Front
Back
5
Write something on the front of the fl ash card and
then tap
【訳/決定】
on the handwriting panel.
You can use the following tools when writing on the
handwriting panel.
To do this:
Tap this tool:
Toggle the pencil between thick
line and thin line
Cycle the eraser between: thick,
thin, and garbage can
Tapping the input area of the handwriting panel while the
garbage can icon is highlighted (
) will cause the current
contents of the handwriting panel to be deleted.
6
Write something on the back of the fl ash card and
then tap
【訳/決定】
on the handwriting panel.
7
Check the contents of the fl ash card and then tap
【訳/決定】
on the handwriting panel to store it.
To create a fl ash card from a meaning/
explanation screen
1
While the meaning/explanation screen for a term is
displayed, tap
【暗記カード作成】
on the handwriting
panel.
2
Use the arrow keys to select
a fl ash card stack and then
press
.
3
Write something on the front of the fl ash card, and
then tap
【訳/決定】
on the handwriting panel.
If you make a mistake, you can tap the eraser tool and then
erase. Then to go back to input, tap the pen tool.
4
Write something on the back of the fl ash card, and
then tap
【訳/決定】
on the handwriting panel.
5
Check the contents of the fl ash card and then tap
【訳/決定】
on the handwriting panel to store it.
To use fl ash card for memorization
1
While the fl ash card menu is displayed, use the arrow
keys to select
暗記カードを見る
(View fl ash cards) and
then press
.
2
Use the arrow keys to select a stack of fl ash cards.
3
On the handwriting panel, specify the display
sequence and the cards to be displayed.
To do this:
Select this
option:
Display the front of the card fi rst (problem), and then
the back (answer)
表から表示
Display the back of the card fi rst (problem), and then
the front (answer)
裏から表示
Display all cards in the stack
全ての語を表示
Display only the cards in the stack for which you
gave wrong answers (NG) when using the procedure
under "To use fl ash cards for writing practice"
NG
の語のみ表
示
4
On the handwriting panel,
tap
【訳/決定】
to start.
To view the reverse side of
the card, tap
【訳
/
決定】
.
You can use the
and
arrow keys to scroll through
the fl ash cards.
5
To exit the fl ash card stack, tap
【戻る/リスト】
on the
handwriting panel.
To use fl ash card for writing practice
1
While the fl ash card menu is displayed, use the arrow
keys to select
暗記カードで書き取り
(Use fl ash cards
for writing practice) and then press
.
This displays a menu of fl ash card stacks.
2
Use the arrow keys to select a stack of fl ash cards.
3
On the handwriting panel, specify the display
sequence and the cards to be displayed.
To do this:
Select this
option:
Display the front of the card fi rst (problem), and then
the back (answer)
表から表示
Display the back of the card fi rst (problem), and then
the front (answer)
裏から表示
Display all cards in the stack
全ての語を表示
Display only the cards in the stack for which you
gave wrong answers (NG) when using the procedure
under "To use fl ash cards for writing practice"
NG
の語のみ表示
4
On the handwriting panel, tap
【訳/決定】
.
5
On the handwriting panel,
write the meaning of the term
that’s displayed on the main
panel.
6
After you are fi nished, tap
【訳/決定】
on the
handwriting panel.
•
•
■
•
■
•
•
■
•
Flash card
Front
Back
Flash card
Front
Back
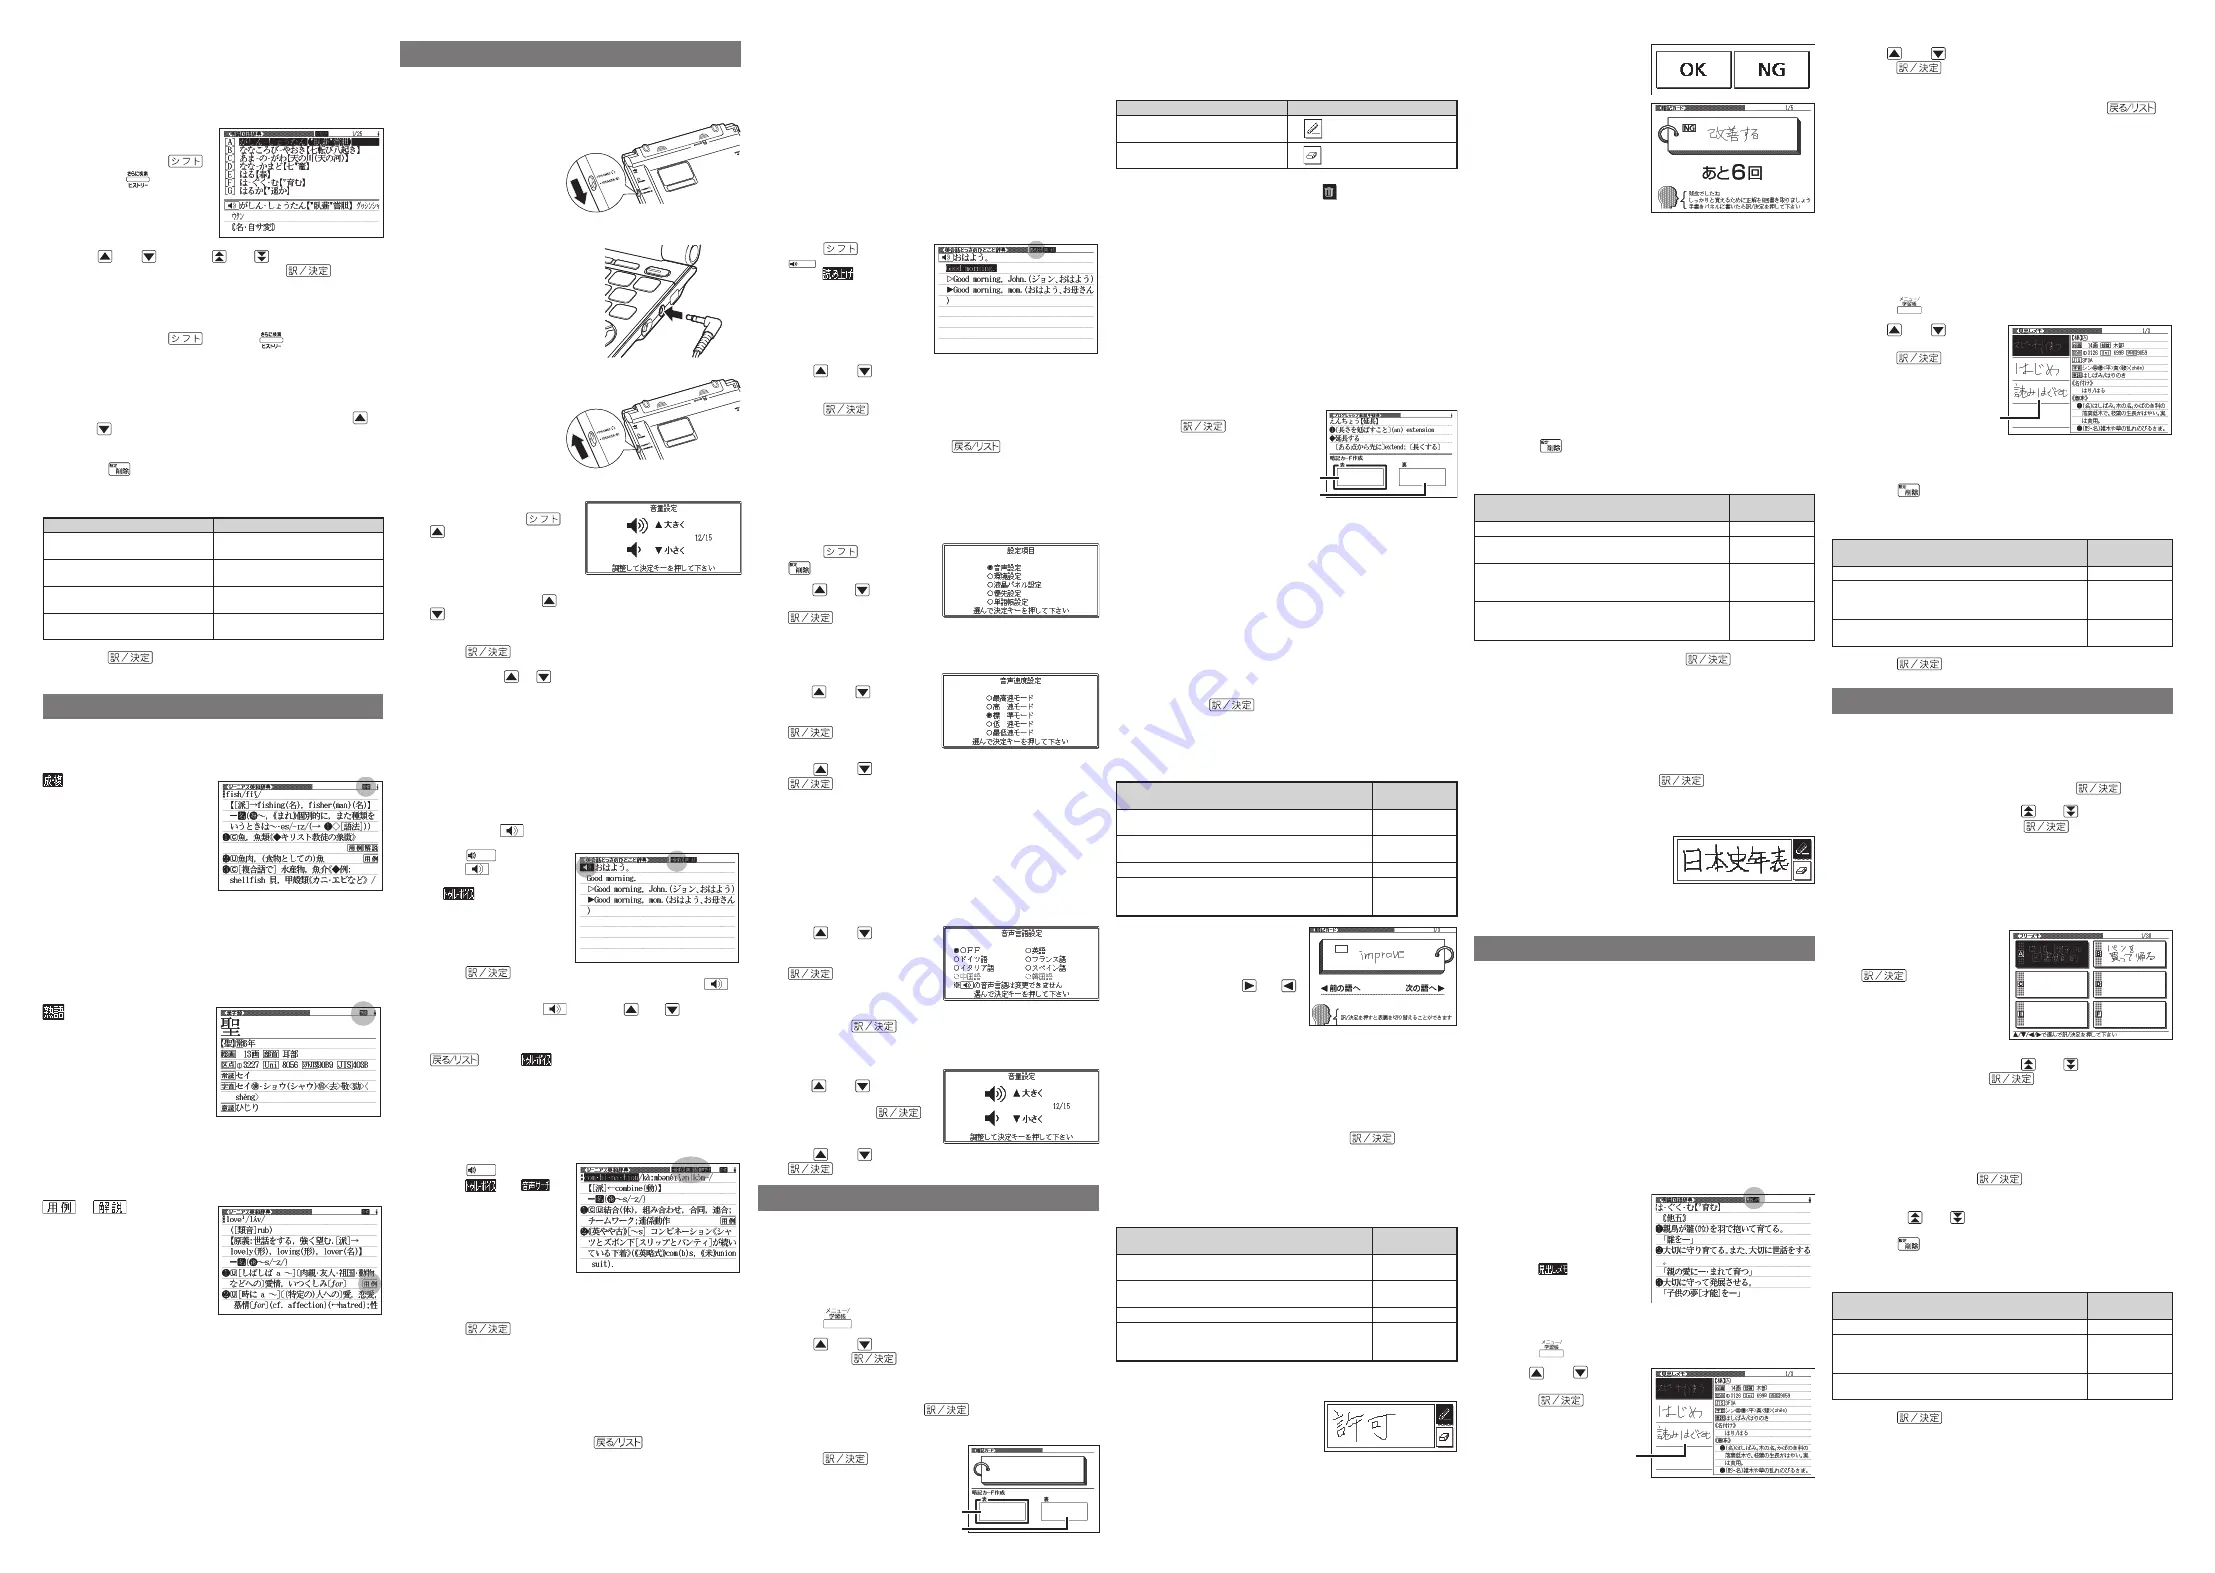
7
If what you wrote in
step 5 is correct, tap
【
OK
】
on the handwriting
panel. If it is not, tap
【
NG
】
.
If you tap
【
OK
】
, the
screen advances to the
next fl ash card.
If you tap
【
NG
】
, write the
correct answer as shown
in the main panel into
the handwriting panel,
and then tap
【訳
/
決定】
.
Repeat this operation six
times for practice. When
you press
【訳
/
決定】
after writing the correct answer six
times, the screen advances to the next fl ash card.
8
To exit the fl ash card stack, tap
【戻る/リスト】
on the
handwriting panel.
Managing Flash Cards
Use the following procedure to delete and edit fl ash cards.
To delete fl ash cards
1
Display a fl ash card.
To delete a specifi c fl ash card, display that card.
To delete all of the fl ash cards in a specifi c stack, display a
card in that stack.
To delete all fl ash cards, display any card.
2
Press
.
3
Select an option.
To do this:
Select this
option:
Exit the delete menu without deleting anything.
削除しない
Delete only the currently displayed fl ash card.
表示中のデータ
を削除(
1
件)
Delete all of the fl ash cards in the currently displayed
stack.
表示中の暗記カ
ードの全てのデ
ータを削除
Delete all fl ash cards in all of the stacks.
全ての暗記カー
ドのデータを削
除
4
After selecting an option, press
.
This performs the operation you selected.
Renaming a Flash Card Stack
You can use the following procedure to change the default
name of any of the six fl ash card stacks.
1
While the fl ash card menu is displayed, use the arrow
keys to select
登録先名称を変更する
(Rename fl ash
card stack) and then press
.
2
Use the arrow keys to select a stack of fl ash cards
and then press
【訳
/
決定】
.
3
On the handwriting panel,
delete the name currently
assigned to the stack and
then write a new name.
4
After you are fi nished, tap
【訳
/
決定】
on the
handwriting panel.
Headword Memos
You can create up to 100 handwritten "headword memos" and
attach them to headwords.
Where you can use headword memos
You can attach a headword memo to a headword for a term,
idiom, compound term, compound expression, or phrase.
Use of the headword memos is not support in certain contents.
Only one headword memo is allowed per screen.
To create a headword memo
1
Display the screen that contains the headword to
which you want to attach the headword memo.
2
On the handwriting panel, tap
【見出しメモ】
.
3
On the handwriting panel, write the memo text.
4
After you are fi nished
writing the memo text,
tap
【訳/決定】
on the
handwriting panel to
attach the headword
memo.
The
icon appears
on the display.
To view a headword memo
1
Press
twice.
2
Use and
to select
見出しメモ
and then
press
.
•
•
■
•
•
•
•
●
●
●
■
•
■
Headword memo
Headword memo
3
Use and
to select a headword memo and then
press
.
This displays the screen to which the headword memo is
attached.
To return to the headword memo menu, press
.
To edit a headword memo
1
Display the screen to which the headword memo you
want to edit is attached.
2
On the handwriting panel, tap
【見出しメモ】
.
This displays the current headword memo contents on the
handwriting panel.
3
On the handwriting panel, edit the headword memo
contents and then tap
【訳/決定】
.
To delete headword memos
1
Press
twice.
2
Use and
to select
見出しメモ
and then
press
.
This displays a menu
of currently stored
headword memos.
3
To delete a specifi c headword memo, select the
memo.
4
Press
.
5
Select an option.
To do this:
Select this
option:
Exit the delete menu without deleting anything.
削除しない
Delete only the currently displayed headword memo.
表示中の見出し
メモを削除(
1
件)
Delete all of the headword memos.
全ての見出しメ
モを削除
6
Press
.
Free Memos
You can create up to 30 handwritten "free memos."
To create a free memo
1
On
the
メニュー
screen’s
便利な機能
(Useful Functions)
tab, select
フリーメモ
and then press
.
2
Use the arrow keys and the
and
keys to select a
blank memo and then press
.
3
On the handwriting panel, write the memo text.
4
After you are fi nished writing the memo text, tap
【訳/
決定】
on the handwriting panel.
To view or edit a free memo
1
On the
メニュー
screen’s
便利な機能
tab, select
フ
リーメモ
and then press
.
2
Use the arrow keys and the
and
keys to select a
memo and then press
.
3
On the handwriting panel, edit the free memo contents
and then tap
【訳/決定】
.
To delete free memos
1
On
the
メニュー
screen’s
便利な機能
tab, select
フリー
メモ
and then press
.
2
To delete a specifi c free memo, use the arrow keys
and the
and
keys to select a memo.
3
Press
.
4
Select an option.
To do this:
Select this
option:
Exit the delete menu without deleting anything.
削除しない
Delete only the currently highlighted free memo.
反転中のフリー
メモを削除(
1
件)
Delete all of the free memos.
全てのフリーメ
モを削除
5
Press
.
•
•
■
•
■
•
■
■
■
Headword memo
Headword memo
Printed in China