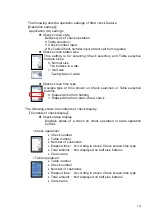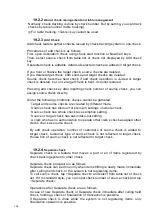
14.2 COM (RS-232C) Scanner
This section explains connection between a main unit and a RS-232C scanner.
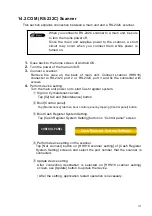
Since the main unit supplies power to the scanner, a short
circuit may occur when you connect them while power is
turned on.
When you connect a RS-232C scanner to a main unit, be sure
to turn the mains power off.
1.
Goes back to the home screen of Android OS.
2.
Turn the power of the main unit off.
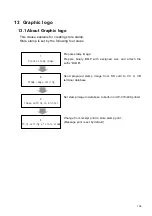
3.
Connect a scanner.
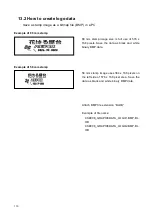
Remove the case on the back of main unit. Connect scanner (HHS18)
connecter to RS-232C port 2 or RS-232C port 3 and fix the connecter with
screws.
4.
Perform device setting.
Turn the main unit power on to start Cash register system.
①
Sign on by maintenance clerk.
Tap [02] tab and [Maintenance] button.
②
Boot [Control panel].
Tap [Maintenance] tab then boot control panel by tapping [Control panel] button.
③
Boot Cash Register System Setting.
Tap [Cash Register System Setting] button on “Control panel” screen.
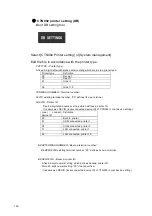
CONTROL PANEL
Cash Register System Settings
④
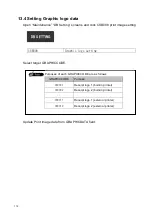
Perform device setting on the scanner.
Tap [Not connect] button on [HHS18 scanner setting] of [Cash Register
System Setting] screens and select the port number that the scanner is
connected.
⑤
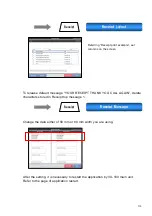
Update device setting
After connection destination is selected on [HHS18 scanner setting]
screen, use [Update] button to update the device.
!
After the setting, application restart operation is necessary.
117
Содержание V-R100
Страница 6: ...iv 23 1 145 ABOUT ERROR 23 2 145 CASH REGISTER OPERATION ERROR CODE ...
Страница 41: ...Qty Assigns number of quantity of this item for Mix and Match 35 ...
Страница 68: ...7 3Print Layout Print Layout is for settings of printing formats REG SETTINGS Receipt Print Layout 62 ...
Страница 74: ...8 2 5Save Save operation stores key location setting data presently changing into the database 68 ...
Страница 155: ...V REGI REF E CA1510 A Sales management Programming and Reference Manual 149 ...


