


E-18
Using Auto Accompaniment
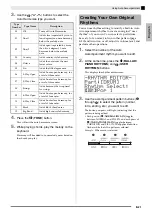
6.
Press the
(
ACCOMP ON/OFF
) button so
its lamp is lit.
This turns ACCOMP on, so all accompaniment parts
sound.
•
Turning ACCOMP off so the ACCOMP lamp is unlit
causes only the percussion instrument parts to sound.
•
Each press of the
(ACCOMP ON/OFF) button
toggles ACCOMP on and off.
7.
Press the
(
SYNCHRO/ENDING
) button.
This puts Auto Accompaniment into “synchro
standby”. Playing a chord during synchro standby will
cause Auto Accompaniment to start to play
automatically.
•
Pressing the
(
INTRO
) button while Auto
Accompaniment is in synchro standby will enter
intro standby. Pressing the
(
VARIATION
) button
will enter variation standby. For details about intro
and variation patterns, see “Modifying Auto
Accompaniment Patterns” (page E-20).
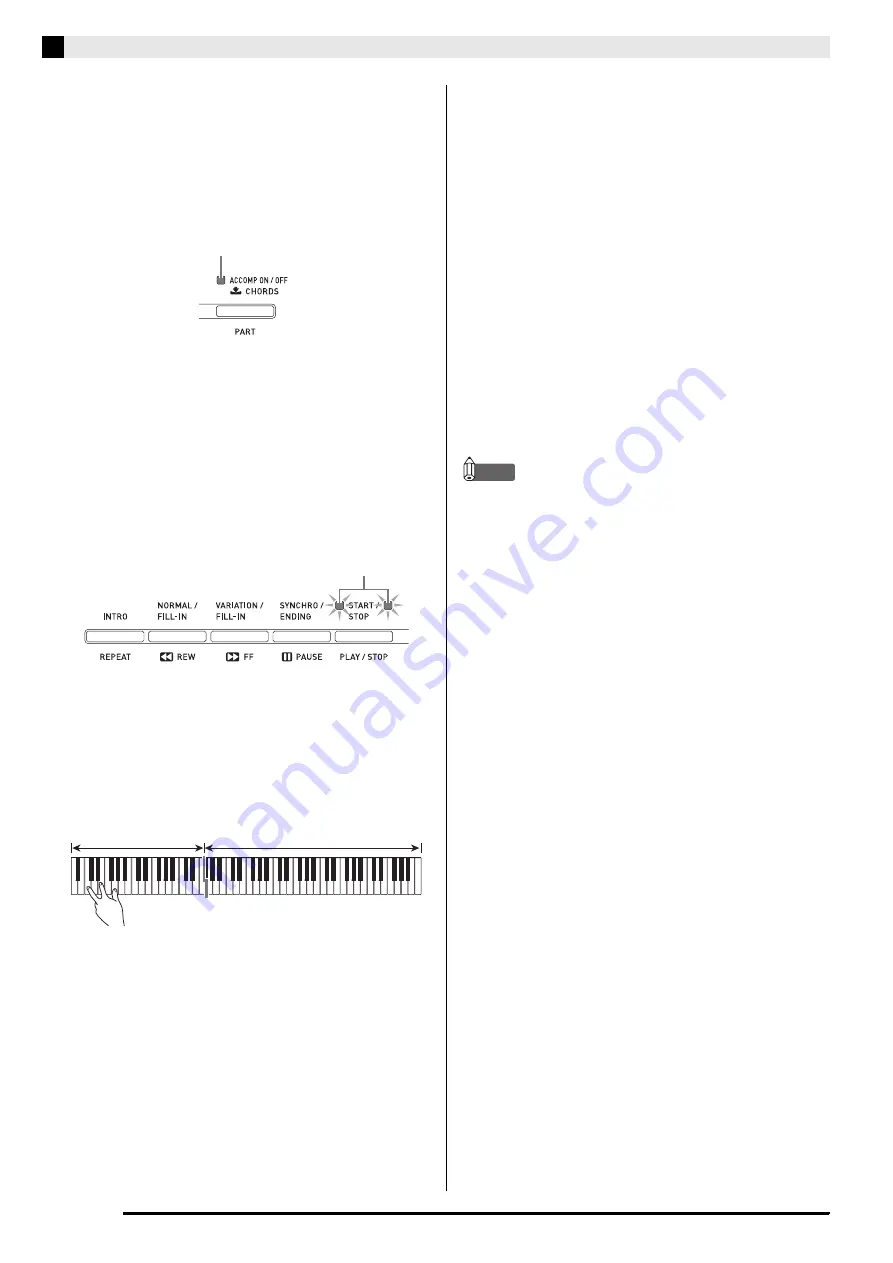
8.
Play the chord you want on the chord
keyboard (left keyboard keys).
Auto Accompaniment will start playing when you play
the chord.
•
To start percussion part play without playing a
chord, press the
(
START/STOP
) button.
Example:
To play a C chord
9.
Play other chords with left hand as you play
the melody with your right hand.
•
You can use “CASIO Chord” or other simplified
chord fingering modes to play chords. For details, see
“Selecting a Chord Fingering Mode” in the following
section.
•
You can use the
(
NORMAL
) and
(
VARIATION
) buttons to modify accompaniment
patterns. For details, see “Modifying Auto
Accompaniment Patterns” (page E-20).
10.
When you are finished, press the
(
START/
STOP
) button again to stop Auto
Accompaniment.
•
Pressing the
(
SYNCHRO/ENDING
) button
instead of the
(
START/STOP
) button will play an
ending pattern before stopping Auto
Accompaniment play. For details about ending
patterns, see “Modifying Auto Accompaniment
Patterns” (page E-20).
NOTE
•
You can use the following procedure to adjust the
volume level of the Auto Accompaniment, without
affecting the volume of Digital Piano output. For
details, see “Auto Accompaniment Volume” (page
E-41).
•
You can change the size of the chord keyboard by
using the split feature to move the split point (page
E-11). The keyboard keys to the left of the split point
make up the chord keyboard.
Lit
Flashing
Chord keyboard
Melody keyboard


