background image

Recording Your Keyboard Play

E-52

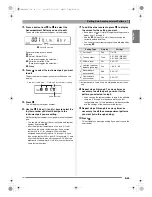
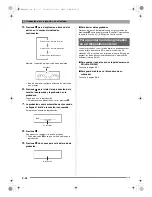
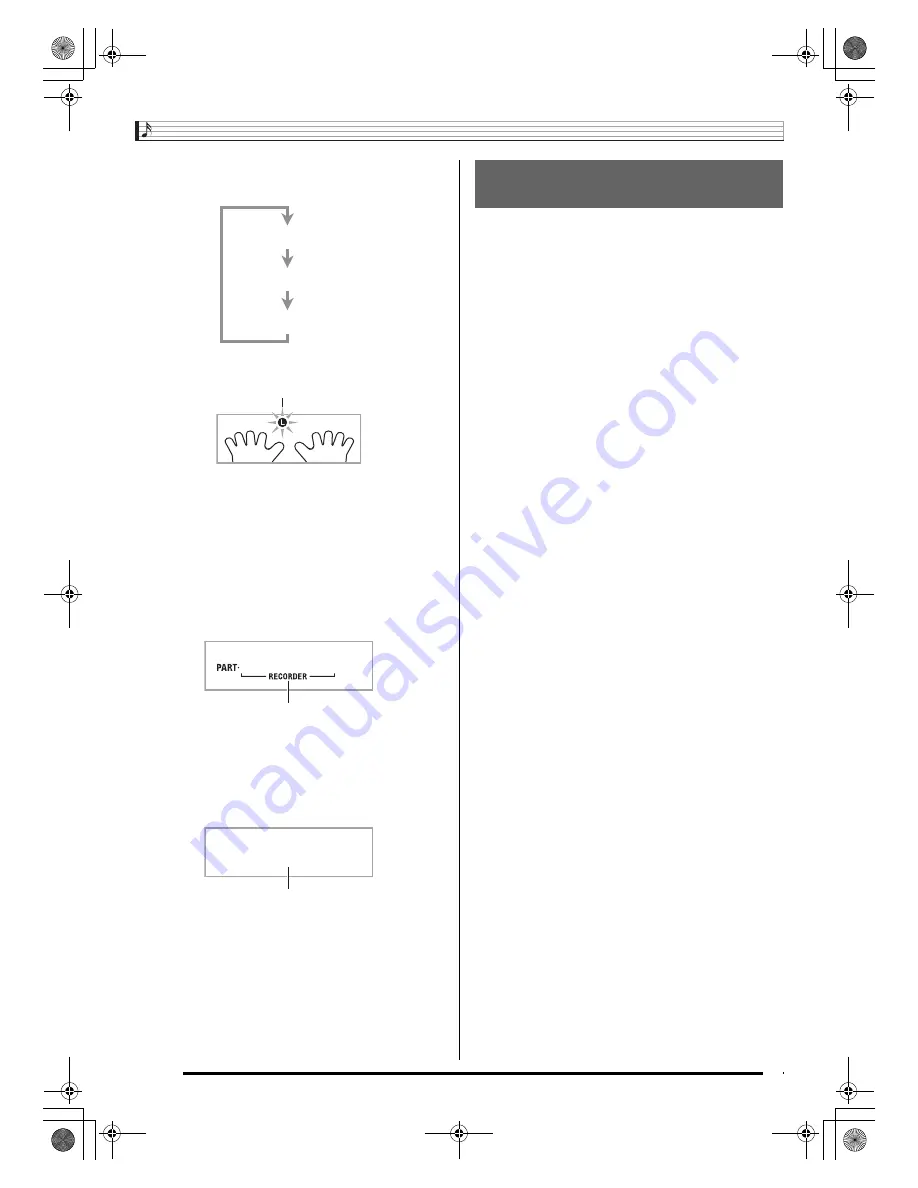
5.

Press 

bn

 to cycle through the parts in the 

sequence shown below.

Example:

Left-hand part recording

• Configure tone and tempo settings at this time as well.

6.

Press 

bm

 to start built-in song playback and 

recorder recording.

Play along with the playback.

• To stop recording part way through, press 

bm

.

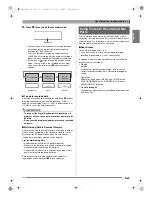
7.

Recording will stop automatically when the end 
of the built-in song is reached.

This will enter playback standby.

8.

Press 

bm

.

This will start playback of what you recorded.

• Each press of 

bm

 starts and stops playback.

9.

Press 

5

 twice to exit the recorder mode.

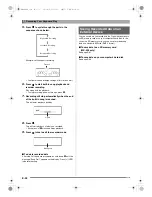
To delete recorded data

After step 2 of the above procedure, do hold down 

5

 until the 

message “Song Del?” appears on the display. Press [+] (YES) 
to delete the song.

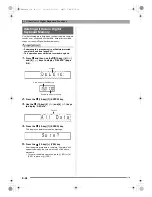
You can save data you record with the Digital Keyboard onto 
an SD memory card or on your computer’s hard disk. In the 
case of an SD memory card, you can save recorded song 
data as a standard MIDI file (SMF 0 format).

To save data to an SD memory card 
(WK-500 only)

See page E-61.

To save data on your computer’s hard disk

See page E-68.

Right-hand Recording

Both-hand Recording

Left-hand Recording

Flashes

Lights

Disappears

Saving Recorded Data on an 
External Device

B

WK200_03_e.fm  52 ページ  2008年7月31日 木曜日 午後2時34分

Содержание Keyboard WK-500

Страница 1: ...iones de seguridad separadas Safety Precautions Before trying to use the keyboard be sure to read the separate Safety Precautions English Espa ol MA0808 B Printed in China WK200 500ES1B F This recycle...

Страница 2: ...n you selected in step 1 to the sampled sound you selected in step 2 To change the Auto Accompaniment rhythm part back to its original sound press bp again Some rhythm part drum sounds cannot be repla...

Страница 3: ...ss of ct will cycle through the settings shown below from 1 through 6 Use the bs 10 key and keys to change the currently selected setting You can play the current settings of the editable part by pres...

Страница 4: ...recorder memory will be deleted Tips for Maintaining Data Use both batteries and the AC adaptor together Make sure that batteries with sufficient power are loaded whenever you disconnect the AC adapt...

Страница 5: ...ress of bm starts and stops playback 6 Repeat steps 2 through 5 to record the other tracks 7 After you finish recording all of the tracks press bm This will start playback of the recorded tracks Press...

Страница 6: ...ppears on the display Press YES to delete the song or NO to cancel the delete operation This section explains how to play along and record along with one of the Digital Keyboard s built in songs The f...

Страница 7: ...s of bm starts and stops playback 9 Press 5 twice to exit the recorder mode To delete recorded data After step 2 of the above procedure do hold down 5 until the message Song Del appears on the display...

Страница 8: ...nd 6 keys to display DELETE page E 6 2 Press the bs 10 key 7 ENTER key 3 Use the bs 10 key 4 and 6 keys to display All Data 4 Press the bs 10 key 7 ENTER key This displays a delete confirmation messag...

Страница 9: ...setups 8 banks Recorder Real time recording playback Keyboard Play 5 songs 6 tracks Playing Along with a Built in Songs 1 song L R LR Memory Capacity Approximately 12 000 notes total for 6 songs Othe...

Страница 10: ...s around you whenever using this product Be especially careful when playing late at night to keep the volume at levels that do not disturb others Other steps you can take when playing late at night ar...

Страница 11: ...nido muestreado seleccionado por usted en el paso 2 Para que la parte de ritmo del acompa amiento autom tico vuelva a cambiar a su sonido original presione bp otra vez Algunos sonidos de bater a de la...

Страница 12: ...del 1 al 6 Utilice las teclas bs teclado num rico y para cambiar el ajuste actualmente seleccionado Puede ejecutar los ajustes actuales de la parte editable presionando bm Solamente se pueden asignar...

Страница 13: ...o est n instaladas se borrar n los datos de la memoria de la grabadora Sugerencias para mantener los datos Utilice tanto las pilas como el adaptador de CA Cada vez que desconecte el adaptador de CA as...

Страница 14: ...a los pasos 2 a 5 para grabar las dem s pistas 7 Luego de finalizar la grabaci n de todas las pistas presione bm Se empezar n a reproducir las pistas grabadas Presione bm para detener o reiniciar la r...

Страница 15: ...ione la tecla YES para borrar la canci n o NO para cancelar la operaci n de borrado Esta secci n explica c mo tocar y grabar junto con una de las canciones incorporadas al teclado digital Las siguient...

Страница 16: ...reproducci n 9 Presione 5 dos veces para salir del modo de grabaci n Para borrar datos grabados Despu s del paso 2 del procedimiento anterior mantenga presionado 5 hasta que el mensaje Song Del apare...

Страница 17: ...4 y 6 para visualizar DELETE p gina S 6 2 Presione la tecla bs teclado num rico 7 ENTER 3 Utilice las teclas bs teclado num rico 4 y 6 para visualizar All Data 4 Presione la tecla bs teclado num rico...

Страница 18: ...ta 10 Edici n de acompa amiento Registro 32 4 configuraciones 8 bancos Grabadora Grabaci n en tiempo real reproducci n Ejecuci n en teclado 5 canciones 6 pistas Ejecuci n junto con una canci n incorpo...

Страница 19: ...de noche para mantener el volumen a niveles que no moleste a los vecinos Cuando toque en horas avanzadas de la noche cierre las ventanas y utilice los auriculares Tarjetas de memoria SD s lo WK 500 T...

Отзывы: