


The manufacturer reserves the right to discontinue or change specifications or designs at any time without notice and without incurring obligations.
The word ‘Temporary’ will flash at the bottom of the display screen until the
current period ends.
The ‘Advance Period’ button (Key 2 button) has now become the ‘Cancel’
button. This button can be used to return the Networker to the settings
defined for the current time period
Note:
that the Networker will revert to the settings defined for the next
period after the current period ends.
Advancing Time Period
If the settings defined by the current time period do not suit your lifestyle,
you may want to use the settings defined by the next time period. In this
case the ‘Advance Period’ button (Key 2 button) can be used to operate
the system using the settings defined by the next time period.
The word ‘Temporary’ will flash at the bottom of the display screen along
with the time period advanced to being displayed until the current time
period ends.
The ‘Advance Period’ button (Key 2 button) has now become the ‘Cancel’
button. This button can be used to return the Networker to the settings
defined for the current time period
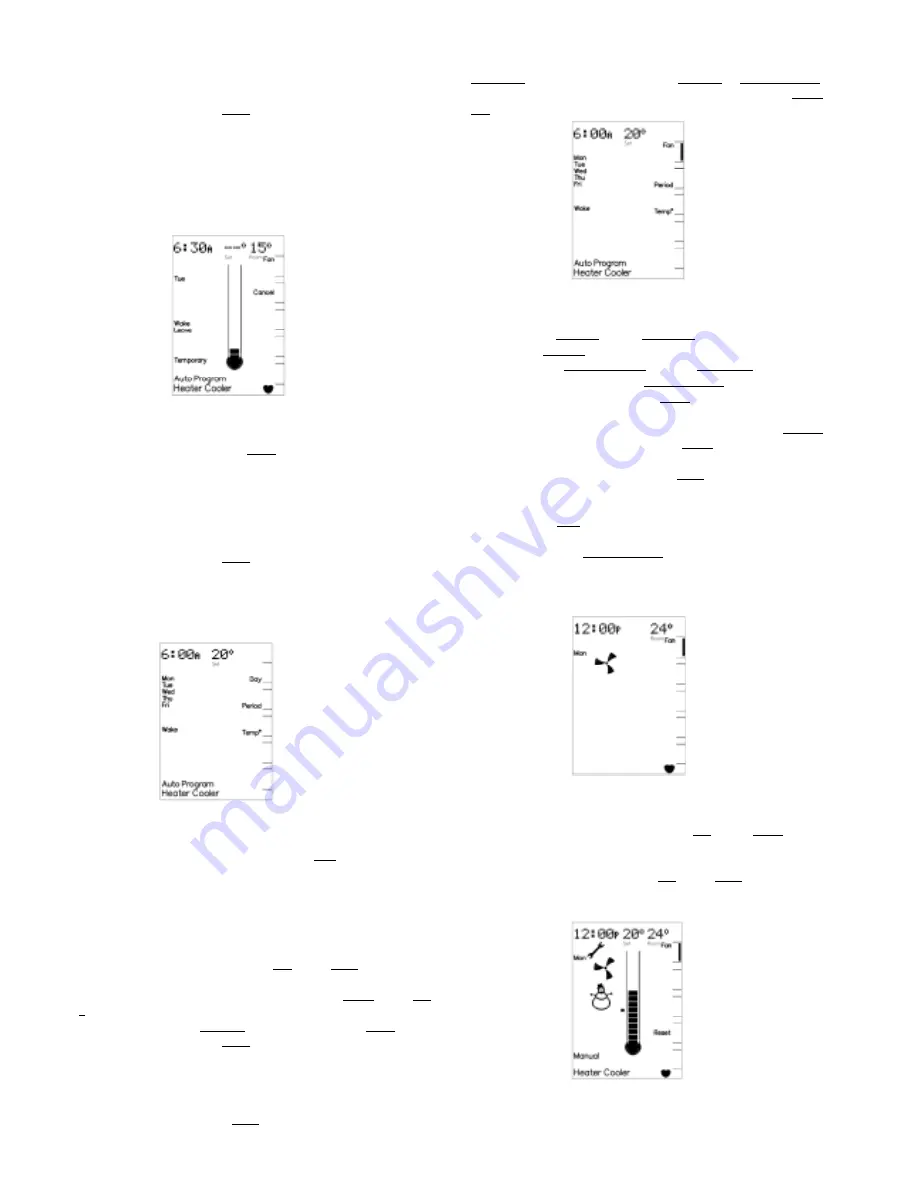
Permanently Changing the Auto-Program Settings
If your lifestyle doesn’t match the pre-set Auto-Program you can change
the settings to your requirements by pressing the Prog button. After this is
done the words ‘Auto Program’ are flashed on the display screen to
indicate that the Auto-Program settings can be altered.
When changing the settings the Networker combines all the weekdays into
one block and both days of the weekend into another block, which are
listed on the left – hand side of the screen. To toggle the block that you
want to change the settings for press the Day button (Key 1 button).
To select the time period you want to change press the Period button (Key
2 button) until the required time period is displayed.
The combination of the Function button followed by the Key 1 button
toggles the operation of the Key 1 button between selecting:
•
The required block of days to program, and
•
Automatic or continuous fan operation.
Note:
that when selecting automatic or continuous fan operation ensure
that the word ‘Fan’ is next to the Key 1 button.
The ‘Time/Temp°’ button can be used to toggle the actual setting the
Rotary Dial alters, namely the time period Set Time or Set Temperature.
The setting that is flashing is the one that can be altered by the Rotary
Dial.
With the block of days and time period to program selected you can now
program the actual settings, namely:
•
To alter the Set Time use the Rotary Dial to select the time required
when the Set Time is flashing.
•
To alter the Set Temperature use the Rotary Dial to select the
temperature required when the Set Temperature is flashing.
•
To alter fan operation use the Key 1 button to toggle between
automatic and continuous operation when the ‘Fan’ word is displayed.
•
To alter the economy setting use the combination of the Function
button immediately followed by the Key 4 button to toggle the
economy operation on and off (where applicable).
•
To alter the operating mode use the Mode button to cycle between
heat only, cool only and heating/cooling operation (where applicable).
•
Once all settings have been defined save the new settings by
pressing the Prog button.
Note:
that selecting a Set Temperature of (--) will turn the air-conditioner
OFF for that time period.
Operating the Fan Only
To simply circulate the air in the house, the fan can be made to run
continuously.
With the Networker switched OFF press the Fan button (Key 1 button).
After s small delay a small rotating fan symbol will appear and air should
begin circulating within the ductwork of your system.
To switch the fan OFF simply press the Fan button (Key 1 button).
Coded Messages
While the Networker is operating your system, it is also monitoring and
controlling every aspect of the system’s performance.
FIG 8
FIG 12
FIG 9
FIG 11
FIG 10
Содержание Networker Wall Control
Страница 1: ......


