


All trademarks used herein are the property of their respective owners.
Indoor Air Quality (IAQ) Desktop Display
Proprietary and Confidential
© 2022 Carrier. All rights reserved.
Rev. 3/3/2022
A Carrier Company
3
To calibrate CO2
Before using your IAQ, follow the steps below to calibrate your CO2 sensor.
1
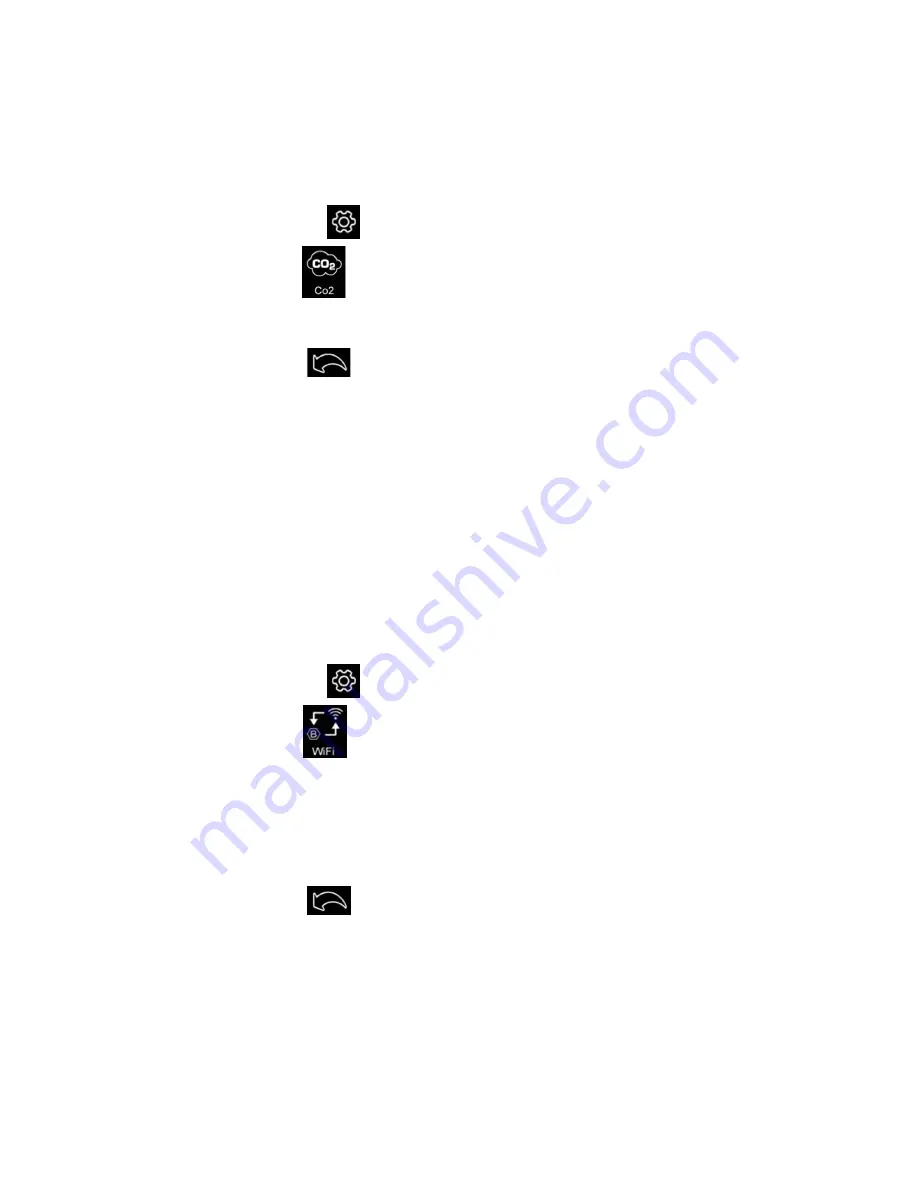
Tap the
Settings
icon
.
2
Tap the
CO2
icon
, and follow the directions on the device (see below).
a)
Place the product outdoors for five minutes.
b)
Tap
Calibration
.
3
Tap the
Back
icon
when you are finished.
To set the WiFi and BACnet configuration
NOTES
•
The BACnet Device Instance and device name can only be edited with the Access PIN that is set at
the first boot of the IAQ.
•
The default BACnet Instance is automatically generated on the first boot.
•
The BACnet Instance must be a numeric value between 0 and 4,194,302. This number must be
unique within the BACnet network or the device will shut down BACnet communications until a
unique number is assigned.
•
The default name name is "IAQ Desktop Sensor". This field must be populated for BACnet
communication to function.
1
Tap the
Settings
icon
.
2
Tap the
WiFi
icon
.
3
Complete the information required, as described below.
a)
Next to
WiFi
, in
Available Networks
, select your WiFi network.
b)
Next to
BACnet
, note that the
Device Instance
is automatically generated as described in
NOTES
above. You can change the
Device Instanc
e once the entire building is assigned
BACnet Instance numbers for all devices.
c)
To change the
Device name
, tap in the field and enter a new name.
4
Tap the
Back
icon
when you are finished.


