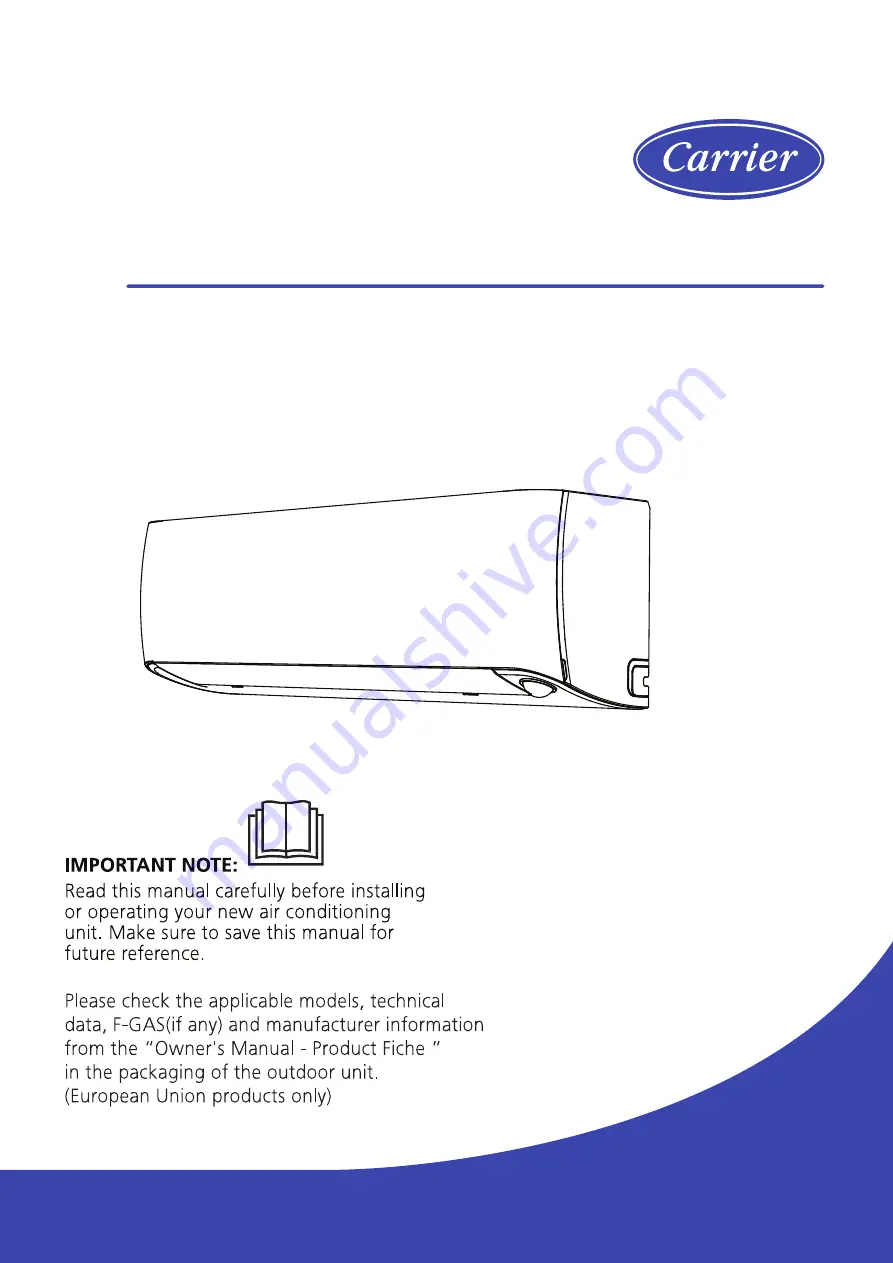
background image

Owner’s Manual & 

Installation Manual

SPLIT-TYPE ROOM AIR CONDITIONER

42QHP09E8S
38QHP09E8S
42QHP12E8S 
38QHP12E8S  


Содержание 38QHP09E8S series

Страница 1: ...Owner s Manual Installation Manual SPLIT TYPE ROOM AIR CONDITIONER 42QHP09E8S 38QHP09E8S 42QHP12E8S 38QHP12E8S...

Страница 2: ......

Страница 3: ...Owner s Manual Table of Contents Safety Precautions 03 Care and Maintenance 12 Troubleshooting 14 1 Indoor unit display 07 2 Operating temperature 08 3 Other features 09 4 Setting angle of airflow 10...

Страница 4: ...Mount indoor unit 25 Outdoor Unit Installation 26 1 Select installation location 26 2 Install drain joint 27 3 Anchor outdoor unit 27 4 Connect signal and power cables 29 Refrigerant Piping Connectio...

Страница 5: ...ike a burning smell immediately turn off the unit and disconnect the power Call your dealer for instructions to avoid electric shock fire or injury Do not insert fingers rods or other objects into the...

Страница 6: ...rd to power the unit Do not share the electrical outlet with other appliances Improper or insufficient power supply can cause fire or electrical shock If connecting power to fixed wiring an all pole d...

Страница 7: ...install the appliance to its support please read the information for details in indoor unit installation and outdoor unit installation sections For units that have an auxiliary electric heater do not...

Страница 8: ...cal equipment should not be mixed with general household waste 2 2 2 2 2 2 When flammable refrigerant are employed appliance shall be stored in a well ventilated area where the room size corresponds t...

Страница 9: ...C 54 F heating mode is turned on some units when fresh feature is turned on some units when ECO feature is activated some units when wireless control feature is activated some units Display Code Meani...

Страница 10: ...2 F 15 C 30 C 5 F 86 F 0 C 50 C 32 F 122 F 0 C 52 C 32 F 126 F For special tropical models 0 C 52 C 32 F 126 F For special tropical models 15 C 50 C 5 F 122 F For models with low temp cooling systems...

Страница 11: ...temperature 1hr 1hr Keep running SLEEP Operation Saving energy during sleep Heat mode 1 C 2 F per hour for the first two hours Cool mode 1 C 2 F per hour for the first two hours A guide on using the i...

Страница 12: ...The wind flow follow people feature is only available for a single people area If press the SWING button on the remote control this feature will stops automatically 1 Press the SWING horizontal air f...

Страница 13: ...l of the indoor unit and raise it until it clicks in place 2 Locate the MANUAL CONTROL button on the right hand side of the display box 3 Press the MANUAL CONTROL button one time to activate FORCED AU...

Страница 14: ...posing it to direct sunlight 8 When dry re clip the air freshening filter to the larger filter then slide it back into the indoor unit 9 Close the front panel of the indoor unit Remove air freshening...

Страница 15: ...If you plan not to use your air conditioner for an extended period of time do the following Clean all filters Turn on FAN function until unit dries out completely Turn off the unit and disconnect the...

Страница 16: ...Troubleshooting Troubleshooting The unit changes from COOL HEAT mode to FAN mode The indoor unit makes noises A rushing air sound may occur when the louver resets its position A squeaking sound may o...

Страница 17: ...customer service center Provide them with a detailed description of the unit malfunction as well as your model number Troubleshooting Troubleshooting When troubles occur please check the following po...

Страница 18: ...oor heating performance The outdoor temperature is extremely low Use auxiliary heating device Cold air is entering through doors and windows Make sure that all doors and windows are closed during use...

Страница 19: ...Shape Quantity PC Need to be installed on the back of main air filter by the authorized technician while installing the machine Mounting plate fixing screw Remote controller Fixing screw for remote co...

Страница 20: ...Mounting Plate Determine Wall Hole Position 1 2 3 Drill Wall Hole 4 12cm 4 75in 2 3m 90 55in 12cm 4 75in 15cm 5 9in Mount Indoor Unit STEP 8 Wrap Piping and Cable not applicable for some locations in...

Страница 21: ...local and national standards The installation may be slightly different in different areas Wall Mounting Plate Power Cable Some Units Refrigerant Piping Signal Cable Remote Controller Drainage Pipe Lo...

Страница 22: ...irect sunlight NOTE ABOUT WALL HOLE If there is no fixed refrigerant piping While choosing a location be aware that you should leave ample room for a wall hole see Drill wall hole for connective pipin...

Страница 23: ...indoor end by about 5mm to 7mm 0 2 0 275in This will ensure proper water drainage 3 Place the protective wall cuff in the hole This protects the edges of the hole and will help seal it when you finis...

Страница 24: ...ation to prevent condensation The refrigerant piping is inside an insulating sleeve attached to the back of the unit You must prepare the piping before passing it through the hole in the wall 1 Based...

Страница 25: ...the compressor or any moving parts within the unit If the unit has an auxiliary electric heater it must be installed at least 1 meter 40in away from any combustible materials To avoid getting an elect...

Страница 26: ...amage DO NOT INTERTWINE SIGNAL CABLE WITH OTHER WIRES While bundling these items together do not intertwine or cross the signal cable with any other wiring 2 Using adhesive vinyl tape attach the drain...

Страница 27: ...re to the left and right hand sides of the unit The unit should not jiggle or shift 6 Using even pressure push down on the bottom half of the unit Keep pushing down until the unit snaps onto the hooks...

Страница 28: ...wind If needed build a barrier in front of the unit to protect it from extremely heavy winds See Figures below Strong wind Strong wind Strong wind If the unit is frequently exposed to heavy rain or sn...

Страница 29: ...bber seal see Fig B do the following 1 Insert the drain joint into the hole in the base pan of the unit The drain joint will click in place 2 Connect a drain hose extension not included to the drain j...

Страница 30: ...led holes 5 Remove the nuts from expansion bolts and place outdoor unit on bolts 6 Put washer on each expansion bolt then replace the nuts 7 Using a wrench tighten each nut until snug WARNING WHEN DRI...

Страница 31: ...nd the unit in accordance with local codes 6 Be sure to size each wire allowing several inches longer than the required length for wiring 7 Use lock nuts to secure the conduit tubes BEFORE PERFORMING...

Страница 32: ...and injury Oblique Rough Warped 90 DO NOT DEFORM PIPE WHILE CUTTING Be extra careful not to damage dent or deform the pipe while cutting This will drastically reduce the heating efficiency of the unit...

Страница 33: ...rs from falling into the pipe 2 Using a reamer or deburring tool remove all burrs from the cut section of the pipe Pipe Reamer Point down Step 3 Flare pipe ends Proper flaring is essential to achieve...

Страница 34: ...0 76 0 78 23 2 23 7 0 91 0 93 18 20 180 200kgf cm 32 39 320 390kgf cm 49 59 490 590kgf cm 57 71 570 710kgf cm 67 101 670 1010kgf cm 9 52 0 375 12 7 0 5 16 0 63 19 0 75 1 Unscrew the cover from the pa...

Страница 35: ...for at least 15 minutes or until the Compound Meter reads 76cmHG 10 Pa 2 3 4 5 5 6 Close the Low Pressure side of the manifold gauge and turn off the vacuum pump 7 Wait for 5 minutes then check that...

Страница 36: ...0Btu h and 24000Btu h ADDITIONAL REFRIGERANT PER PIPE LENGTH Connective Pipe Length m Air Purging Method Additional Refrigerant Standard pipe length Vacuum Pump N A Standard pipe length Vacuum Pump Li...

Страница 37: ...ethod Using a soft brush apply soapy water or liquid detergent to all pipe connection points on the indoor unit and outdoor unit The presence of bubbles indicates a leak Leak Detector Method If using...

Страница 38: ...pressure of the refrigerant circuit will increase This may reveal leaks that were not present during your initial leak check Take time during the Test Run to double check that all refrigerant pipe con...

Страница 39: ......

Страница 40: ...s are subject to change without prior notice for product improvement Consult with the sales agency or manufacturer for details Any updates to the manual will be uploaded to the service website please...

Отзывы: