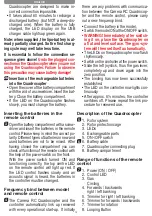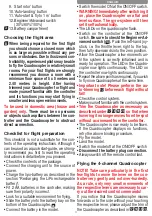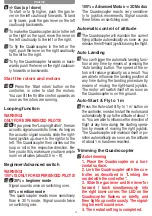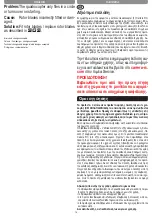
12
9
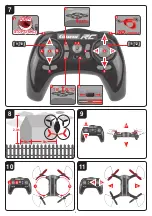
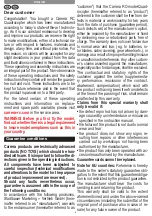
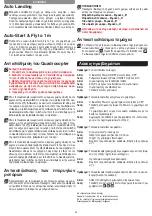
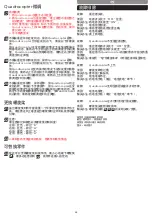
+/- Gas (up / down)
To start or to fly higher, push the gas le-
ver on the left cautiously forwards. To land
or fly lower, push the gas lever on the left
cautiously backwards.
10
To make the Quadrocopter circle to the left
or the right on the spot, move the lever on
the left cautiously to the left or the right.
11
To fly the Quadrocopter to the left or the
right, push the lever on the right cautiously
to the left or the right.
12
To fly the Quadrocopter forwards or back-
wards, push the lever on the right cautious-
ly forwards or backwards.
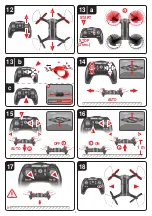
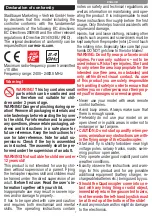
Start the rotors and motors
13
a
Press the ‘Start rotors’ button on the
controller, in order to start the motors.
You can lift the throttle control upwards as
soon as the rotors are running.
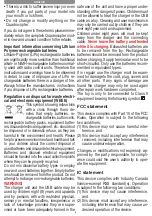
Looping function
WARNING!
ONLY FOR EXPERIENCED PILOTS!
13
b
If you press the “Looping Button”, then an
acoustic signal sounds 5x times. As long as
the acoustic signal sounds, slide the right-
hand joystick up, down, to the right or to the
left. The Quadrocopter then carries out the
loop or roll in the respective direction. Be-
fore you do this, make sure you have ample
room on all sides (about 2.5 m – 8‘).
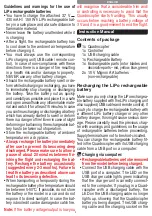
Beginner/Advanced switch
WARNING!
100 % IS ONLY FOR EXPERIENCED PILOTS!
13
c
30% = beginner mode
Signal sounds once on switching over.
60% = medium mode
The quadrocopter reacts more sensitively
than in 30 % mode. Signal sounds twice
on switching over.
100% = Advanced Modus -> 3D Modus
The Quadrocopter reacts very sensitive-
ly to joystick movements. Signal sounds
three times on switching over.
Automatic control of altitude
14
The Quadrocopter will maintain the current
flying altitude automatically as soon as you
release the left-hand joystick during the flight.
Auto Landing
15
You can trigger the automatic landing func-
tion at any time by means of pressing the
‘Auto landing’ button. The speed of the ro-
tors will reduce gradually as a result. You
are able to influence the landing position at
any time during the landing procedure by
means of moving the right-hand joystick.
The motor will switch itself off as soon as
the Quadrocopter is on the ground.
Auto-Start & Fly to 1 m
16
Press the ‘Auto-start & fly to 1 m’ button on
the controller, in order to start the motors and
automatically fly up to the altitude of about 1
m. You are able to influence the direction of
flight at any time during the starting opera-
tion by means of moving the right joystick.
The Quadrocopter will maintain itself in po-
sition automatically as soon as the altitude
of about 1 m has been reached.
Trimming the Quadrocopter
17
Auto-trimming
1. Place the Quadrocopter on a hori-
zontal surface.
2. Link the Quadrocopter with the con-
troller as described in “Linking the
model with the controller”.
3. Slide the gas lever and the lever for
forward / back simultaneously into
the right lower corner. The LED on the
Quadrocopter flashes on briefly and
then lights up continuously. The signal-
ling tone will sound once.
4. The neutral setting is completed.
ENGLISH


