UI HydroFlex. iss4 01/11
UI HydroFlex. iss4 01/11
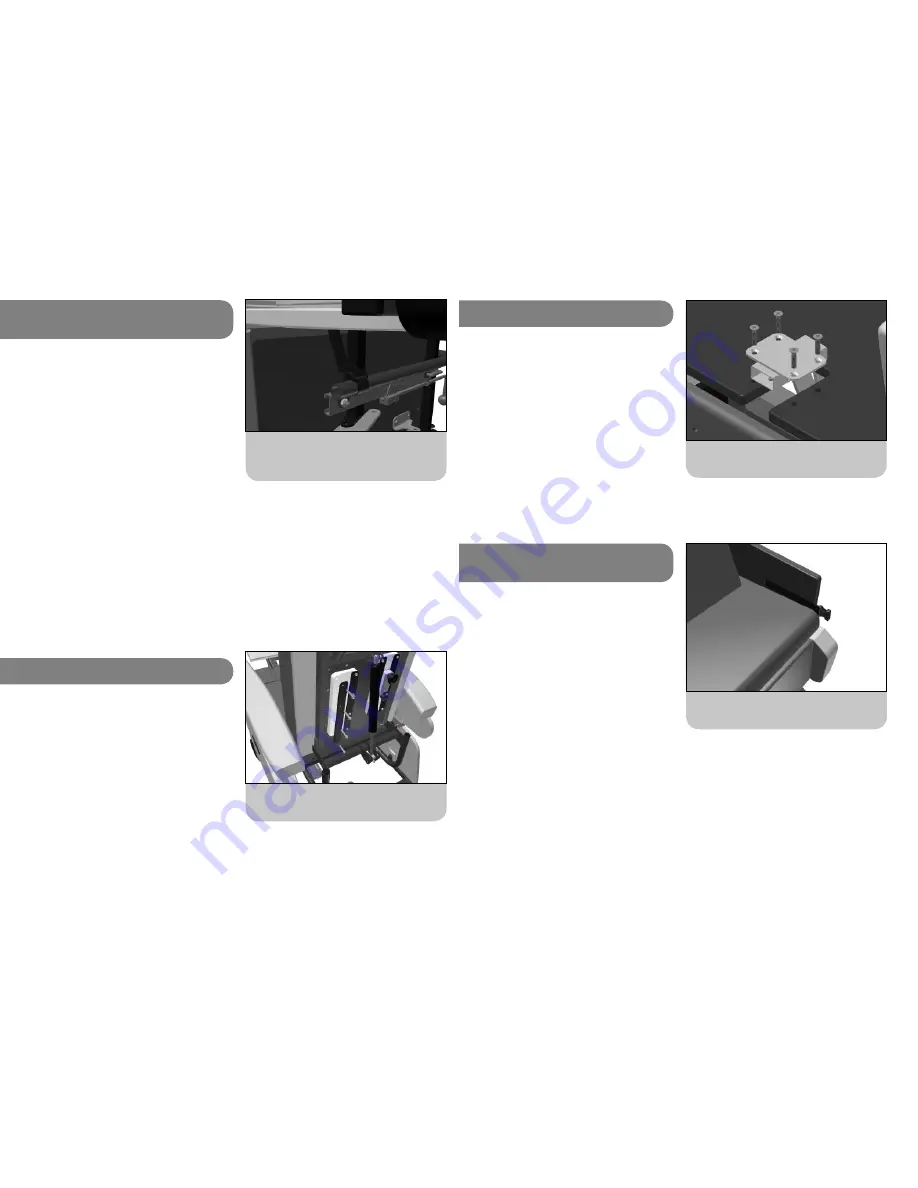
Wrap the straps around the tube and thread the
ends through the ladder locks. The strap goes in
front of the square cross bar.
6c. 4-point Pelvic Strap Front
Strap Fitting.
The 4-point pelvic strap has two front straps which need
to be attached to the chair.
The chair needs to be tipped onto its side to gain access
to this position. This is a two person operation and a
sheet or large piece of card should be put down for
the chair to be tipped onto to protect the chair from
damage.
The straps are
fi
tted through the gap between the round
tube and the seat depth adjustment rails, in front of the
square cross bar of the seat frame.
The straps need to be looped around the tubes of
the seat depth adjustment frame and threaded though
the ladder lock sewn onto the ends. The straps are
then positioned through the gaps on each side of the
seat board and the chair sides. The straps can then be
threaded though the ladder locks sewn onto each pad of
the 4-point pelvic strap.
6d. Adjustable Guides
The adjustable lateral support system is based on two
guides which fasten to the back of the lumbar board.
The lumbar board is
fi
tted with threaded inserts which
the holding screws fasten into.
Feel through the covering material on the back of the
board for two sets of eight indentations. Carefully score
over these indentations with a sharp craft knife to access
the threaded inserts.
Position the guides and metal guide plates over the
inserts and fasten them in place with the button head
screws. Use a 4mm allan key to fully tighten the screws.
Score over the recesses in the back board and
screw the guides into place.
25
Note: If a speci
fi
c position is required for the front straps
they can be screwed to the underside of the seat board.
Use a chipboard screw with a maximum length of 16mm
to do this.
6e. Pommel Bracket
Begin by carefully removing the seat cushion. The pommel
bracket
fi
ts in a recess cut into the front edge of the
seat board. The seat board is
fi
tted with threaded inserts
which the holding screws fasten into.
Feel through the covering material on the front edge of
the seat board, either side of the recess, for two sets of
two indentations. Carefully score over these indentations
with a sharp craft knife to access the threaded inserts.
Position the bracket in the recess and fasten it in place
with the supplied counter-sunk machine screws. Use a
large posi-drive screw driver to fully tighten the screws.
Score over the two recesses each side of the notch,
position the bracket and screw in place.
6f. Anterior Knee Strap
connectors
The connectors to which the anterior knee strap is
fi
tted
are held in place by velcro straps which are sandwiched
between the chair arms and sides.
Carefully remove the arms to reveal the strips of hook
velcro on the inside of the chair sides.
Position the connectors on the velcro strips so that the
top of the buckles are level with the top of the seat
cushion and they protrude forwards of the chair sides.
Carefully re-position the arms over the chair sides and
connectors and ensure they are properly positioned
before the chair is used.
Please note; The anterior knee strap
cannot be retro-
fi
tted to
fi
xed cover
versions of the HydroFlex.
Attaching the connectors to the velcro on the
chair sides.
26


