98
1
2
3
4
5
6
7
8
9
Cover
Preliminary Notes and
Legal Information
Contents: Basic
Operations
Advanced Guide
Camera Basics
Smart Auto
Mode
Other Shooting
Modes
Playback Mode
Wi-Fi Functions
Setting Menu
Accessories
Appendix
Index
Basic Guide
P Mode
2
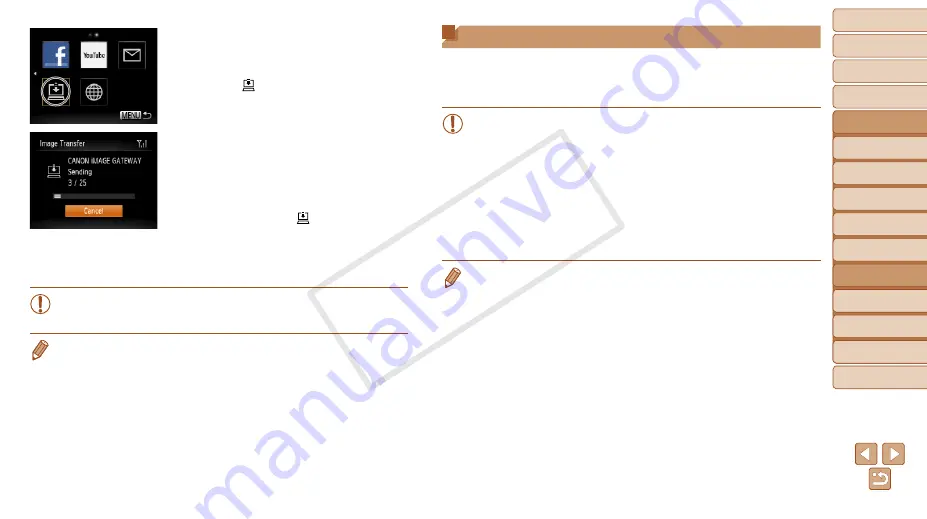
Send the images.
z
z
Follow the steps in “Establishing Web
choose [ ].
X
X
Once the connection is established, the
images are sent. (The screen will close in
about one minute.)
z
z
After the images are sent, [OK] is
displayed. Press the <
m
> button to
return to the playback screen.
X
X
When the images have been sent
successfully to the CANON iMAGE
GATEWAY server, [ ] is displayed on
the screen.
3
Turn on the computer.
z
z
Images are automatically saved to the
computer when you turn it on.
•
When sending images, you should use a fully charged battery or an
AC adapter kit (sold separately,
).
•
Even if images were imported to the computer through a different method, any
images not sent to the computer via CANON iMAGE GATEWAY will be sent to
the computer.
Geotagging Images on the Camera
GPS data recorded on a smartphone using the dedicated CameraWindow
application (
) can be added to images on the camera. Images are
tagged with information including the latitude, longitude, and elevation.
•
Before shooting, make sure the date and time and your home time
zone are set correctly. (See “Setting the Date and Time” (
Additionally, in [Time Zone] (
destinations that are in other time zones.
•
The smartphone you will use for geotagging must be authorized to
view the images on the camera (
•
Others may be able to locate or identify you by using location data
in your geotagged still images or movies. Be careful when sharing
these images with others, as when posting images online where
many others can view them.
•
You cannot overwrite GPS information that was recorded at the time of
shooting with GPS information from a smartphone.
COP
Y


