


33
hardware software network
hardware
software network
prepare
prepare
hardware software
network
prepare
hardware software network
prepare
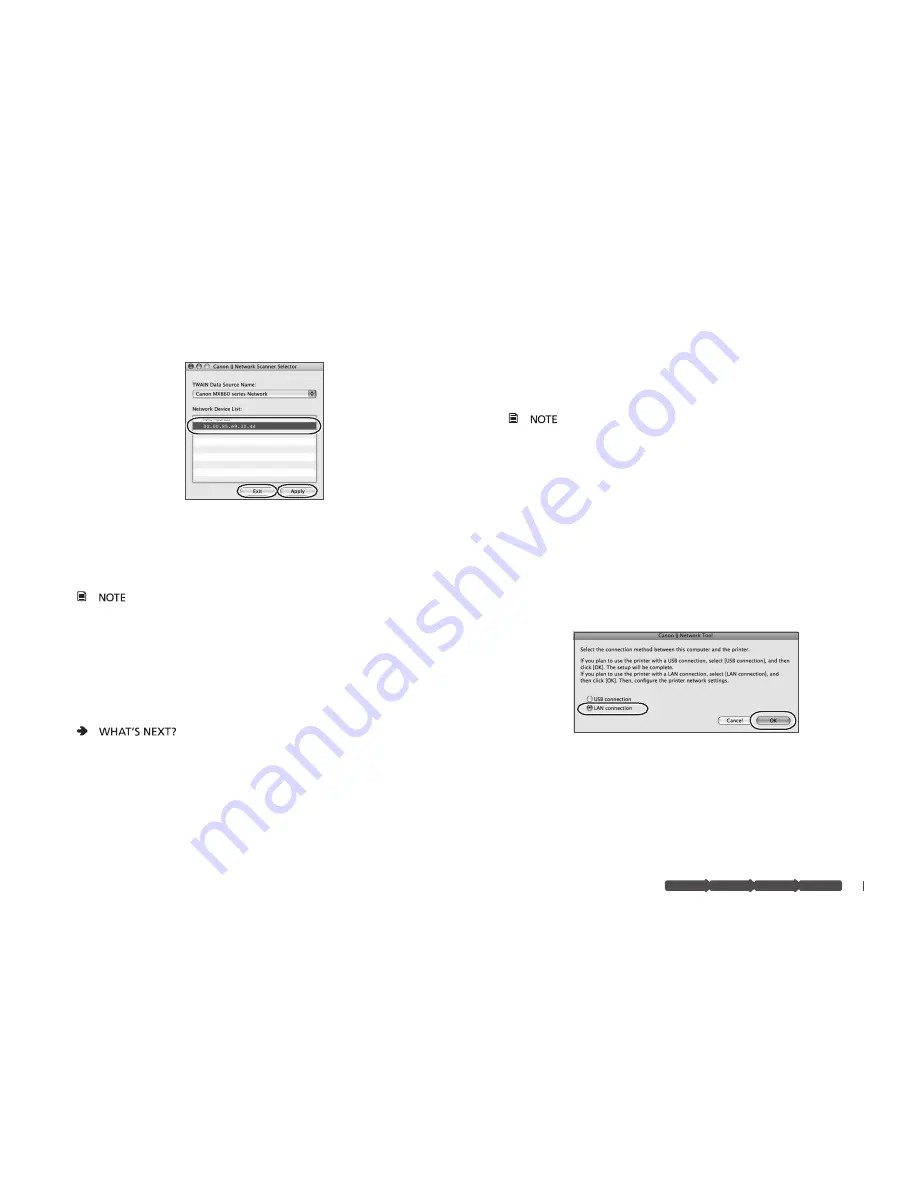
Select the Scanner
The Canon IJ Network Scanner Selector dialog opens.
Select scanner
1
From the pop-up menu, select
a
Canon MX860 series Network
.
In the Network Device List pane, select the MAC address of the
b
MX860.
There should be only one device listed unless you have
more than one MX860 series device connected to your network.
Click
c
Apply
to use the MX860 as a scanner.
Confirm that a checkmark appears next to the selected device, then
d
click
Exit
.
Congratulations! You are finished with the setup.
Go to "Start Using Your MX860!" on page 37.
Connecting Additional Computers
More than one networked computer can print to your MX860. Follow
the instructions in this section if one computer has already been setup
to use your MX860 on a network. (See "Connect to Your Network
(optional)" on page 18.)
A USB cable is not required for connecting additional
networked computers to your MX860.
Make sure the MX860 is on and connected to your wireless or
1
wired network
Install the software on the additional computer
2
Follow the software installation steps in
a
"Set Up the Software" on
page 15.
After installing the software and restarting your computer, the Canon
b
IJ Network Tool automatically starts.
Select
3
LAN connection
On the Canon IJ Network Tool dialog, select
LAN connection
, then
click
OK
.
Содержание PIXMA Q T 1 0 8 5 1 V 0 1
Страница 1: ...Getting Started for Mac Users office all in one series Q T 1 0 8 5 1 V 0 1 ...
Страница 2: ......


