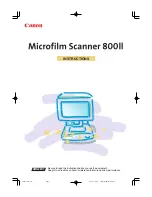
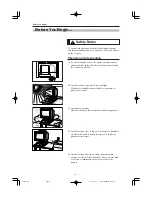
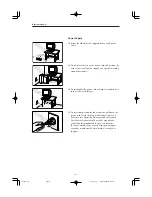
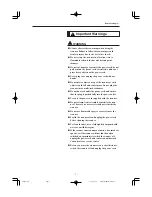
Canon Microfilm Scanner 800II, Инструкция по эксплуатации
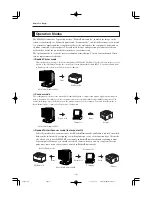
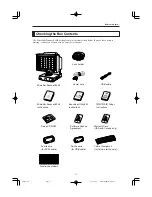
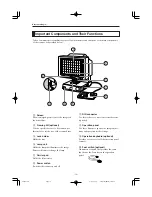
Canon Microfilm Scanner 800II - высокотехнологичное устройство для сканирования микрофильмов. Для настройки устройства необходимо скачать "Installation Manual" с нашего manualshive.com. Получите бесплатно и приступайте к сканированию микрофильмов легко и эффективно.
Поделиться
Скачать


Отзывы:
Нет отзывов
Похожие инструкции для Microfilm Scanner 800II

UBCD396XT
Бренд: Uniden Страницы: 203

BC345CRS
Бренд: Uniden Страницы: 32

BC246T
Бренд: Uniden Страницы: 132

SLIM 1200
Бренд: Genius Страницы: 32

SelfServ 90 R1.2
Бренд: NCR Страницы: 18

Air Copy
Бренд: ION Страницы: 40

Pocket Reader
Бренд: Siemens Страницы: 15

CLSC3000
Бренд: Siemens Страницы: 46

SIMATIC FS600
Бренд: Siemens Страницы: 110

DS1500-1100
Бренд: Datalogic Страницы: 12

Nexus N-3030
Бренд: Scantech Страницы: 40

PowerLook 180
Бренд: UMAX Technologies Страницы: 7

PowerLook 1120
Бренд: UMAX Technologies Страницы: 16

OpticFilm 7200i SE
Бренд: Plustek Страницы: 2

Pro-164
Бренд: Radio Shack Страницы: 62

DocuMate 3640
Бренд: Xerox Страницы: 132

PowerLook 3000
Бренд: UMAX Technologies Страницы: 29

Travel Scanner 100
Бренд: Xerox Страницы: 96


