


34 Operation
Using the menus
The projector is equipped with On-Screen Display (OSD) menus for making various
adjustments and settings.
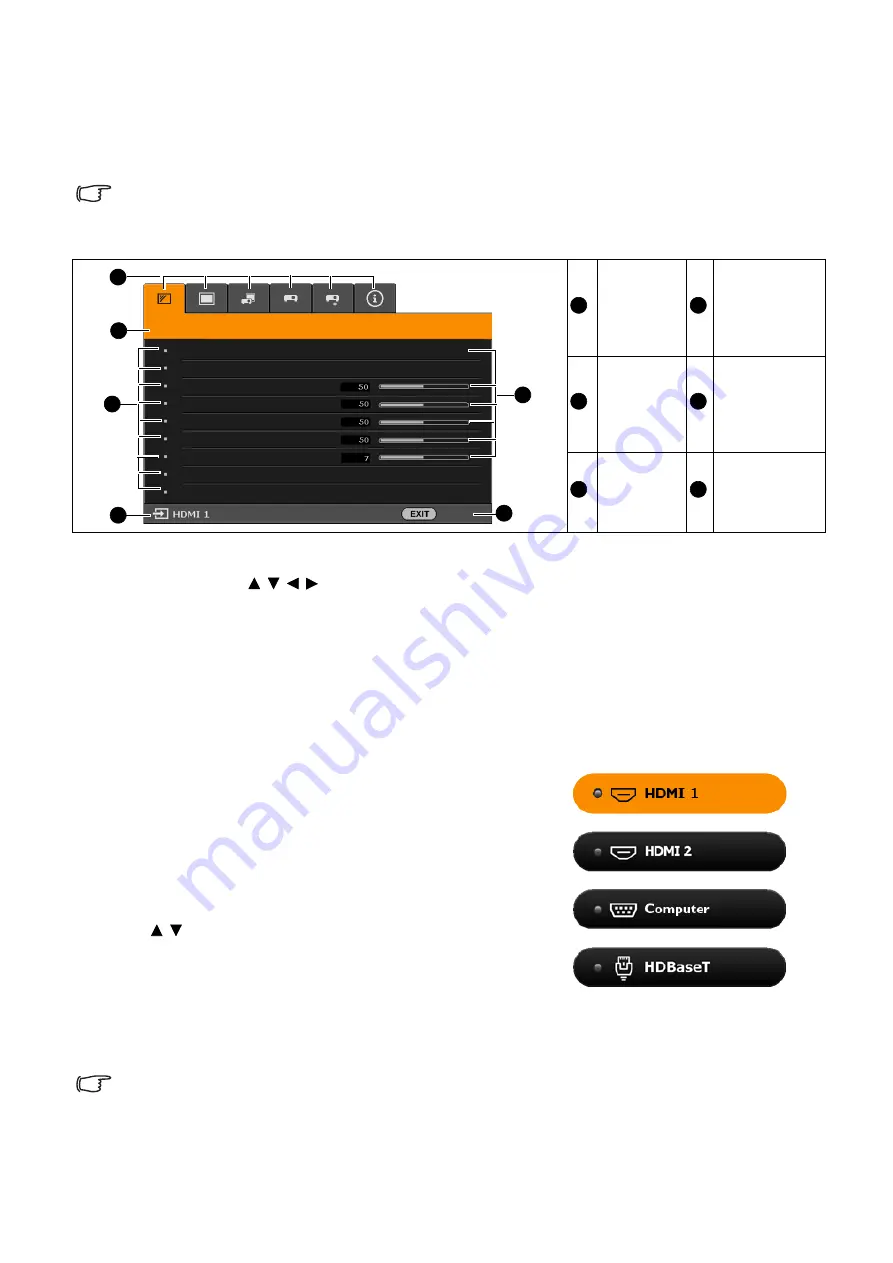
Below is the overview of the OSD menu.
To access the OSD menu, press
MENU
on the projector or remote control.
• Use the arrow keys ( / / / ) on the projector or remote control to move through the menu
items.
• Use
OK
on the projector or remote control to confirm the selected menu item.
Switching input signal
The projector can be connected to multiple devices at
the same time. However, it can only display one full
screen at a time. When starting up, the projector
automatically searches for the available signals.
Be sure the
SYSTEM SETUP: BASIC
>
Auto Input
Search
menu is
On
if you want the projector to
automatically search for the signals.
To select the source:
1. Press
INPUT
. A source selection bar appears.
2. Press / until your desired signal is selected and
press
OK
.
Once detected, the selected source information will
appear at the corner of the screen for seconds. If
there is multiple equipment connected to the
projector, repeat steps 1-2 to search for another signal.
The OSD screenshots below are for reference only, and may differ from the actual design.
Main
menu icon
Current input
signal
Main
menu
Status
Sub-menu
Button
operation
guidance
The brightness level of the projected image will change accordingly when you switch between
different input signals.
PICTURE
Image Mode
User Mode Settings
Contrast
Tint
Sharpness
Advanced
Reset Current Image Mode
Standard
Exit
Color
Brightness
2
3
1
5
6
4
1
4
2
5
3
6
Input


