7
En
Setting Up the LAN Connection
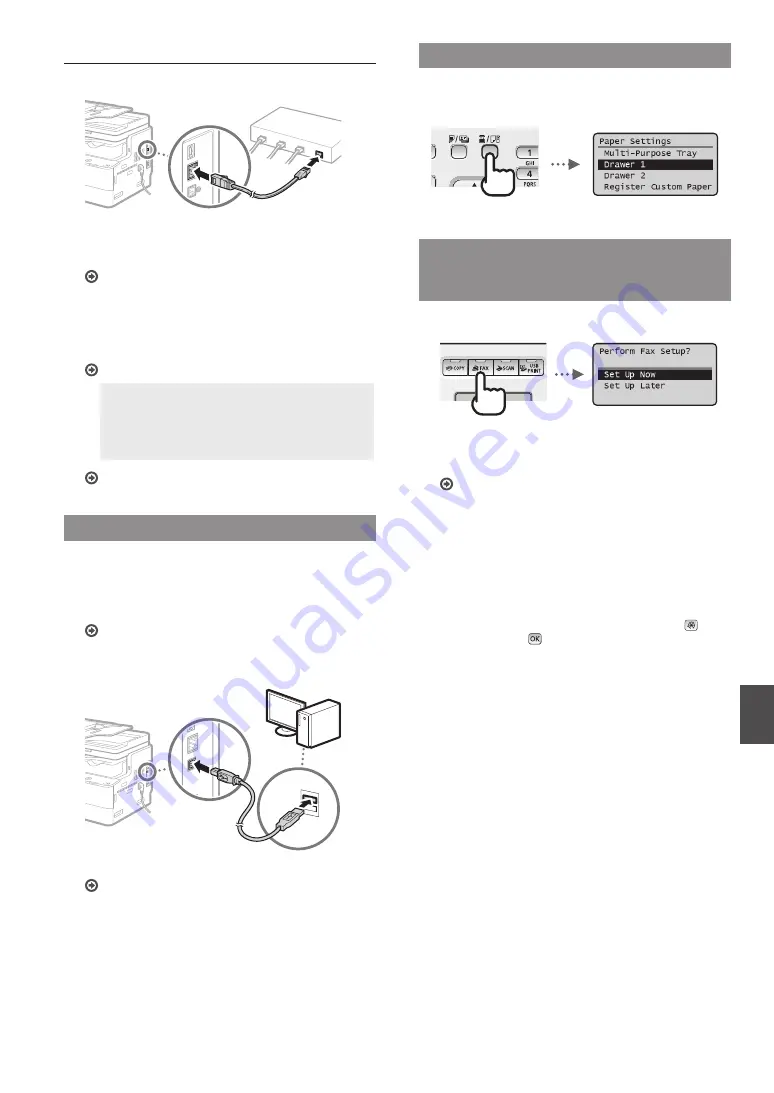
1
Connect the LAN cable.
The IP address will be automatically configured in 2
minutes. If you want to set the IP address manually, see
the following items.
e-Manual “Network”
▶
“Connecting to a Network”
▶
“Setting IP Addresses”
2
Install the drivers on your computer using the User
Software and Manuals CD-ROM.
See “For details on the installation procedures:” (P.8).
NOTE
The scanner driver cannot be installed if the
machine and your computer are connected in an
IPv6 environment.
Proceed to “Setting a Paper Size and Type” (P.7).
Connecting via a USB Cable
Connect the USB cable after installing the drivers.
1
Install the drivers on your computer using the User
Software and Manuals CD-ROM.
See “For details on the installation procedures:” (P.8).
2
Connect the USB cable.
Proceed to “Setting a Paper Size and Type” (P.7).
Setting a Paper Size and Type
Follow the instructions on the screen to set the paper size and
type.
Specifying Initial Fax Settings and
Connecting a Telephone Cable
(imageRUNNER 1435iF Only)
1
Specify the initial fax settings.
Follow the instructions on the screen to specify a fax number,
a unit name, and a receive mode. When selecting the receive
mode, refer to the e-Manual for details about each mode.
e-Manual “Faxing (imageRUNNER 1435iF Only)”
▶
“Receiving Faxes”
How to use a user name
When you send a document, the sender information that
you registered is printed on the recipient’s paper.
Selecting <Set Up Later>
If you select <Set Up Later>, the receive mode is set to
<Auto>. Later, when you want to configure the fax
settings, display the fax setup screen by pressing
▶
<Fax Settings>
▶
▶
<Fax Setup Guide>.


