2-3
Print Plug-In for Photoshop
Chapter 2 Functions of Print Plug-In
3 Print Selected Range
Place a checkmark here to only print the selected range.
4 Perform Proof in Preview
Place a checkmark here to simulate the colors of the output product in the preview.
5
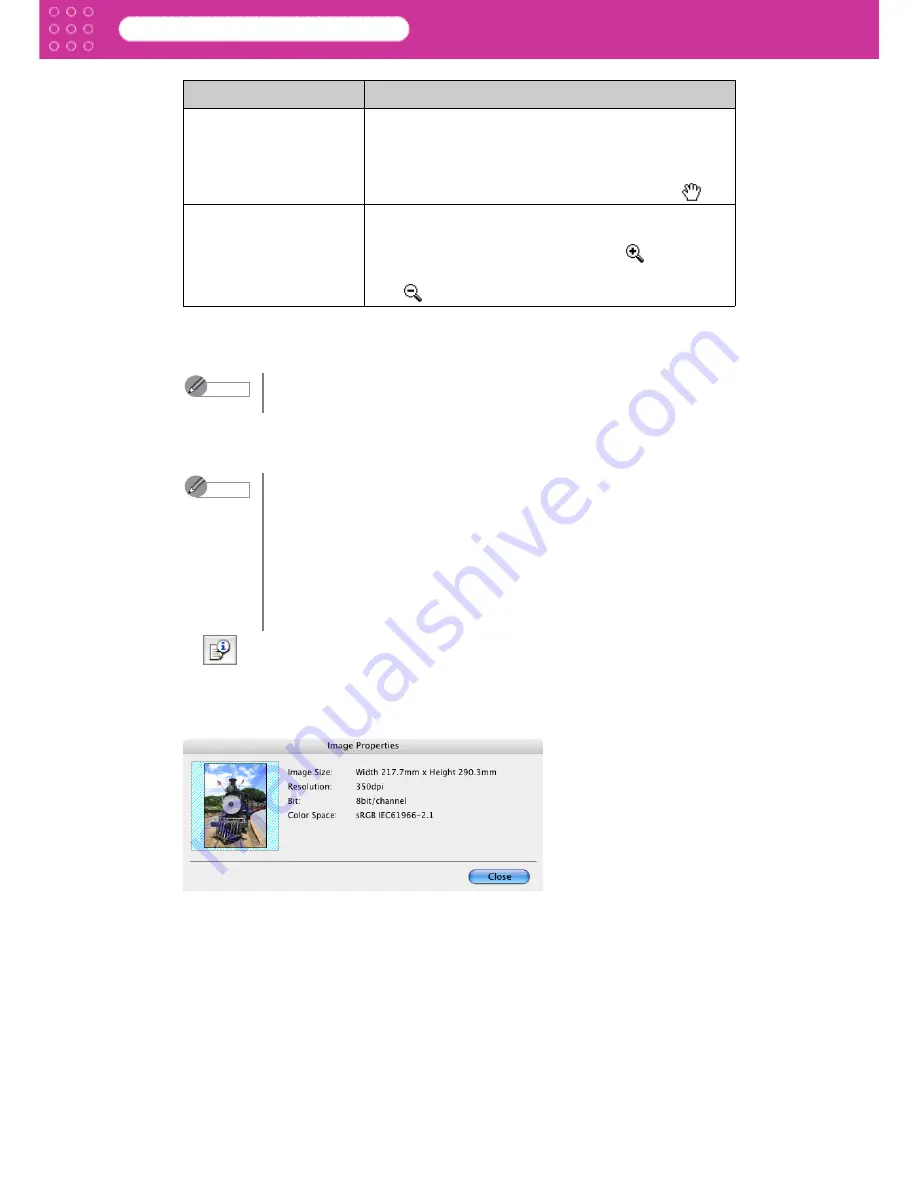
When you click this button to open the
Image Properties
dialog box, where the image size,
the resolution, the pass number and the color space information of the image imported to
Print Plug-In are displayed.
Click the
Close
button to return to Print Plug-In.
Print Area Layout 2
This is the layout matching the
Media Size
you have set,
and both the valid print range and the area outside of that
range are displayed.
•
You can change the image print position when you
drag the image while the cursor is displayed as
.
Image
The entire image is displayed.
•
You can select the print range when you drag the
image while the cursor is displayed as
.
•
When you click the image while the cursor is displayed
as
, the selected area is deselected.
Note
When you select
Image
in the
Preview
, then select a portion of the image on
the preview display, this becomes valid.
Note
•
When you have selected
Auto (for Color - Internal)
in
Output Profile
,
this becomes active for a portion of the media, the resolution and the pass
number. In addition, when you have selected ICC Profile in
Output
Profile
, this is always active.
•
The actual color balance of the print product and the simulation product
may differ with some environments and conditions. In addition, when you
have selected an ICC Profile with
Output Profile
and it is not compatible
with the printer or media that you are using, the color balance of the actual
print product will differ.
Settings
Details


