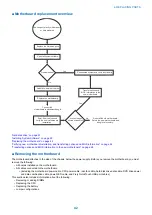
1
2
3
4
5
6
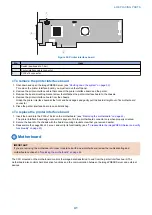
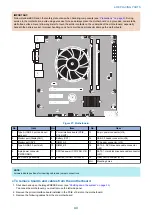
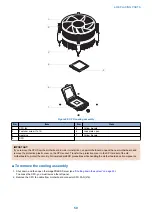
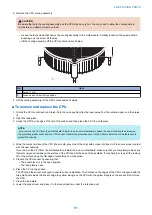
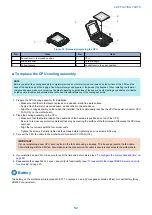
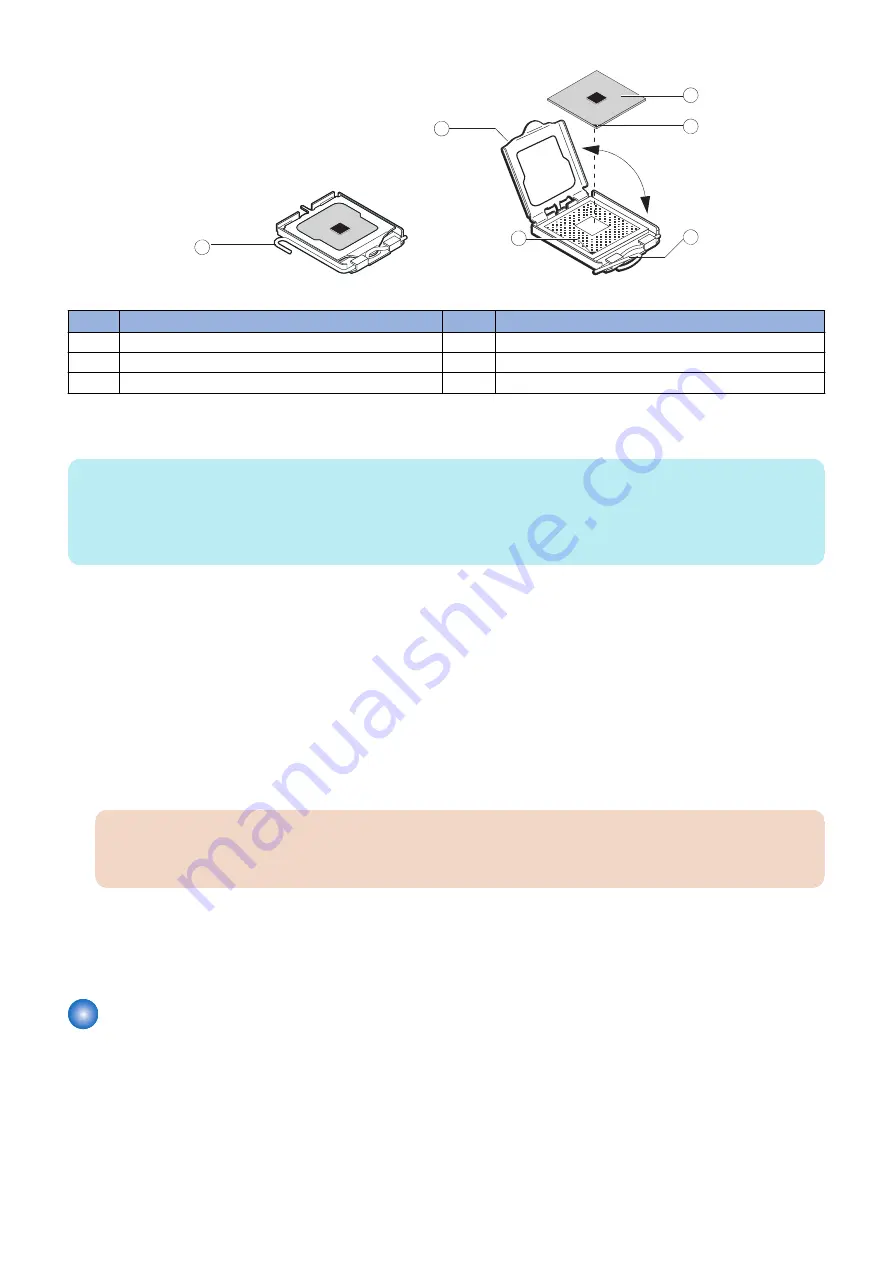
Figure 30: Removing/replacing the CPU
No.
Item
No.
Item
1
Socket lever in the locked position
4
CPU
2
Load plate open
5
Yellow triangle
3
Yellow triangle
6
Socket lever in the open position
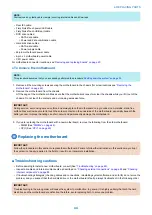
■ To replace the CPU cooling assembly
NOTE:
Before you install the cooling assembly, completely remove any thermal compound residue on the surface of the CPU and the
base of the heatsink, and then apply a fresh thermal compound square to the base of the heatsink. When installing the thermal
compound square, make sure to remove the plastic backing on both sides of the square. Avoid creating any bubbles or wrinkles
on the square. Bubbles and wrinkles reduce the heat-transfer efficiency of the cooling assembly.
1. Prepare the CPU cooling assembly for installation.
• Make sure that the motherboard is placed on a padded, static-free work surface.
• Apply a fresh thermal compound square, as described in the note above.
• Align the cooling assembly so that when it is installed, the fan cable easily reaches the CPU fan power connector CPU
FAN (J16) on the motherboard.
2. Place the cooling assembly on the CPU.
• Make sure that the thermal pad on the underside of the heatsink is positioned on top of the CPU.
Be sure to remove any protective material that may be covering the surface of the thermal pad. Otherwise the CPU may
overheat.
• Align the four screws with the four screw posts.
Tighten the screws. Partially tighten all the screws before tightening any one screw all the way.
3. Connect the CPU fan cable to the motherboard connector CPU FAN (J16).
IMPORTANT:
If you are installing a new CPU, secure slack in the fan cable using a tie-wrap. The tie-wrap prevents the fan cable
from interfering with the CPU fan. Also, make sure the connector on the cable is securely connected to the motherboard.
4. If you installed a new CPU, make sure to reset the time and date in Setup (see
“To configure the system date and time” on
5. Reassemble the
imagePRESS Server
and verify its functionality (see
“To reassemble the imagePRESS Server and verify
)
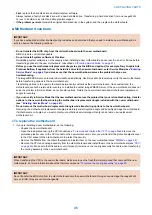
Battery
The battery on the motherboard is located at XBT1. To replace it, use a 3V manganese dioxide lithium coin cell battery (Sony
CR2032 or equivalent).
4. REPLACING PARTS
52
Содержание ImagePRESS Server H350 V2
Страница 8: ...Introduction 1 Introduction 2 Specifications 7 ...
Страница 17: ...INSTALLING HARDWARE 2 Installing Hardware 11 ...
Страница 26: ...USING THE IMAGEPRESS SERVER 3 Using the imagePRESS Server 20 ...
Страница 35: ...REPLACING PARTS 4 Replacing parts 29 ...
Страница 38: ...1 2 Figure 19 Inside the front panel No Item 1 DVD drive 2 DVD eject button 4 REPLACING PARTS 31 ...
Страница 86: ...INSTALLING SYSTEM SOFTWARE 6 Installing System Software 80 ...
Страница 91: ...TROUBLESHOOTI NG 7 Troubleshooting 85 ...
Страница 104: ...INSTALLATION PROCEDURE 8 Installation 98 Removable HDD Kit B5 108 ...

