


50
Other Output Methods
In an environment in which Microsoft SharePoint Server has been
introduced, you can send scanned images to a Microsoft SharePoint
site. To do so, select [Save in Microsoft SharePoint] as the output
method, and configure the setting for the image files to be sent.
You must also open the advanced settings dialog box and configure
settings such as the URL of the Microsoft SharePoint site, account
information, and the save destination folder. For details on settings,
see the help (click the [Help] button in the settings screen).
IMPORTANT
The Microsoft SharePoint plug-in supports only the Windows
authentication format. Scanned images cannot be sent to Microsoft
SharePoint sites that use other authentication formats.
About file formats
Select the file format. If you select a file format other than BMP, you
can click
to configure advanced settings.
In [Multi-pdf settings], specify whether to save the scanned images as
a multi page file ([Save all pages as one file]) or single page files
([Create a file for each specified number of pages]).
For [Create file that complies with PDF/A], select [ON].
For [Compression mode] select either [Standard] or [high
compression].
Click
, and in the dialog box that appears specify the compression
rate that you want.
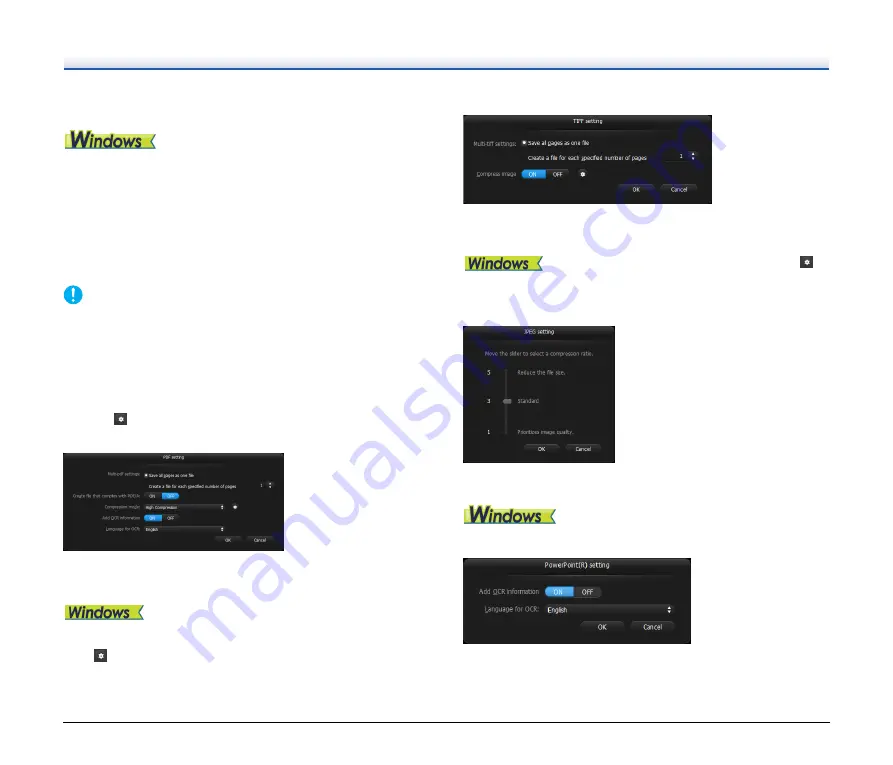
TIFF
In [Multi-tiff settings], specify whether to save the scanned images as
a multi page file ([Save all pages as one file]) or single page files
([Create a file for each specified number of pages]).
After you select ON for [Compress image], click
,
and in the dialog box that appears specify the compression rate that
you want.
JPEG
You can specify the compression rate of JPEG images.
PPTX
You can specify whether to add OCR information to the scanned
images.


