To Use the Machine as a Network Printer (Network Connection)
IMPORTANT
• The machine needs to be restarted for the specified settings to become effective. To restart the machine,
disconnect the power cord, wait for at least 10 seconds, and connect the power cord again.
NOTE
• For details on specifying network settings, see Chapter 2,“Specifying the Network Settings,” in the
Network Guide
.
• For additional network protocol settings, see the
Network Guide.
• For the values of the network settings, consult your network administrator or internet service provider (ISP).
Specifying Network Settings
1
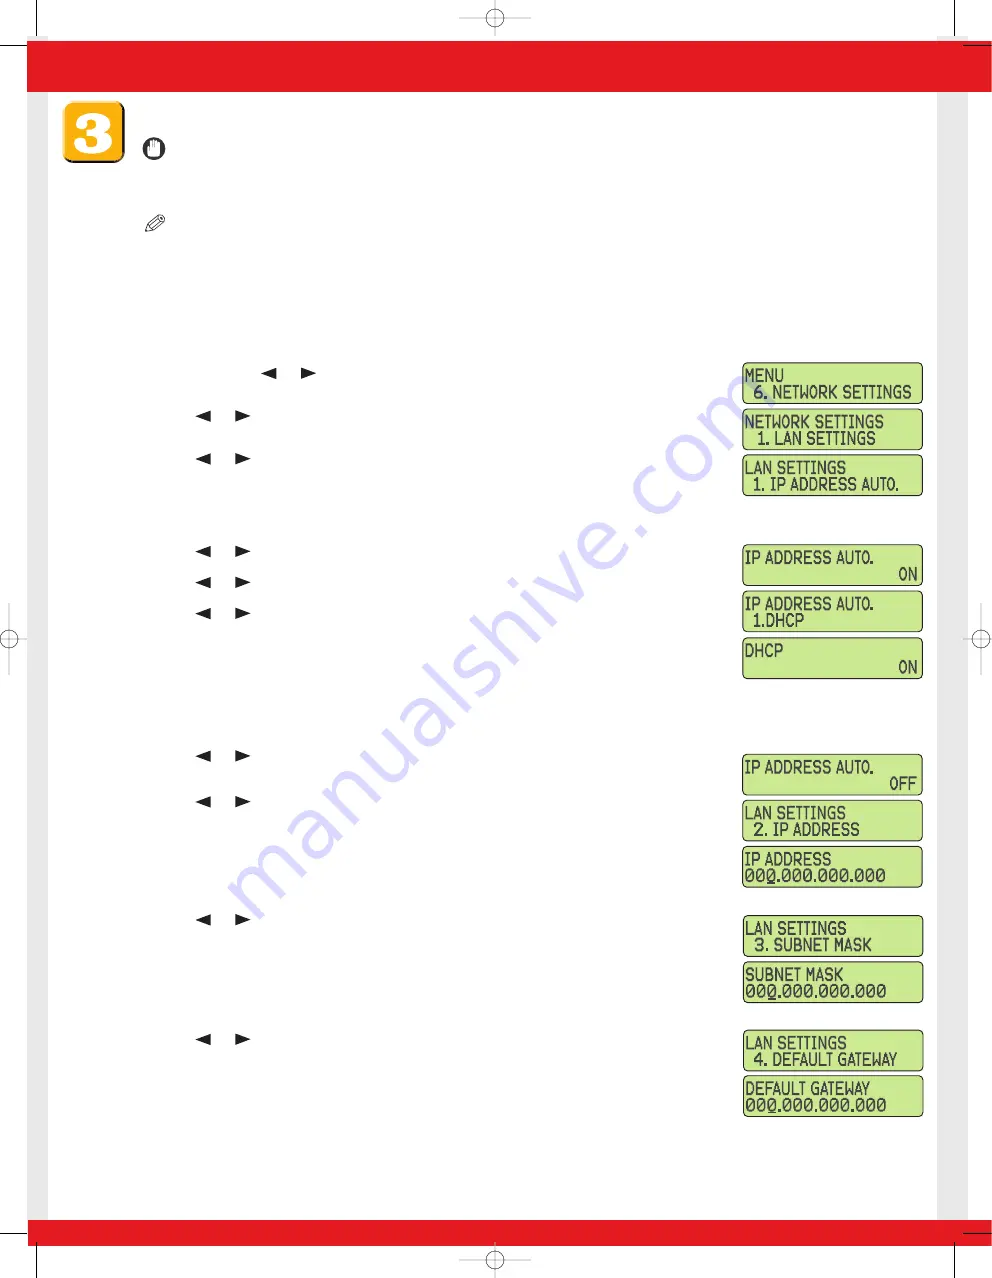
Press [Menu]
➝
or to
select
<6.NETWORK SETTINGS>
on the LCD
➝
press [Set].
2
Press or to
select
<1.LAN SETTINGS>
➝
press [Set].
3
Press or to
select
<1.IP ADDRESS AUTO.>
➝
press [Set].
●
To obtain an IP address automatically (dynamic allocation):
4
Press or to
select
<ON>
➝
press [Set].
5
Press or to
select
<1.DHCP>
,
<2.BOOTP>
, or
<3.RARP>
➝
press [Set].
6
Press or to
select
<ON>
➝
press [Set].
7
Press [Stop/Reset] to return to the standby display.
8
Restart the machine by disconnecting the power cord, and then reconnecting it.
●
To specify an IP address manually (static allocation):
4
Press or to
select
<OFF>
➝
press [Set].
5
Press or to
select
<2.IP ADDRESS>
➝
press [Set].
6
Enter an IP address of the machine using the numeric keys
➝
press [Set].
Write down the IP address you entered: _______ . _______ . _______ . _______
7
Press or to
select
<3.SUBNET MASK>
➝
press [Set].
8
Enter the subnet mask using the numeric keys
➝
press [Set].
Write down the subnet mask you entered: _______ . _______ . _______ . _______
9
Press or to
select
<4.DEFAULT GATEWAY>
➝
press [Set].
10
Enter the default gateway address using the numeric keys
➝
press [Set].
Write down the gateway address you entered: _______ . _______ . _______ . _______
11
Press [Stop/Reset] to return to the standby display.
12
Restart the machine by disconnecting the power cord, and then reconnecting it.
E227ME (MF5770) US2 SI N&P.qxd 12/13/04 5:59 PM Page 5


