


[Special Processing]
8W0J-09W
Use a range of processes to resolve problems that arise due to factors such as the paper type, the material used, or its
condition.
* Values in bold red text are the default settings for each item.
[Special Paper Processing](P. 459)
[High Humidity Mode](P. 460)
[Low Humidity Mode](P. 460)
[Prevent Postcard Fogging](P. 460)
[Talc Paper Mode](P. 460)
[Prevent Image Distortion](P. 461)
[Select Line Width](P. 461)
[Prevent Stains on Printed Images](P. 461)
[Correct Blurry Image for Copy](P. 461)
[Correct Blurry Image](P. 462)
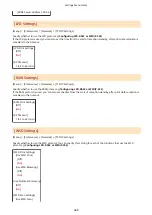
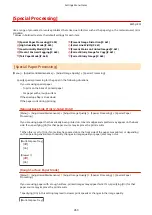
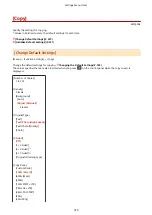
[Special Paper Processing]
[Menu] [Adjustment/Maintenance] [Adjust Image Quality] [Special Processing]
Specify special processing for the paper in the following situations:
●
If you are using special paper
- To print on the back of printed paper
- For paper with a rough surface
●
If the envelope flap is stuck down
●
If the paper curls during printing
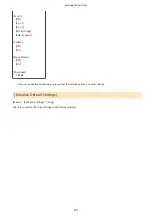
[Manual Back Side Print (2-Sided Only)]
[Menu] [Adjustment/Maintenance] [Adjust Image Quality] [Special Processing] [Special Paper
Processing]
If you are using paper that has already been printed on, toner smudges and splatters may appear on the back
side. If so, specifying [On] for that paper source may improve the print results.
* When this is set to [On], if some time has passed since the front side of the paper was printed, or depending
on the operating environment humidity, changes in image quality or paper jams may occur.
[Multi-Purpose Tray]
[
Off
]
[On]
[Drawer 1]
[
Off
]
[On]
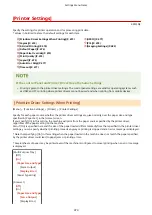
[Rough Surface Paper Mode]
[Menu] [Adjustment/Maintenance] [Adjust Image Quality] [Special Processing] [Special Paper
Processing]
If you are using paper with a rough surface, printed images may appear faint. If so, specifying [On] for that
paper source may improve the print results.
* Specifying [On] in this setting may lead to slower print speeds or changes in the image quality.
[Multi-Purpose Tray]
Settings Menu Items
459
Содержание imageCLASS MF264dw
Страница 72: ... Shared Key Encryption for WPA WPA2 TKIP AES CCMP IEEE 802 1X Authentication Setting Up 63 ...
Страница 96: ...7 Click OK 8 Restart the machine Restarting the Machine P 113 The settings are applied Setting Up 87 ...
Страница 139: ...Basic Operations 130 ...
Страница 160: ...Paper with logo in portrait orientation Paper with logo in landscape orientation Basic Operations 151 ...
Страница 165: ... You can change the paper size displayed on the screen in Step 3 Hiding Unused Paper Sizes P 166 Basic Operations 156 ...
Страница 201: ...Press on the control panel Function Settings Copy Initialize Default Settings Yes Basic Operations 192 ...
Страница 204: ... The volume is adjusted Basic Operations 195 ...
Страница 319: ... To reduce moire vertical pattern noise in photos Press on the control panel 3 Press Copying 310 ...
Страница 333: ...Copying 324 ...
Страница 368: ...8 Log out from Remote UI Security 359 ...
Страница 501: ... Confirm Destination Scan PC Settings Menu Items 492 ...
Страница 538: ...10 Plug the power cord into the outlet and turn ON the machine Turning ON the Machine P 111 Maintenance 529 ...