Configuring Settings for Device Management Software
0W20-03W
You can facilitate the collection and management of various information about networked devices by implementing
device management software, such as imageWARE Enterprise Management Console
*
, into the network. Information
such as device settings and error logs is retrieved and distributed via the server computer. If the machine is connected
to such a network, imageWARE Enterprise Management Console searches the network for the machine by using
protocols such as Service Location Protocol (SLP) to gather information from the machine, including the power status.
SLP settings can be specified via the Remote UI.This section also describes how to configure communication settings
for the imageWARE Enterprise Management Console plug-ins.
*
For more information about imageWARE Enterprise Management Console, contact your local authorized Canon dealer.
Configuring SLP Communication with Device Management Software(P. 196)
Configuring Settings for Device Settings Management(P. 199)
To use imageWARE Enterprise Management Console plug-ins
●
You need to enable dedicated port settings and SNMP settings. For SNMP settings, set [MIB Access
Permission] to [Read/Write] for both SNMPv3 and SNMPv1. plug-in. Dedicated Port Settings (P. 298)
Monitoring and Controlling the Machine with SNMP(P. 191)
Configuring SLP Communication with Device Management Software
1
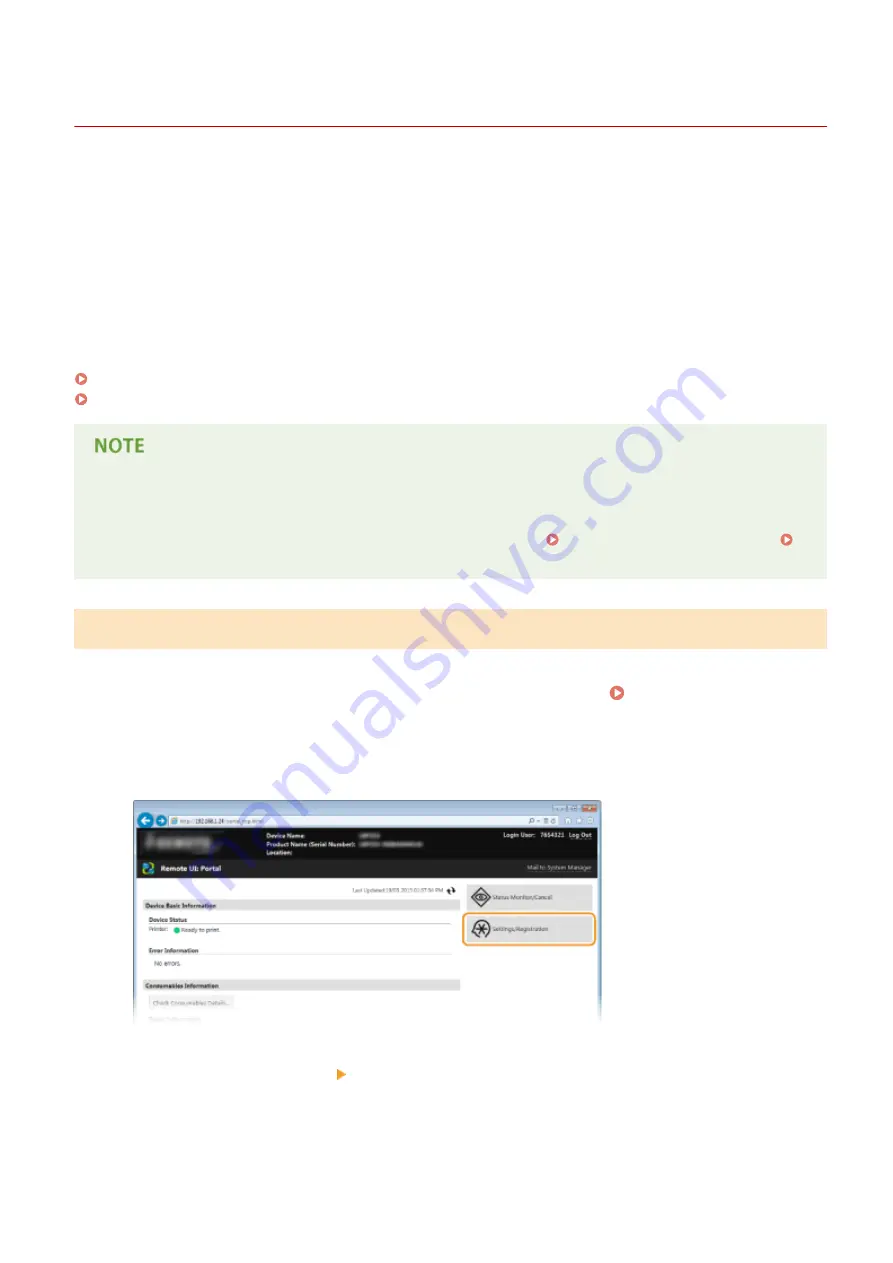
Start the Remote UI and log on in System Manager Mode. Starting Remote
UI(P. 270)
2
Click [Settings/Registration].
3
Click [Network Settings] [TCP/IP Settings].
Network
196
Содержание imageclass LBP251dw
Страница 1: ...LBP252dw LBP251dw User s Guide USRMA 0786 00 2016 06 en Copyright CANON INC 2015 ...
Страница 35: ...LINKS Using the Operation Panel P 30 Basic Operations 29 ...
Страница 69: ...Exiting Sleep Mode Press any key on the operation panel Basic Operations 63 ...
Страница 75: ...Printing 69 ...
Страница 83: ...LINKS Basic Printing Operations P 70 Checking the Printing Status and Log P 78 Printing 77 ...
Страница 101: ...LINKS Basic Printing Operations P 70 Printing Borders P 93 Printing Watermarks P 96 Printing 95 ...
Страница 117: ...LINKS Printing via Secure Print P 112 Printing 111 ...
Страница 122: ...Checking the Printing Status and Log P 78 Printing 116 ...
Страница 127: ...LINKS Basic Printing Operations P 70 Registering Combinations of Frequently Used Print Settings P 118 Printing 121 ...
Страница 164: ...4 Click Edit in IPv6 Settings 5 Select the Use IPv6 check box and configure the required settings Network 158 ...
Страница 178: ...3 Click OK 4 Click Close LINKS Setting Up Print Server P 173 Network 172 ...
Страница 233: ...LINKS Configuring Printer Ports P 168 Security 227 ...
Страница 316: ...0 Auto Shutdown is disabled 1 to 4 to 8 hr Setting Menu List 310 ...
Страница 355: ...Troubleshooting 349 ...
Страница 405: ...4 Install the toner cartridge Fully push it in until it cannot go any further 5 Close the front cover Maintenance 399 ...
Страница 469: ...4 Click Next Uninstall begins Wait a moment This process may take some time 5 Click Exit 6 Click Back Exit Appendix 463 ...
Страница 470: ...Appendix 464 ...
Страница 478: ...Manual Display Settings 0W20 08J Appendix 472 ...


