Connecting to a Wireless LAN
0W20-02X
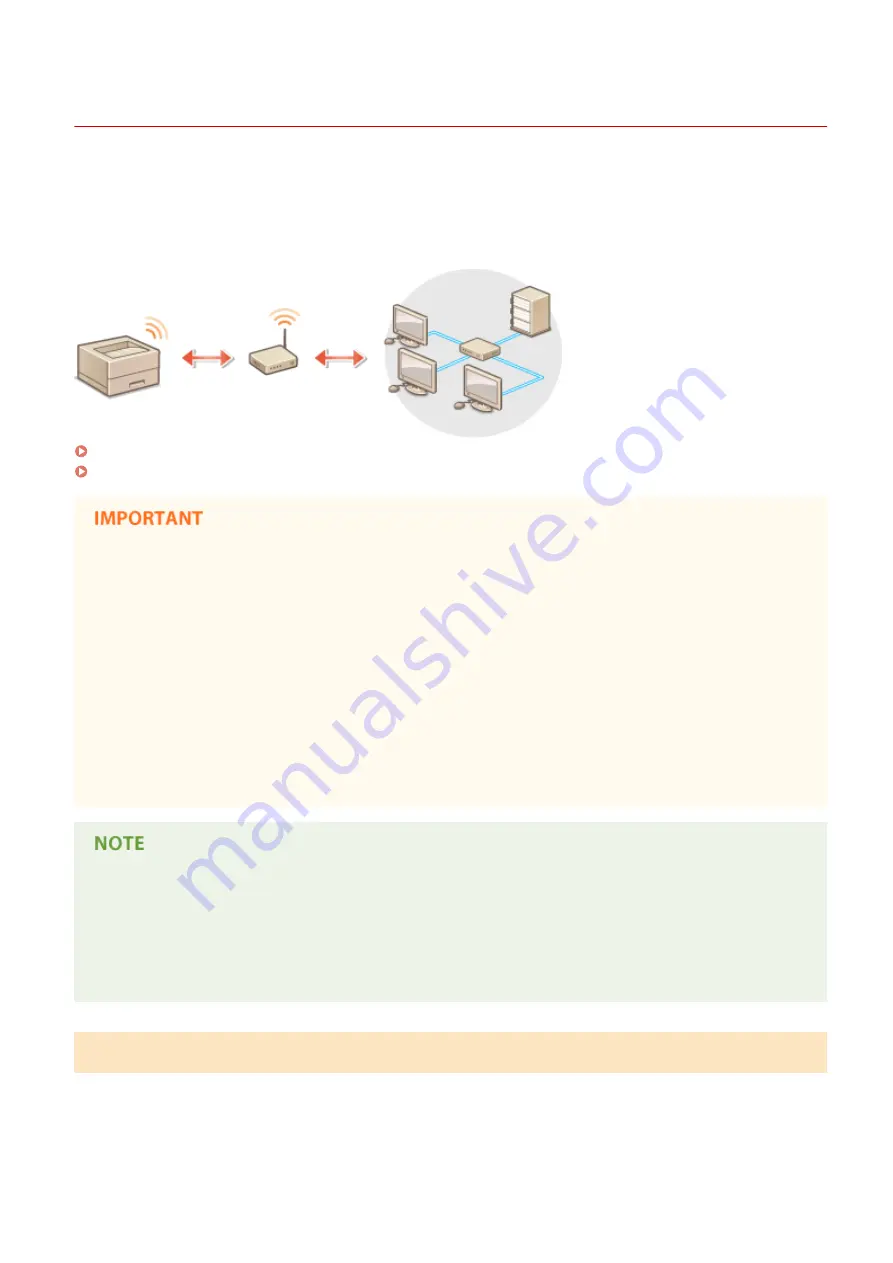
Wireless routers (or access points) connect the machine to a computer via radio waves. If your wireless router is
equipped with Wi-Fi Protected Setup (WPS), configuring your network is automatic and easy. If your networking
devices do not support automatic configuration, or if you want to specify authentication and encryption settings in
detail, you need to manually set up the connection. Make sure that your computer is correctly connected to the
network.
Setting Up Connection Using WPS(P. 136)
Manually Setting Up Connection(P. 137)
Risk of information leak
●
Use wireless LAN connection at your own discretion and at your own risk. If the machine is connected to an
unsecured network, your personal information might be leaked to a third party because radio waves used in
wireless communication can go anywhere nearby, even beyond walls.
Wireless LAN security
The wireless LAN security that is supported by the machine is listed below. For the wireless security
compatibility of your wireless router, see the instruction manuals for your networking devices or contact your
manufacturer.
●
128 (104)/64 (40) bit WEP
●
WPA-PSK (TKIP/AES-CCMP)
●
WPA2-PSK (TKIP/AES-CCMP)
Required devices for wireless LAN connection
●
The machine does not come with a wireless router. Have the router ready as necessary.
●
The wireless router must conform to IEEE 802.11b/g/n and be able to communicate in 2.4 GHz frequency
band. For more information, see the instruction manuals for your networking devices or contact your
manufacturer.
Setting Up Connection Using WPS
When using WPS, two modes are available: push button mode and PIN code mode.
Network
136
Содержание imageclass LBP251dw
Страница 1: ...LBP252dw LBP251dw User s Guide USRMA 0786 00 2016 06 en Copyright CANON INC 2015 ...
Страница 35: ...LINKS Using the Operation Panel P 30 Basic Operations 29 ...
Страница 69: ...Exiting Sleep Mode Press any key on the operation panel Basic Operations 63 ...
Страница 75: ...Printing 69 ...
Страница 83: ...LINKS Basic Printing Operations P 70 Checking the Printing Status and Log P 78 Printing 77 ...
Страница 101: ...LINKS Basic Printing Operations P 70 Printing Borders P 93 Printing Watermarks P 96 Printing 95 ...
Страница 117: ...LINKS Printing via Secure Print P 112 Printing 111 ...
Страница 122: ...Checking the Printing Status and Log P 78 Printing 116 ...
Страница 127: ...LINKS Basic Printing Operations P 70 Registering Combinations of Frequently Used Print Settings P 118 Printing 121 ...
Страница 164: ...4 Click Edit in IPv6 Settings 5 Select the Use IPv6 check box and configure the required settings Network 158 ...
Страница 178: ...3 Click OK 4 Click Close LINKS Setting Up Print Server P 173 Network 172 ...
Страница 233: ...LINKS Configuring Printer Ports P 168 Security 227 ...
Страница 316: ...0 Auto Shutdown is disabled 1 to 4 to 8 hr Setting Menu List 310 ...
Страница 355: ...Troubleshooting 349 ...
Страница 405: ...4 Install the toner cartridge Fully push it in until it cannot go any further 5 Close the front cover Maintenance 399 ...
Страница 469: ...4 Click Next Uninstall begins Wait a moment This process may take some time 5 Click Exit 6 Click Back Exit Appendix 463 ...
Страница 470: ...Appendix 464 ...
Страница 478: ...Manual Display Settings 0W20 08J Appendix 472 ...


