


15
Aligning the Print Head – Macintosh
1111
Select
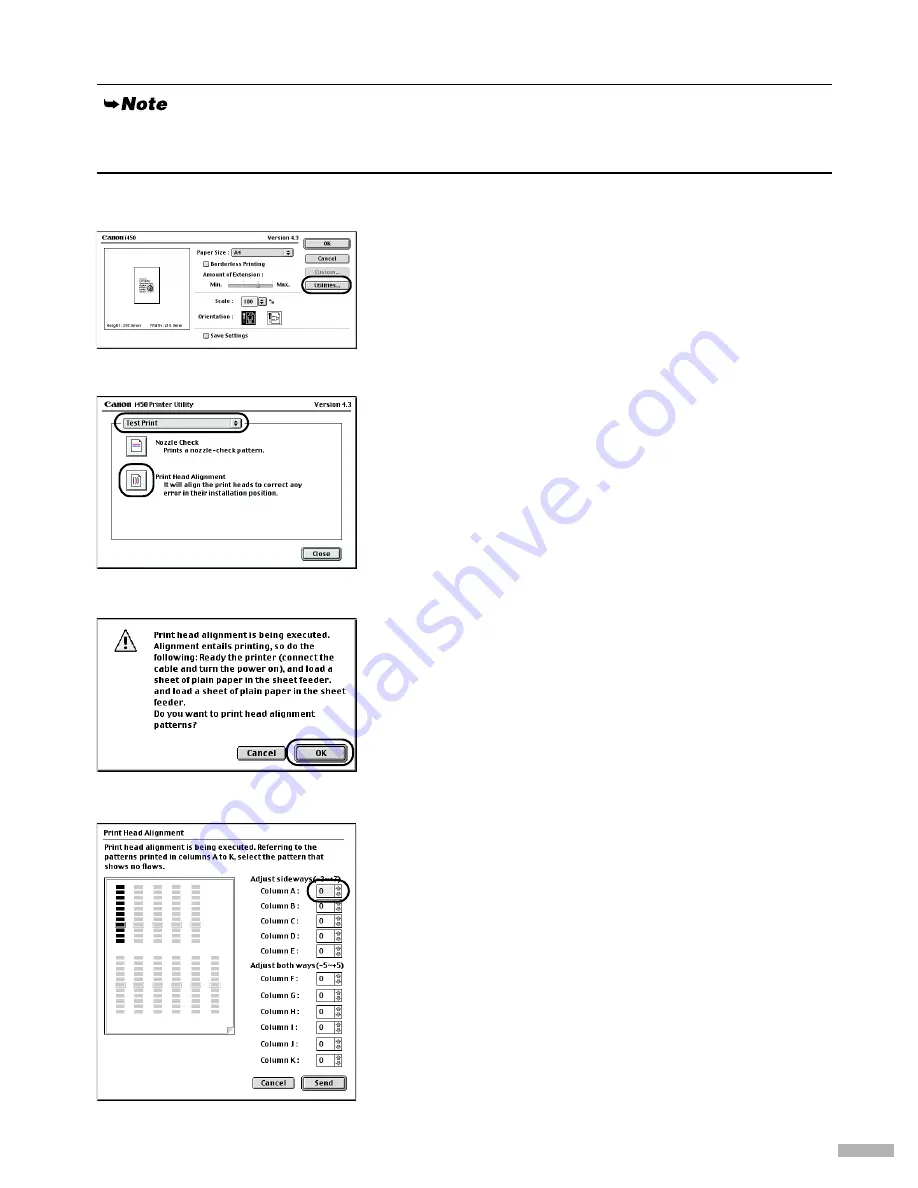
Page Setup
in the
File
Menu.
2222
Click
Utilities
.
3333
Select
Test Print
from the menu and
click
Print Head Alignment
.
4444
Check that paper is loaded in the printer
and click
OK
.
It takes about 60 seconds to start printing.
If the pattern is not printed successfully, open the front
cover and ensure that the ink tanks are correctly
installed.
5555
Look at the print-out. From the patterns
in Column A, select the most even, least
irregular pattern and enter the number.
For Mac OS X users, refer to the Printer Driver Guide for Mac OS X for instructions on how to align
the print head.
Содержание I450 - i 450 Color Inkjet Printer
Страница 1: ...BUBBLE JET PRINTER Quick Start Guide Table of Contents Preface 1 Shipping Materials 1 Introduction 1 ...
Страница 27: ......
Страница 28: ......


