


Photos
75
To return to the index screen from single photo view
1 Open (
) the joystick guide.
2 Select (
) the
icon and press
.
You can also move the zoom lever toward
W
to return to the index screen.
Photo Jump Function
When you have recorded a large number of photos, you can jump 10
or 100 photos at a time.
1 In single photo view, open (
) the
joystick guide.
2 Select (
) the
icon and press
.
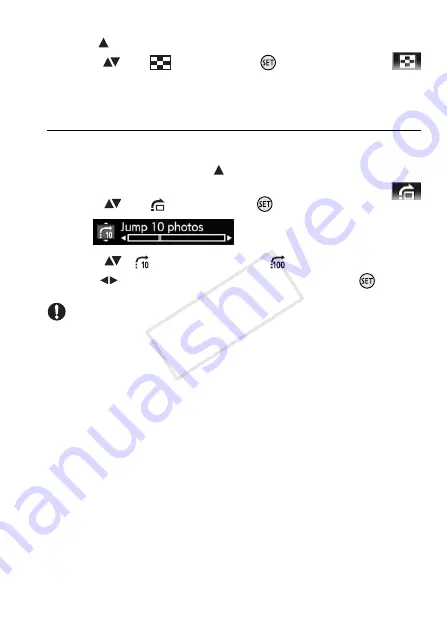
3 Select (
) [
Jump 10 photos] or [
Jump 100 photos].
4 Jump (
) the number of photos selected and press
.
IMPORTANT
• Observe the following precautions while the ACCESS indicator is on or
flashing. Failing to do so may result in permanent data loss.
- Do not open the memory card slot cover.
- Do not disconnect the power source or turn off the camcorder.
- Do not change the camcorder’s operating mode.
• The following image files may not be displayed correctly.
- Images not recorded with this camcorder.
- Images edited on or uploaded from a computer.
- Images whose file names have been changed.
COP
Y


