38
38
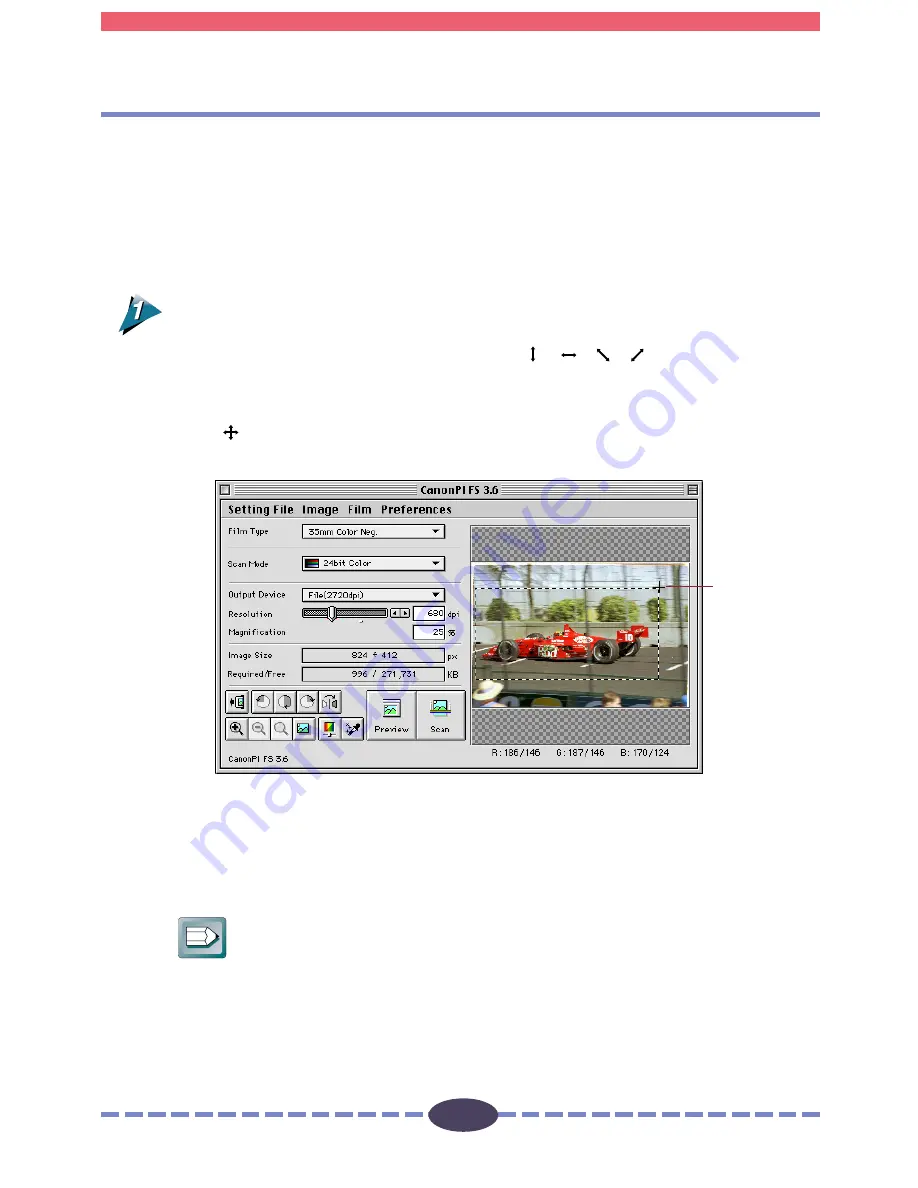
Use the image in the preview area to select the actual area that you want to scan.
Clicking the Preview button causes the Selection Tool to automatically appear as a
rectangle with dotted lines on the preview image. You may adjust the size and shape of
the Selection Tool.
To Specify the Scan Area with the Selection Tool
Adjust the size and position of the Selection Tool.
• Placing the mouse cursor over the dotted line of the Selection Tool causes the
cursor to change into one of four shapes [
] [
] [
] [
]. Dragging the Selec-
tion Tool with the mouse cursor changes the shape of the Selection Tool.
• Change the position of the Selection Tool by clicking on its center and keeping the
mouse button depressed until the cursor changes into an omni-directional arrow
[
]. Dragging the cursor in this state will cause the Selection Tool to move without
changing its shape.
• Clicking the mouse button outside the Selection Tool causes the selected area to
be deselected.
• Double-clicking the mouse button anywhere in the Preview window selects the
entire image.
Hint
• There are two methods of changing the size and shape of the Selection Tool.
The horizontal and vertical dimensions can be changed independently or in a
fixed ratio. The fixed ratio can be altered by changing the [Aspect Ratio] setting
in the [Preferences] menu of the control panel. See Setting Preferences
(p. 28)
.
• To specify small areas with precision, it is convenient to expand the preview
display with the Zoom In button. See Zooming on the
next page
.
Scan Area Settings
S T E P 3
Selection Tool


