141
w
Printing
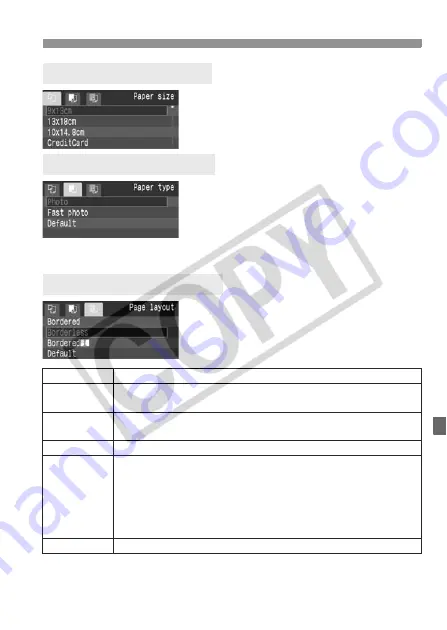
Turn the <
5
> dial to select the size
of the paper loaded in the printer,
then press <
0
>.
X
The Paper type screen will appear.
Turn the <
5
> dial to select the type of the
paper loaded in the printer, then press <
0
>.
When using a Canon printer and Canon
paper, read the printer’s instruction manual
to check what paper types can be used.
X
The Page layout screen will appear.
Turn the <
5
> dial to select the page
layout, then press <
0
>.
X
The print setting screen will reappear.
* From the Exif data, the camera name, lens name, shooting mode, shutter speed, aperture,
exposure compensation amount, ISO speed, white balance, etc., will be imprinted.
** This depends on the <
I
> date/file number imprinting option set in step 5 (p.143).
Q
Setting the Paper Size
Y
Setting the Paper Type
U
Setting the Page Layout
Bordered
The print will have a white border along the edges.
Borderless
The print will have no white borders. If your printer cannot print
borderless prints, the print will have borders.
Bordered
c
The shooting information* will be imprinted on the border on
9x13cm and larger prints.
xx-up
Option to print 2, 4, 8, 9, 16, or 20 images on one sheet.
20-up
c
35-up
p
On A4 / Letter size paper, 20 or 35 thumbnails of the images
ordered through DPOF will be printed.
• [
20-up
c
] will have the shooting information* printed on the side of each thumbnail
and the file number and date** printed on the bottom of each thumbnail image.
• [
35-up
p
] will have the file number and date** printed on the
bottom of the thumbnail images.
Default
The page layout will vary depending on the printer type or its settings.


