background image

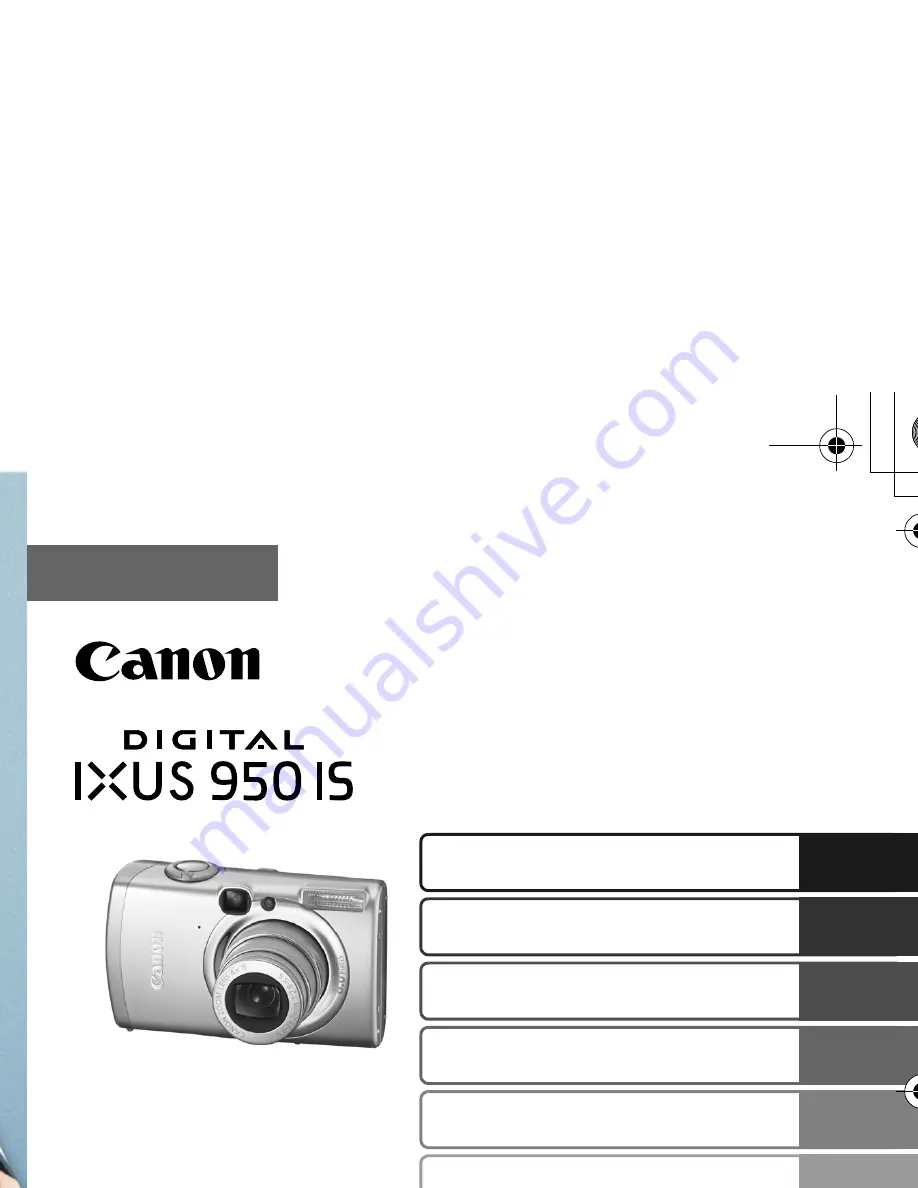
Camera User Guide

Please Read This First

This guide explains how to prepare the camera and use its basic features.

ENGLISH

Basic 

CEL-SG6WA210

Preparations

Shooting

Playback/Erasing

Menus and Settings

Printing

The Components Guide

Downloading Images to 

a Computer

Cov-Basic-E-CEL.fm  Page 1  Tuesday, April 10, 2007  11:21 AM

Содержание Digital IXUS 950 IS

Страница 1: ...ENGLISH Preparations Shooting Playback Erasing Menus and Settings The Components Guide...

Страница 2: ...Guide Direct Print User Guide For information on included items and items sold separately The Components Guide Preparations Charging the battery Installing the battery and memory card Setting the date...

Страница 3: ...AF assist Beam Advanced Guide p 24 e Red Eye Reduction Lamp Advanced Guide p 36 f Self Timer Lamp p 16 g Flash p 14 h Lens The Components Guide In order to avoid dropping the camera wear the wrist st...

Страница 4: ...DIGITAL Terminal p 27 f Tripod Socket g DC Coupler Terminal Cover Advanced Guide p 134 h Memory Card Slot Battery Cover p 8 The interface cable and AV cable cannot be connected simultaneously The LCD...

Страница 5: ...ton pp 22 30 Advanced Guide pp 70 71 i Touch Control Dial j DISP Display Button Advanced Guide p 12 k FUNC SET Function Set Button p 20 Advanced Guide p 22 l MENU Button p 21 Advanced Guide p 23 m Mac...

Страница 6: ...r images by circling your finger on the dial Circling counterclockwise works the same as the button and circling clockwise the same as the button It may also work as the buttons with some functions Fu...

Страница 7: ...Selecting pp 14 15 16 pp 37 69 Selecting options in the FUNC menu p 20 p 22 Playback Selecting images p 18 pp 80 81 82 83 102 105 Operations for playing editing movies pp 84 86 Operations for sound me...

Страница 8: ...ger CB 2LXE and plug it into a power outlet Battery charger model names and types vary by region Never do the following while an indicator is blinking green These actions may corrupt image data Shake...

Страница 9: ...b 2 Push the battery lock in the direction of the arrow c and insert the battery until it locks To remove the battery push the battery lock in the direction of the arrow c and hold it while pulling t...

Страница 10: ...re that the memory card is correctly oriented before inserting it in the camera Inserting it backward may cause the camera to fail to recognize the memory card or to malfunction See the Advanced Guide...

Страница 11: ...the or button to select a language and press the FUNC SET button The display language can also be set in the Set up menu p 21 A rechargeable lithium battery is built into the camera to save such sett...

Страница 12: ...uto 3 Aim the camera at the subject 4 Focus and shoot 1 Press the shutter button halfway to focus When the camera focuses it beeps twice and the indicator lights green orange when the flash fires In a...

Страница 13: ...ssing the FUNC SET or DISP button while the image is dis played in the LCD monitor To stop displaying the image press the shutter button halfway Selecting a Shooting Mode 1 Turn the mode dial to the d...

Страница 14: ...nother Stitch Assist Allowsyou to shoot overlapping images that can later be merged stitched to create one panoramic image on a computer SPECIAL SCENE Portrait Produces a soft effect when photographin...

Страница 15: ...a natural hue MOVIE Movie Shoots a movie when you press the shutter button You can select from the following modes Standard Fast Frame Rate suitable for sports or fast motion Compact convenient for em...

Страница 16: ...ion See the Advanced Guide Red Eye Reduction Function p 36 See the Advanced Guide Setting the Slow Synchro Function p 36 You are recommended to shoot with the camera attached to a tripod or other devi...

Страница 17: ...0 9 in Minimum focusing distance 2 cm 0 8 in Maximum telephoto setting 110 82 mm 4 3 3 2 in Minimum focusing distance 40 cm 1 3 ft Infinity Use this mode to record subjects 3 m 9 8 ft or more from the...

Страница 18: ...shots 10 sec Self Timer shoots 10 sec after you press the shutter button 2 sec before the shutter releases the self timer lamp and sound speed up 1 2 sec Self Timer shoots 2 sec after you press the sh...

Страница 19: ...UNC SET button 3 Press the MENU button See Menus and Settings p 21 If the Shots option is set to 2 or more shots the following occurs The exposure and white balance are locked at the set tings selecte...

Страница 20: ...appears 2 Use the or button to display the image you wish to view b Use the button to move to the previous image and the button to move to the next image Holding the button down advances the images mo...

Страница 21: ...ouch control dial to make a selection 2 Confirm that Erase is selected and press the FUNC SET button c To exit instead of erasing select Cancel Erasing Please note that erased images cannot be recover...

Страница 22: ...Some items may not be selectable in some shooting modes d Use the or button to select an option for the menu item You can also use the touch control dial to make a selection You can select further opt...

Страница 23: ...may not be selectable in some shooting modes d Use the or button to select an option Menu items followed by an ellipsis can only be set after pressing the FUNC SET button to display the next menu Pres...

Страница 24: ...atible printer and turn on the printer s power 1 Since this camera uses a standard protocol PictBridge you can use it with other PictBridge compliant printers in addition to Canon brand printers 2 You...

Страница 25: ...ccording to the printer model will display in the movie mode 3 Use the or button to select an image to print b and press the button c You can also use the touch control dial to make a selection The bu...

Страница 26: ...isted above See the Software Starter Guide for details Downloading Images to a Computer Supplied Software Install It Do Not Install It Downloading Method Computer Procedure Camera Procedure Computer P...

Страница 27: ...000 Windows XP 256 MB or more Windows Vista 512 MB or more Interface USB Free Hard Disk Space Canon Utilities ZoomBrowser EX 200 MB or more PhotoStitch 40 MB or more Canon Camera TWAIN Driver 25 MB or...

Страница 28: ...ick Easy Installation Follow the onscreen messages to proceed with the installation 3 When the installation is finished the Restart or Finish button appears Click the one that appears 4 Remove the CD...

Страница 29: ...a s mode dial to playback and turn on the power The camera and computer will be able to communicate Always grasp the sides of the connector when disconnecting the interface cable from the camera s DIG...

Страница 30: ...ails small versions of the downloaded images will display in the ZoomBrowser EX Main Window By default the downloaded images are saved into subfolders according to their shooting dates If the window t...

Страница 31: ...he computer By default the downloaded images are saved into the Pictures folder Thumbnails small versions of the downloaded images will display in the ImageBrowser Browser Window By default the downlo...

Страница 32: ...ink blue while downloading is in progress The display will return to the Direct Transfer menu when the download is complete To cancel the download press the FUNC SET button All Images Transfers and sa...

Страница 33: ...he MENU button to return to the Direct Transfer menu Only JPEG images can be downloaded as wallpaper for a computer On the Windows platform the files are automatically created as BMP images The option...

Страница 34: ...ype of waste could have a possible negative impact on the environment and human health due to potentially hazardous substances that are generally associated with EEE At the same time your cooperation...

Страница 35: ...n or animal eyes Store this equipment out of the reach of children and infants Avoid dropping or subjecting the camera to severe impacts Do not touch the flash portion of the camera if it has been dam...

Страница 36: ...Cov Basic E CEL fm Page 1 Tuesday April 10 2007 11 21 AM...

Страница 37: ......

Отзывы: