


Managing Scenes
70
4
Select (
) [YES] and press (
).
NOTES
You will not be able to delete the last scene if
after the scene was recorded you changed the
operating mode, turned off the camcorder or
removed the disc.
Deleting All Scenes
POINTS TO CHECK
Disc type:
DVD-RW • VR mode
To delete all the scenes from the original
index screen, follow the procedure below.
This will delete also the whole playlist. If
you only want to delete all the scenes
from the playlist (without affecting the
original recordings), press
first
and then continue as follows.
* When you are deleting the playlist, this menu
option will be replaced by [PLAYLST ALL
DEL].
Dividing a Scene
You can divide your recordings in order to
leave only the best parts and later cut out
the rest. Remember that when you divide
scenes in the playlist, you do not affect
your original recordings.
NOTES
Photomovie scenes (
74) and very short
scenes (1 second or less) cannot be divided.
POINTS TO CHECK
Disc type:
DVD-RW • VR mode
From the original index screen, select
(
,
) the scene to divide. To divide a
scene only in the playlist, press
first, and then select the scene.
* You can use the following icons and the
special playback modes (
40) to bring the
scene to a precise point.
/
:
Skip to the beginning of the
current/next scene.
/
:
One frame reverse/advance.
(
12)
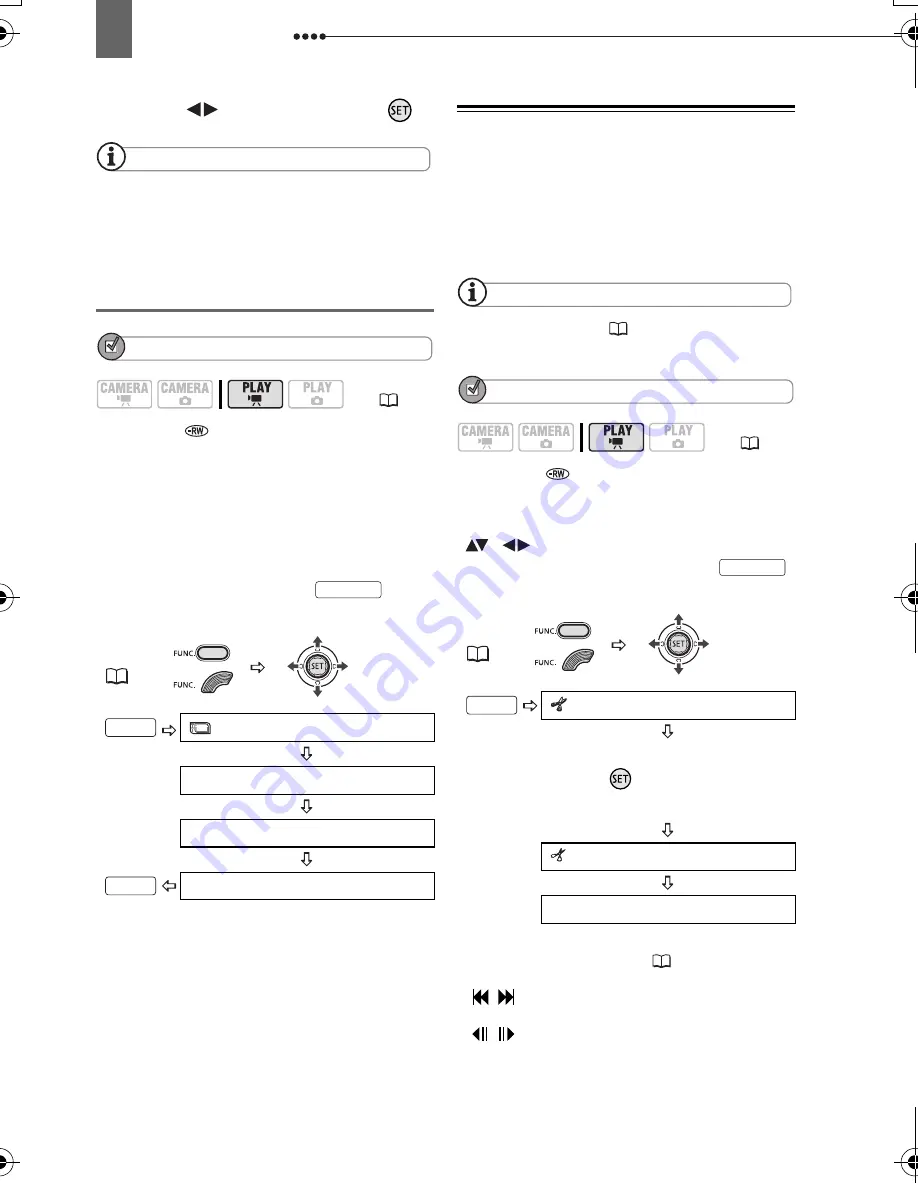
FUNC.
(
31)
MENU
DISC OPERATIONS
MOVIES ALL DEL*
YES
PLAYLIST
FUNC.
FUNC.
(
12)
FUNC.
(
31)
DIVIDE
Playback of the scene begins.
Press (
) at the point where
you want to divide the scene.*
DIVIDE
YES
PLAYLIST
FUNC.
D119_NTSC-E.book Page 70 Monday, December 18, 2006 10:14 AM


