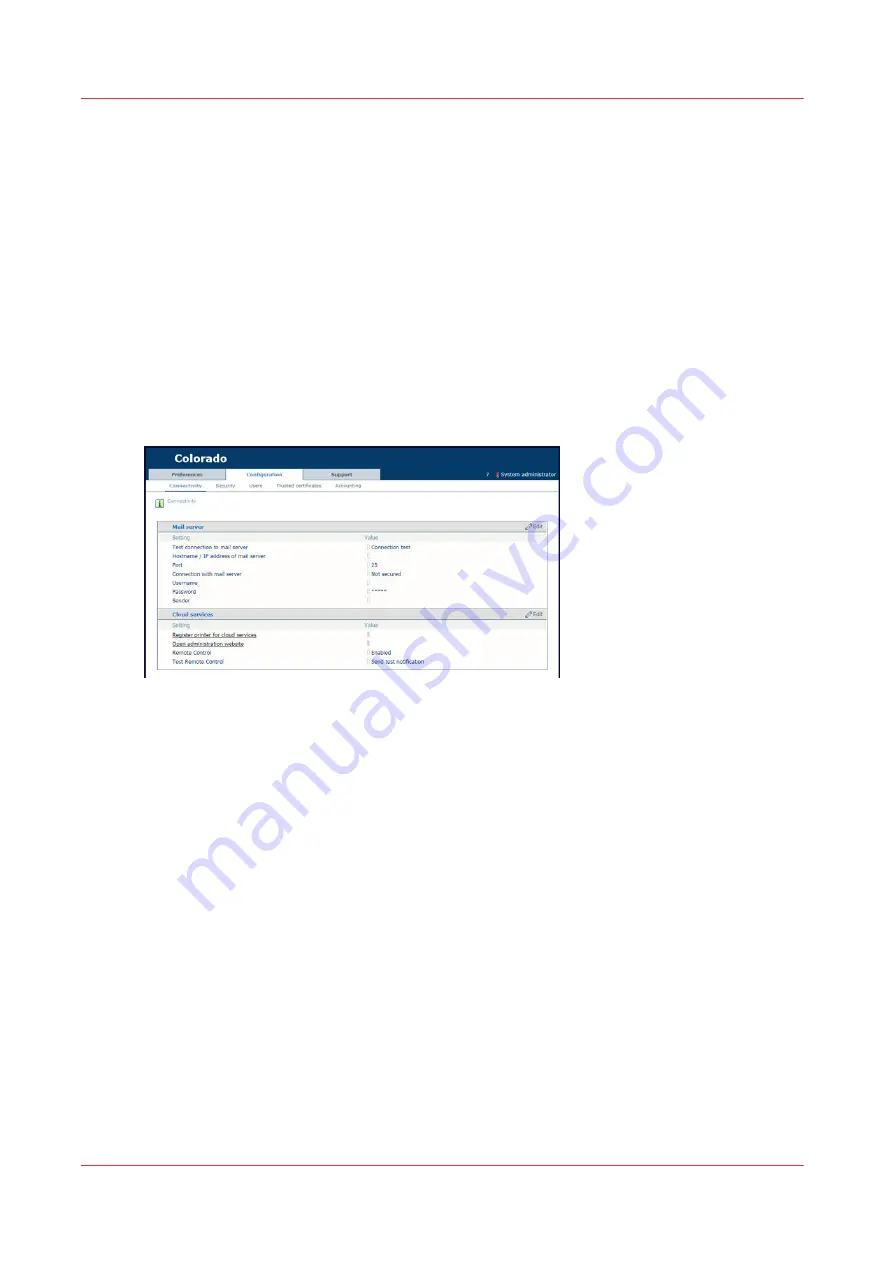
Test PRISMAsync Remote Control
Introduction
When you have configured PRISMAsync Remote Control, you can test the connection between
PRISMAsync Remote Control and the cloud services.
Before you begin
Make sure you have configured PRISMAsync Remote Control. For more information, see
Configure PRISMAsync Remote Control on page 290
Procedure
1.
Open the settings editor.
2.
Click on [Configuration]
→
[Connectivity].
3.
First, test the connection between the printer and the cloud services:
4.
Next to [Test Remote Control], click on [Send test notification]. A window opens.
5.
Click on [Send test notification].
The result must be successful. In case of error:
• Make sure that in the settings editor,[Configuration]
→
[Connectivity]
→
[Remote Control] is
enabled.
• Make sure that on the operator panel, [System]
→
[Remote services]
→
[Remote connection] is
enabled.
• Make sure that on the operator panel,[System]
→
[Remote services]
→
[Proxy settings] the proxy
settings are correct.
• Make sure that on the operator panel, [System]
→
[Remote services]
→
[Remote connection]
→
[Test remote connection] the status is connected.
6.
Second, test the connection between the cloud services and your mobile device:
7.
Click on [Register printer for cloud services]. A new page opens.
8.
Log in with your Microsoft or Google administrator account. A new page opens.
9.
Click on [Send test notification].
10.
Check on your mobile device if you have received a notification.
When you did not receive a notification:
• Make sure that notifications are allowed in the app PRISMAsync Remote Control.
Test PRISMAsync Remote Control
292
Chapter 8 - Configure the network and security settings
Содержание Colorado 1630
Страница 1: ...Colorado 1630 Extended operation guide 2021 2022 Canon Production Printing ...
Страница 9: ...Chapter 1 Introduction ...
Страница 18: ...Optional features 18 Chapter 1 Introduction ...
Страница 19: ...Chapter 2 Safety information ...
Страница 30: ...Safety System 30 Chapter 2 Safety information ...
Страница 31: ...Chapter 3 Explore the system ...
Страница 38: ...The components of the printer top cover open 38 Chapter 3 Explore the system ...
Страница 39: ...Chapter 4 Handle the media ...
Страница 81: ...FLXfinish in the RIP Chapter 4 Handle the media 81 ...
Страница 157: ...Chapter 5 Print a job ...
Страница 166: ...Use the PRISMAsync Remote Control app 166 Chapter 5 Print a job ...
Страница 167: ...Chapter 6 Maintain the system ...
Страница 248: ...6 Unscrew the six green screws of the mirror boxes manually Clean the mirrors 248 Chapter 6 Maintain the system ...
Страница 257: ...Chapter 7 Improve quality ...
Страница 267: ...Chapter 8 Configure the network and security settings ...
Страница 298: ...Enable system installation from USB 298 Chapter 8 Configure the network and security settings ...
Страница 299: ...Chapter 9 Troubleshooting and support ...
Страница 318: ...Install a license via ORS 318 Chapter 9 Troubleshooting and support ...
Страница 351: ...No gradual variation vertical banding Vertical banding Chapter 9 Troubleshooting and support 351 ...
Страница 372: ...Error codes overview 372 Chapter 9 Troubleshooting and support ...
Страница 373: ...Appendix A Regulation Notices ...
Страница 387: ......


