35
E
Using the Full
Range of Features
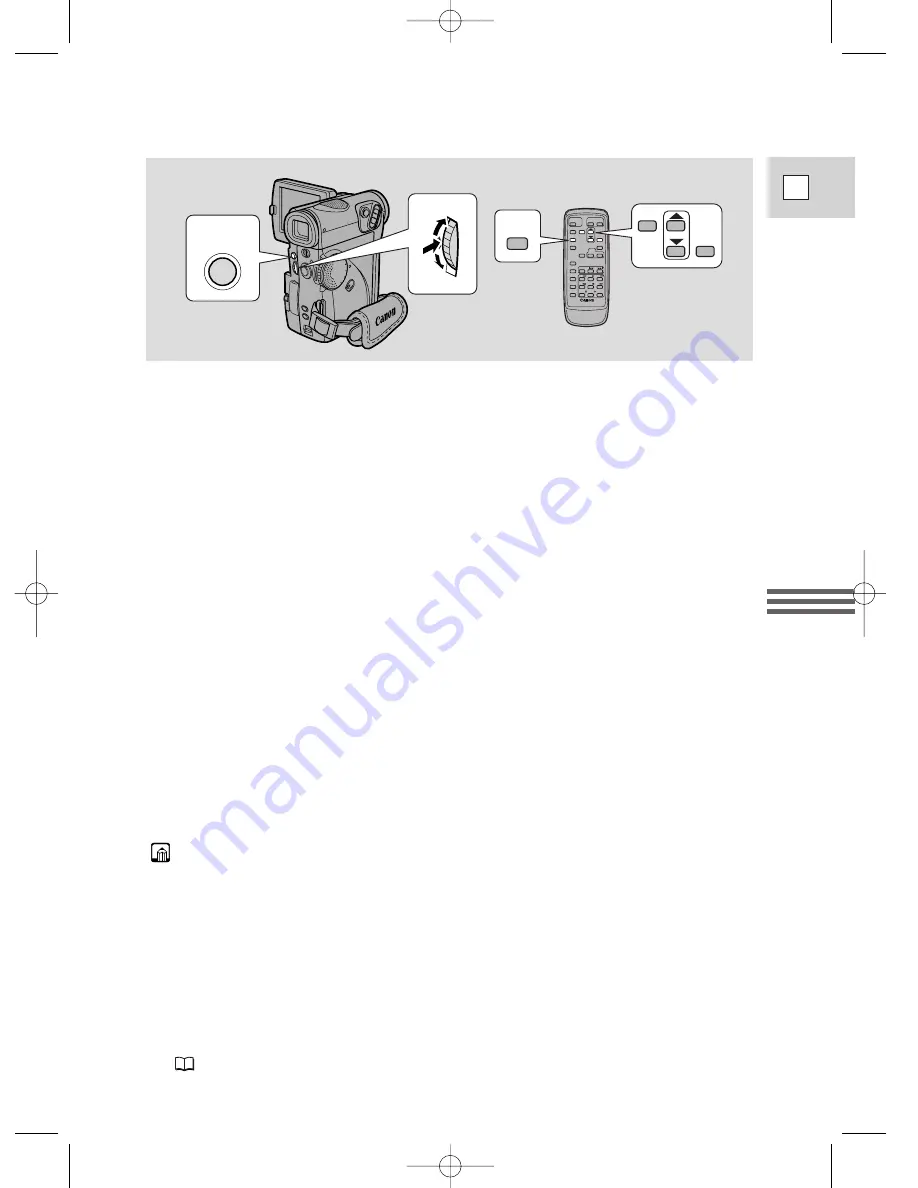
1. Turn the POWER dial to the appropriate setting.
2. Press the MENU button to open the menu.
• One of the main menus appears, according to the POWER dial setting.
3. Turn the SELECT dial and move the arrow to the desired
submenu.
4. Press the SELECT dial in to select.
• The submenu appears.
5. Turn the SELECT dial and move the arrow to the desired
function.
6. Press the SELECT dial in to select.
• The function and its settings only appear.
7. Turn the SELECT dial and move the arrow to the desired setting.
• If you are setting a function other than the white balance or shutter speed,
the function will be set if you close the menu here.
8. Press the SELECT dial in to select.
• The function is set and you return to the submenu.
9. Turn the SELECT dial and move the arrow to
b
b
RETURN.
10.Press the SELECT dial in to select.
• You return to the main menu.
11. Press the MENU button.
• The main menu disappears.
• Pressing the MENU button at any time closes the menu.
• Selecting
b
RETURN takes you back one menu, or closes the main menu.
• Available menu items appear in yellow. Items that are unavailable, due to the
tape or card situation or the settings of other menu items, appear in purple.
• You may often find it convenient to use the wireless controller to move around
the menus. Press its MENU button to open/close the menu and use the arrow
keys in place of turning the SELECT dial. Push the SET button to select.
• Pressing the start/stop button or the PHOTO button will close the menu and
start recording.
• You can display the menus on a connected TV screen by turning TV SCREEN
(
132) on through the menu or using the wireless controller’s TV SCREEN
button. See p. 28 for TV hookup instructions.
TV
SCREEN
SET
MENU
MENU
3_ELURA2_E(33-79) 7/25/00 17:09 Page 35
Содержание 2MC - Elura 2MC MiniDV Digital Camcorder
Страница 147: ......


