Specifying the SNMPv3 Settings
4-31
Cu
sto
m
izing Set
ti
ngs
4
3
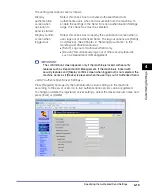
Select the check box for [Use SNMP v. 3]
➞
click [OK].
NOTE
You can enable both SNMPv1 and SNMPv3 at the same time, depending on your
needs. For more information on settings for SNMPv1, see Chapter 2, “Connecting the
Machine to a TCP/IP Network,” in the
System Settings Guide
.
4
Restart the machine.
Turn OFF the machine, wait at least 10 seconds, and then turn it ON.
IMPORTANT
The setting for [Use SNMP v.3] becomes effective after the machine is restarted, while
restarting the machine is not necessary to enable the settings for [User Settings]
(p. 4-31) and [Context Settings] (p. 4-34).
Specifying the User Information for SNMPv3
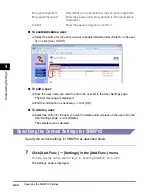
Specify the user information for SNMPv3 as described below.
1
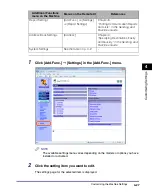
Click [Add.Func.]
➞
[Settings] in the [Add.Func.] menu.
For help, see the screen shot in step 1 in “Enabling SNMPv3,” on p. 4-30.
The Settings page is displayed.
Содержание 1730
Страница 2: ...imageRUNNER 1750i 1740i 1730i 1730 Remote UI Guide ...
Страница 11: ...x ...
Страница 27: ...Viewing the Machine Status and Information 1 16 Introduction to the Remote UI 1 ...
Страница 95: ...Specifying the Authorized Send Settings 4 18 Customizing Settings 4 2 Specify the necessary settings click OK ...
Страница 117: ...Verifying SSL Server Certificates 4 40 Customizing Settings 4 ...
Страница 118: ...5 1 CHAPTER 5 Appendix This chapter includes the glossary and index Glossary 5 2 Index 5 6 ...
Страница 125: ...Index 5 8 Appendix 5 ...


