75
You can correct an image by pasting a section copied from another part
of the image to an unwanted part of the image. The corrected image
becomes a corrected image by converting to a JPEG or TIFF image and
saving
1
Follow steps 1 to 3 in “Manually Erasing Dust (Repair
Function)”
.
2
Specify the section to be copied.
O
Click the [Select Copy Source] button and then click on the
section that is to be the copy source.
O
To change the section that is to be the copy source, perform the
operation above again.
O
You can also specify the section to be copied by clicking on the
section to be copied while holding down the <option> key.
O
To fix the position of the copy source, check mark the [Fix Copy
Source position].
3
Correct the image.
O
Click or drag on the section you want to correct on the image. [
+
]
in the window indicates the copy source and [ ] indicates the
copy destination.
¿
The copied image is pasted in the position to which it was
dragged.
O
For [Pen type], you can select from [Brush] (the pasted image’s
borders simulate a brush) and [Pencil] (the pasted image’s
borders are sharp).
O
Continue by performing the same operations as steps 6 and 7 of
“Manually Erasing Dust (Repair Function)”
Erasing Unwanted Parts of an Image (Copy Stamp Function)
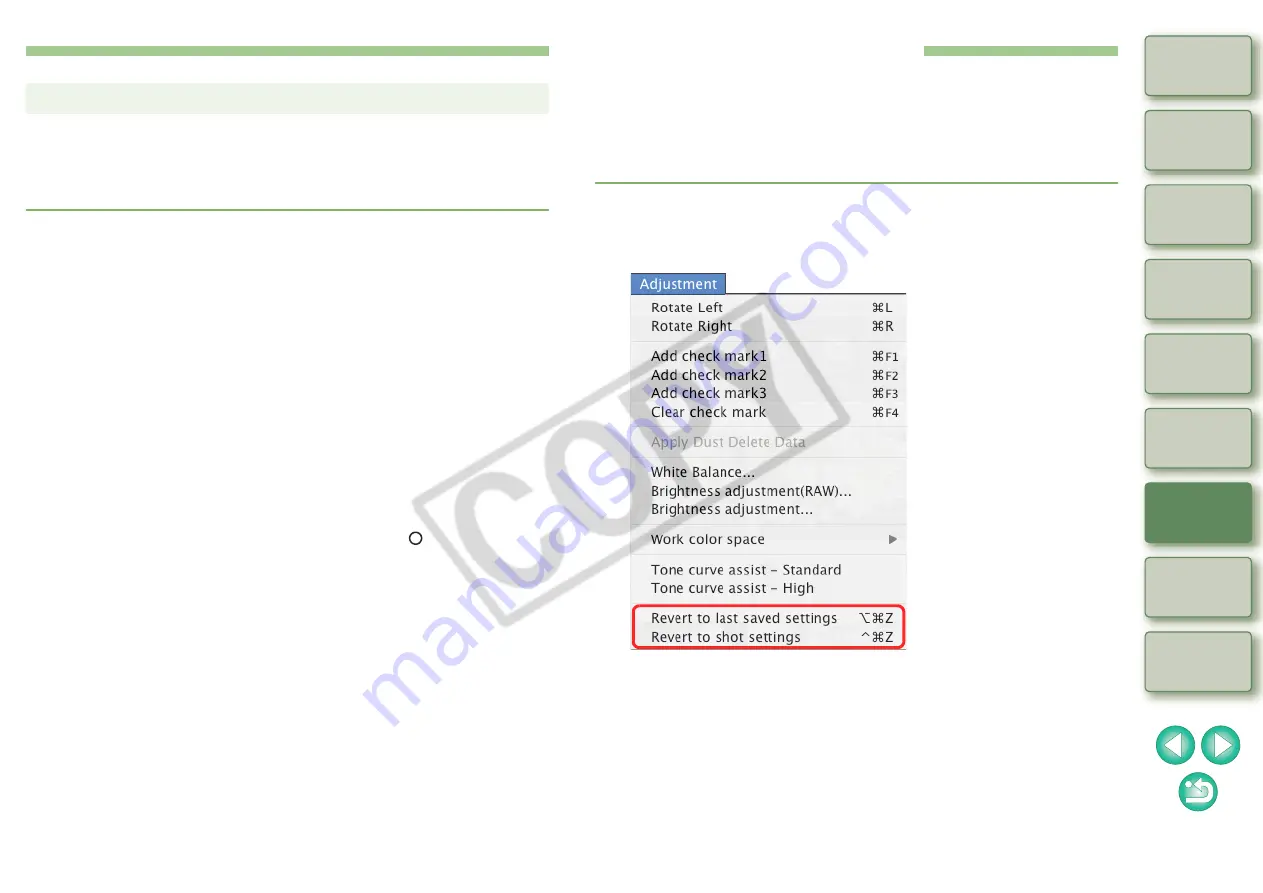
Re-Editing an Image
Since only the image processing conditions of an edited JPEG or TIFF
image is changed and displayed, the original image data itself remains
unaffected in its original condition. For that reason, you can cancel all
adjustments in an image and restore it to the last saved condition or to
the image that you originally shot.
1
Select the image that is to be re-edited.
2
Select the [Adjustment] menu
`
desired item.
¿
The image reverts to the conditions of the selected item.


