CSI-7K-S22003-E
CSI-8K-S22003-E
CSI-9K-S22003-E
PV Inverter User Manual
(Part No.: 91000078 Release Date: March, 2023)
Страница 1: ...CSI 7K S22003 E CSI 8K S22003 E CSI 9K S22003 E PV Inverter User Manual Part No 91000078 Release Date March 2023...
Страница 2: ...ce 3 3 3 Product Nameplate 4 4 Storage 4 5 Unpacking And Inspection 5 6 Installation 5 6 1 Basic Installation Requirements 5 6 2 Mounting Wall Mounting Bracket 7 6 3 Installing Inverter 8 7 Electrical...
Страница 3: ...pecification 21 3 CT Installation 21 3 1 System Diagram 21 3 2 Wiring Signal Cable 21 3 3 Install the CT 22 3 4 Setting on the Inverter Default Setting is OFF 22 Appendix D Single Phase Meter Installa...
Страница 4: ...ocuments published on our website at http www csisolar com as these lists are updated on a regular basis 1 3 Limitation of Liability CSI Solar Co Ltd shall not be held responsible for damages of any k...
Страница 5: ...iar with the safety specification about the electrical system 3 Be familiar with the local requirements rules and regulations 4 Understand the composition and working principles of the grid tied PV sy...
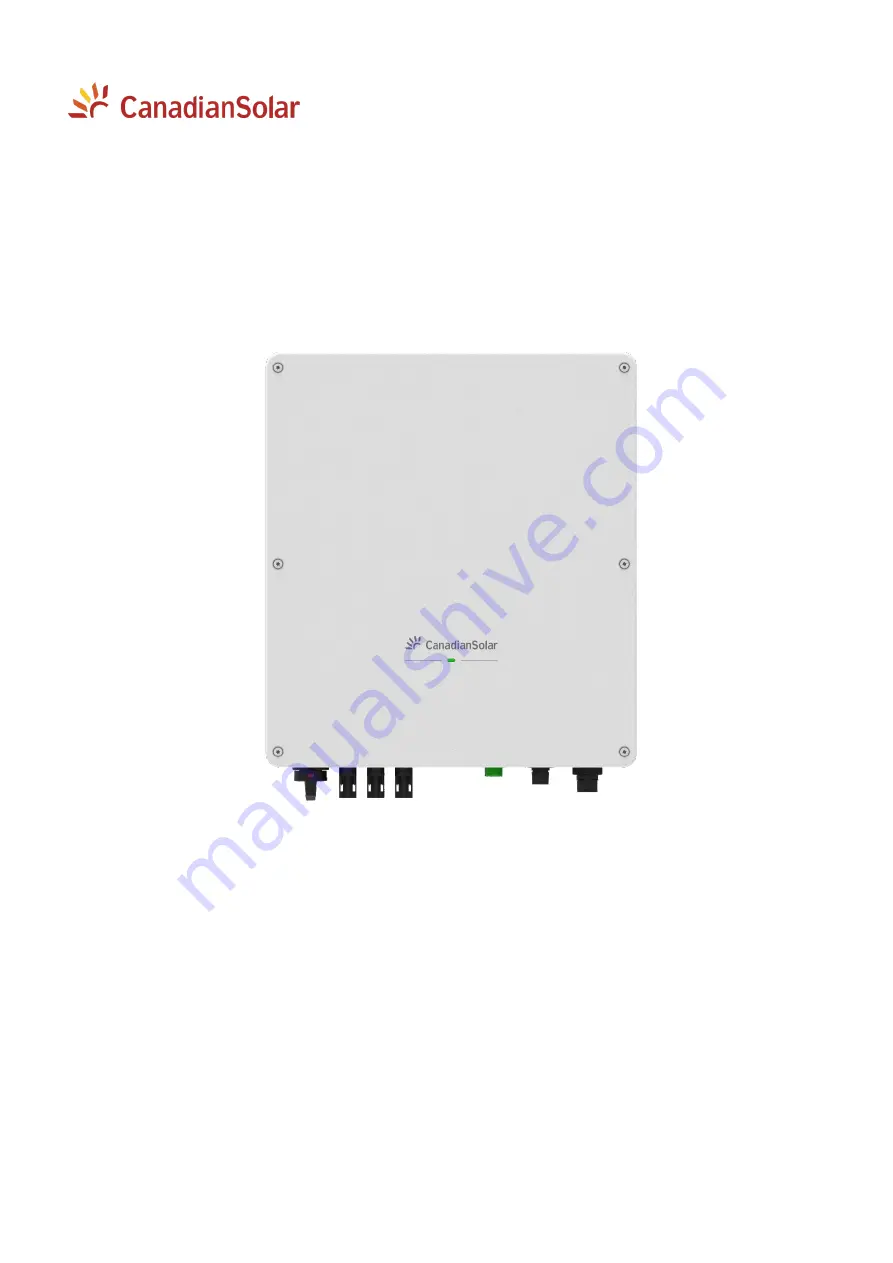
Страница 6: ...to the power grid This document involves the following product models CSI 7K S22003 E CSI 8K S22003 E CSI 9K S22003 E PV grid connected system mainly includes PV modules DC switch inverter AC switch e...
Страница 7: ...er Model Number CSI 8K S22003 E Vmax PV absolute max 600V dc MPPT Voltage Range 100 500V dc Max Input Current 15 30 A dc Max Short Circuit Current 18 8 37 6 A dc Rated Output Power 8000W AC Nominal Vo...
Страница 8: ...check all of the accessories carefully in the carton If any damage is found or any component is missing contact your local installer Notice 1 For component details see the packing list document in the...
Страница 9: ...uirements Min 30 cm Min 50 cm Min 30 cm Min 30 cm Min 30 cm Min 30 cm Min 30 cm Min 30 cm Min 30 cm Min 30 cm Min 50 cm Min 50 cm Min 50 cm Min 50 cm Min 50 cm Min 50 cm Min 50 cm Min 50 cm Min 50 cm...
Страница 10: ...6 2 Mounting Wall mounting Bracket Danger To avoid electrical shock or other injury please inspect existing electronic or plumbing installations before drilling holes Procedure 1 Use the wall mountin...
Страница 11: ...nd installing the inverter Note Testing for multiple phase combinations as per AS NZS 4777 2 2020 Section 5 has not been conducted 7 2 Recommended Cables Cable Name Cable Type Conductor Cross Sectiona...
Страница 12: ...n the AC circuit breaker with RCM function selected Note If an external RCD is used a device of type A should be used with a tripping current of 300mA or higher Notice The total capacity of PV inverte...
Страница 13: ...he length of PE cable is at least 5mm longer than L and N ones as per FIG 7 3 30 0 25 0 PE N L 50 0 45 0 PE N L FIG 7 3 Adjust the Cable Length 2 When using flexible cables the conductor must be conne...
Страница 14: ...ector 7 6 Wiring DC Input Note The DC connectors are in paired negative and positive ones Pay attention to the polarities when assembling FIG 7 8 DC Input Connectors 7 6 1 Requirement for DC input The...
Страница 15: ...er FIG 7 12 Ensure the conductors completely wrapped without loosening or damage FIG 7 11 Strip the Cable Insulating Layer FIG 7 12 Crimp the Contact 3 Insert the crimped contact pin into the connecto...
Страница 16: ...ction Connector pin definitions PIN Assignment for inverter capable of both charging and discharging Pin assignments front view 1 DRM 5 8 1 RJ45 Socket RJ45 Plug 1 8 2 DRM 6 3 DRM 7 4 DRM 8 5 RefGen 6...
Страница 17: ...r monitoring connection The inverter can be monitored via a WiFi data logger connect to the RS485 port More details for installation and operation methods please refer to the WiFi data logger user man...
Страница 18: ...nitial DC voltage of the PV strings is greater than the Min DC input voltage but is lower than the DC start up input voltage Inverter cannot start up normally and cannot feed power into utility grid e...
Страница 19: ...proper tools test equipment or the more recent revision of the manual with has been clearly and thoroughly understood Items Methods Period System clean Check the temperature and dust of the inverter C...
Страница 20: ...still exists contact Customer service F 107 DC component over range 1 Restart inverter 2 If error message still exists contact Customer service F 108 Current sensor fault 1 Wait until inverter restore...
Страница 21: ...from the bracket Note Before performing any work ensure that you are familiar with this document 13 2 Packing Inverter If possible use the original packaging or the packaging that is suitable for the...
Страница 22: ...CT current transformer DC direct current GPRS general packet radio service LED light emitting diode MPPT maximum power point tracking PC personal computer PE protecting earthing PV photovoltaic RCD re...
Страница 23: ...y Protection DC Switch Integrated Anti Islanding Protection Integrated DC Reverse Protection Integrated Insulation Monitoring Integrated AC Over Voltage Protection Integrated AC Over Current Protectio...
Страница 24: ...Environmental protection ROHS Dotted terminal P1 and red cable Dimension W x H x D mm 30 5 X 49 X 34 mm Signal cable length 5 m not including CT sensor FIG 1 Outline and Dimensions of CT 3 CT install...
Страница 25: ...ciation in section 2 The current direction muse be consistent with the arrow direction on the shell of CT 3 Fix the CT with cable tie to prevent slipping as per FIG 9 4 Check the current and current d...
Страница 26: ...ensing Dimension W x H x D mm 36 x 88 x 71 mm Installation Method Rail DIN 35mm FIG1 Outline and Dimensions of Meter 3 Meter installation 3 1 System diagram Note The meter has to be installed to the g...
Страница 27: ...on refer to inverter user manual Tools Phillips screwdriver 2 Torque 1 2 1 6N m 3 4 Setting on the inverter default setting is OFF 1 Enter CSI CloudPro APP 2 Enter the Local Mode as per FIG 8 3 Scan t...
Страница 28: ...nd IOS systems are supported 1 Android Scan QR code and open with browser download App and install 2 IOS Scan QR code open with browser jump to App Store and download Note For the monitoring and local...
Страница 29: ...cation as per FIG 2 2 Select Local Mode scan logger SN and connect to logger AP FIG 2 Connect to logger AP 3 Enter Overview page and check the software version FIG 3 Overview Page 3 2 Parameters setti...
Страница 30: ...ustralia A Inverter provides preset protection parameters for each country code FIG 4 Select Country 2 Set Power Quality Response Modes a Power derating for voltage variation Volt Watt mode as per FIG...
Страница 31: ...of Srated 100 0 to 20 NOTE Australia C parameter set is intended for application in isolated or remote power systems b Reactive power regulation for voltage variation Volt Var mode as per FIG 7 FIG 6...
Страница 32: ...0 V to 230 V 230 V to 265 V 230 V to 265 V Inverter reactive power level Q of Srated 30 to 60 supplying 0 0 30 to 60 supplying NOTE 1 Inverters may operate at a reactive power level with a range up to...
Страница 33: ...Appendix E CSI CloudPro APP 30 32 4 EPM setting a Enter EPM page as per FIG 8 FIG 8 EPM page b Select EPM Mode then choose meter in grid option and confirm FIG 10 EPM Mode...
Страница 34: ...t Export Limit mode enable the Soft Export Limit and set soft export limit percentage 0 100 FIG 11 Soft Export Limit d If you choose Hard Export Limit mode enable the Hard Export Limit and set hard ex...
Страница 35: ...e Generation limit NOTE This mode can be used only when at least one of the above two modes is enabled FIG 13 Generation limit APP pictures are for reference only 3 3 Exit local mode Note For IOS syst...
Страница 36: ...oad SND Suzhou Jiangsu China 215129 Sales Inquiries Email info csisolar com Customer Support Email service ca csisolar com This manual is subject to change without prior notification Copyright is rese...