


Section 7. Installation
193
String length can also be declared. See table
Data Types in Variable Memory.
(p.
A one-dimension string array called
StringVar
, with five elements in the array
and each element with a length of 36 characters, is declared as
Public
StringVar(5)
As String
* 36
Five variables are declared, each 36 characters long:
StringVar(1)
StringVar(2)
StringVar(3)
StringVar(4)
StringVar(5)
7.6.3.3.4 Declaring Flag Variables
A flag is a variable, usually declared
As Boolean
(p. 575),
that indicates True or
False, on or off, go or not go, etc. Program execution can be branched based on
the value in a flag. Sometime flags are simply used to inform an observer that an
event is occurring or has occurred. While any variable of any data type can be
used as a flag, using Boolean variables, especially variables named "Flag", usually
works best in practice. CRBasic example
Flag Declaration and Use
(p. 193)
demonstrates changing words in a string based on a flag.
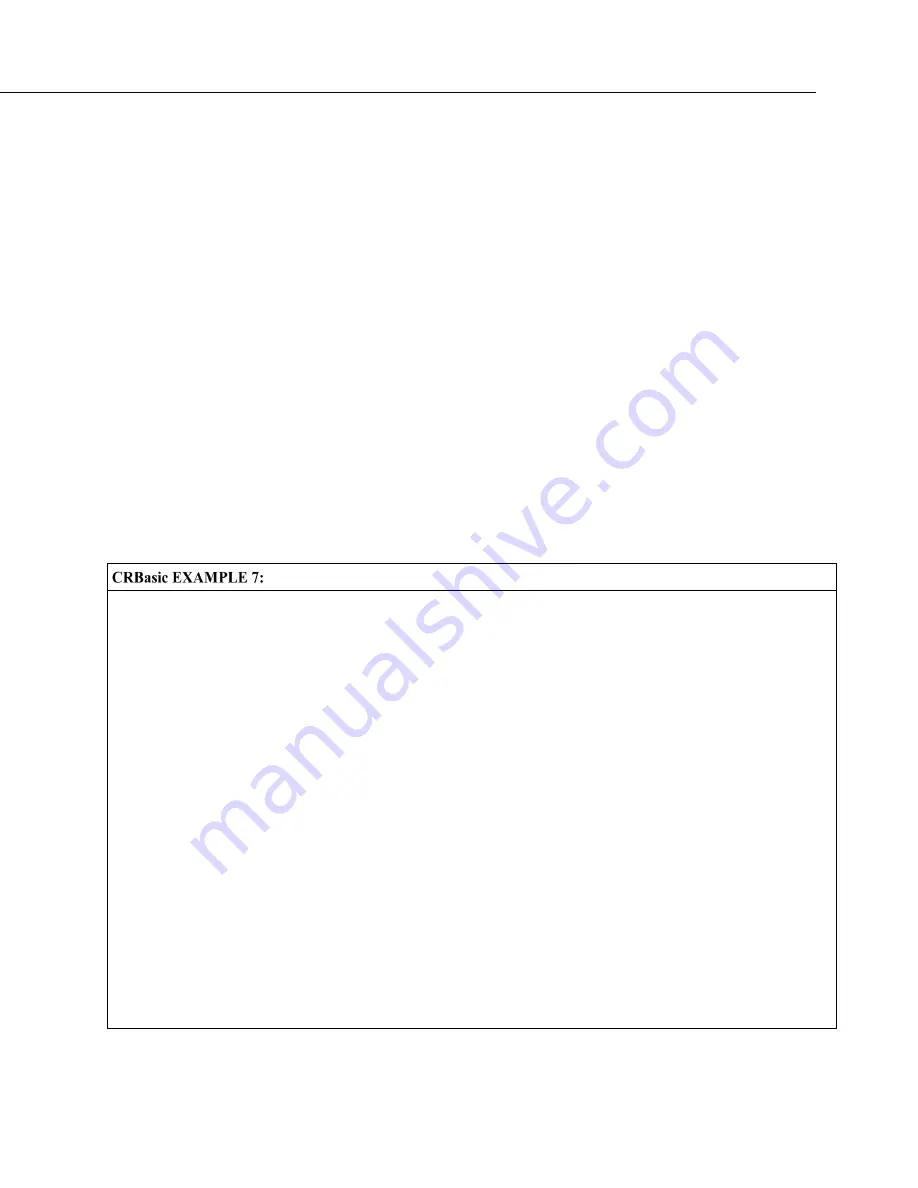
Flag Declaration and Use
'This program example demonstrates the declaration and use of flags as Boolean variables,
'and the use of strings to report flag status. To run the demonstration, send this program
'to the CR6, then toggle variables Flag(1) and Flag(2) to true or false to see how the
'program logic sets the words "High" or "Low" in variables FlagReport(1) and FlagReport(2).
'To set a flag to true when using LoggerNet Connect Numeric Monitor, simply click on the
'forest green dot adjacent to the word "false." If using a keyboard, a choice of "True" or
'"False" is made available.
Public
Flag(2)
As Boolean
Public
FlagReport(2)
As String
BeginProg
Scan
(1,Sec,0,0)
If
Flag(1) = True
Then
FlagReport(1) = "High"
Else
FlagReport(1) = "Low"
EndIf
If
Flag(2) = True
Then
FlagReport(2) = "High"
Else
FlagReport(2) = "Low"
EndIf
NextScan
EndProg
Содержание CR6 Series
Страница 2: ......
Страница 4: ......
Страница 6: ......
Страница 32: ......
Страница 36: ......
Страница 38: ......
Страница 76: ...Section 5 Overview 76 FIGURE 20 Half Bridge Wiring Example Wind Vane Potentiometer ...
Страница 80: ...Section 5 Overview 80 FIGURE 23 Pulse Input Wiring Example Anemometer ...
Страница 136: ......
Страница 251: ...Section 7 Installation 251 FIGURE 46 Running Average Frequency Response FIGURE 47 Running Average Signal Attenuation ...
Страница 454: ...Section 8 Operation 454 FIGURE 104 Narrow Sweep High Noise ...
Страница 459: ...Section 8 Operation 459 FIGURE 106 Vibrating Wire Sensor Calibration Report ...
Страница 535: ...Section 8 Operation 535 8 11 2 Data Display FIGURE 121 CR1000KD Displaying Data ...
Страница 537: ...Section 8 Operation 537 FIGURE 123 CR1000KD Real Time Custom ...
Страница 538: ...Section 8 Operation 538 8 11 2 3 Final Storage Data FIGURE 124 CR1000KD Final Storage Data ...
Страница 539: ...Section 8 Operation 539 8 11 3 Run Stop Program FIGURE 125 CR1000KD Run Stop Program ...
Страница 541: ...Section 8 Operation 541 FIGURE 127 CR1000KD File Edit ...
Страница 542: ...Section 8 Operation 542 8 11 5 PCCard Memory Card Management FIGURE 128 CR1000KD PCCard Memory Card Management ...
Страница 546: ......
Страница 549: ...Section 9 Maintenance Details 549 FIGURE 133 Separate Back Shell from Module FIGURE 134 Disconnect Battery Connector ...
Страница 552: ......
Страница 610: ...Section 11 Glossary 610 FIGURE 137 Relationships of Accuracy Precision and Resolution ...
Страница 612: ......
Страница 648: ......
Страница 650: ......
Страница 688: ......
Страница 689: ......


