background image

1.

2.

3.

4.

13

FIRST STEPS

Fingerprint Sensor Usage

How to use the 

fi

 ngerprint reader.

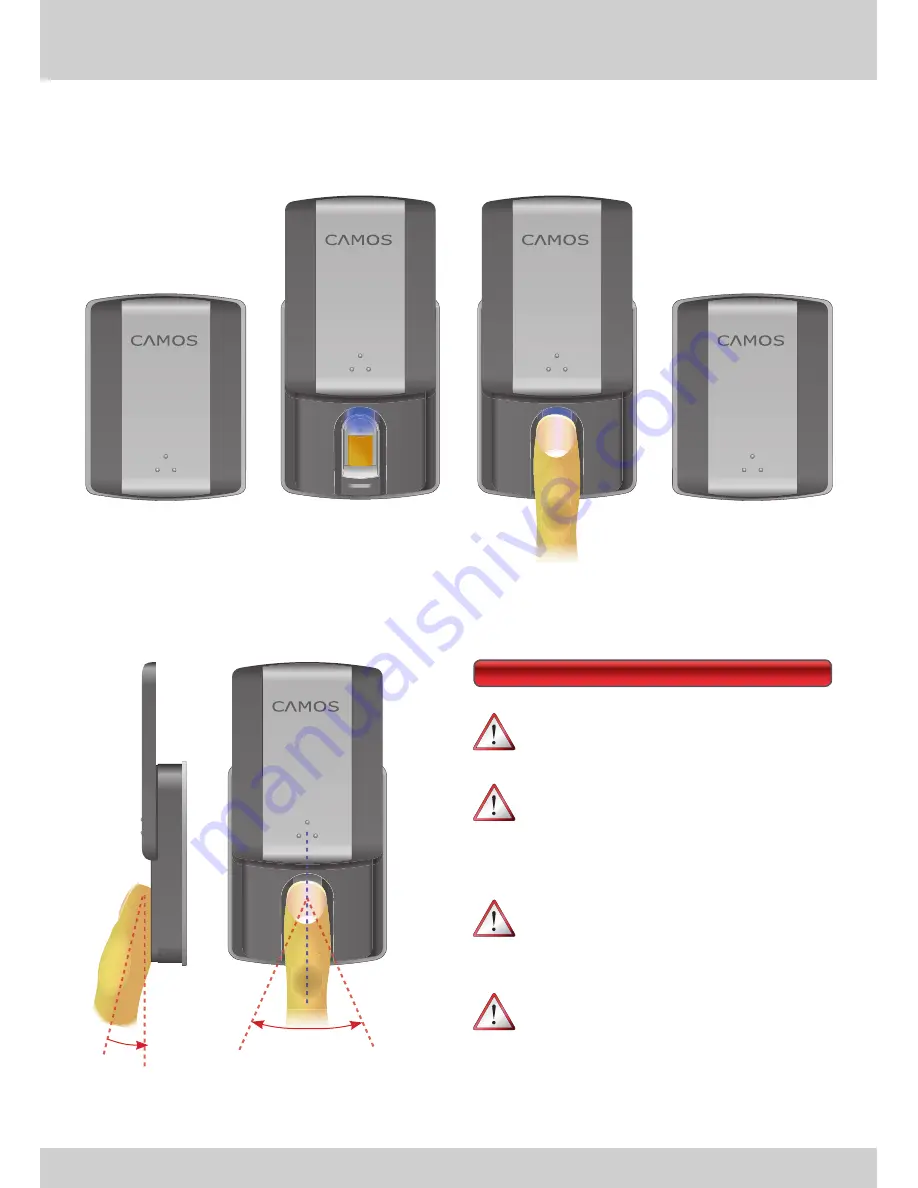
Open sensor cover.

Blue LED turns on.

Place 

fi

 nger  smoothly 

and straight.

Close sensor cover.

max. 30°

As smoothly 
as possible

Hints

For security reasons there is an inte-
grated time-out after 3 seconds.   

For security reasons you will have 
only three attempts for 

fi

 ngerprint 

recognition. After that you have to 
close and open the cover again.

If the sensor position is inconvenient 
for using your fore

fi

 nger,  we  recom-

mend to use your thumb.

Please 

fi

 nd your way to place the 

fi

 n-

ger with the biggest possible contact  
area. Try to use the swilley for orien-
tation. 

Содержание EASY HOME

Страница 1: ...1 2 3 4 5 6 7 8 9 0 BIOMETRIC FINGERPRINT RECOGNITION EASY HOME EASY MOBILE User Manual...

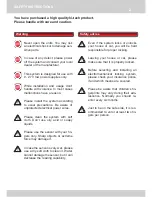
Страница 2: ...rp objects or extreme force may damage it In case the sensor is very wet please use a dry soft cloth to clean it Water cannot damage the sensor but it can decrease the reading capability Safety advise...

Страница 3: ...itted without our express written approval 2 SAFETY INSTRUCTIONS 4 BASICS 4 Technology 5 Applications 6 FIRST STEPS 6 Shipment 7 Key pad 8 Menu structure 9 Login 10 New PIN 11 Language 12 Enrol new 13...

Страница 4: ...ric system are its failure rates The False Acceptance Rate FAR and the False Rejection Rate FRR More critical for consumer applications is the FAR value It is more dangerous when an un authorized pers...

Страница 5: ...alarm systems with the Easy Home Easy Mobile As explained above the Easy Mobile meets the requirements of mobile applications The system is well protected against environmen tal influences and it is...

Страница 6: ...and furniture protector 3 Data cable reader controller 1 m The components Controller Main unit Mounting bracket Fingerprint reader Mounting bracket Reader Installation material 4 Pluggable screw term...

Страница 7: ...step Please make yourself familiar with the signs and symbols on the right side How to use the key pad and how read the step by step guide The keys shown must be pressed successively For entering num...

Страница 8: ...act Espanol Espanol Device ID Device ID 2 4 6 8 8 FIRST STEPS Menu structure The menu structure and navigation The basic functions are available after single login into the system menu Some expert set...

Страница 9: ...first login On the following pages all functions will be ex plained To achieve a higher legibility the login procedure will be shown in a short form After an adjustable time the system will auto mati...

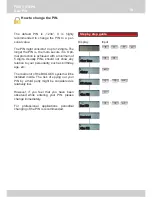
Страница 10: ...he PIN is the more secure it is Opti mal protection is achieved with a minimum of 5 digits Usually PINs should not show any relation to your personality such as birthday age etc The main unit of the B...

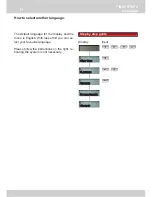
Страница 11: ...eutsch 11 Step by step guide Display Input The default language for the display and the menu is English With less effort you can se lect your favourite language Please follow the instructions on the r...

Страница 12: ...ith each other The memory is organized like a relational da tabase i e every fingerprint will be assigned to a unique storage index ID number Every new fingerprint will be allocated to the next availa...

Страница 13: ...rity reasons there is an inte grated time out after 3 seconds For security reasons you will have only three attempts for fingerprint recognition After that you have to close and open the cover again I...

Страница 14: ...nt you might want to verify the fingerprint Please enter the ID and let the system check your finger again This function is helpful if the reader must be installed in a difficult position and in case...

Страница 15: ...without its ID If you want to use the system with a high volatile user group it is recom mended to keep a separate list with user to ID reference Otherwise the database must be erased completely and t...

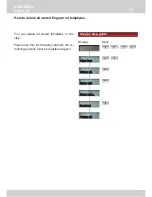
Страница 16: ...d Delete all Delete all Delete all Delete all 16 Step by step guide Display Input You can delete all stored templates in one step Please use this functionality carefully the re maining persons must be...

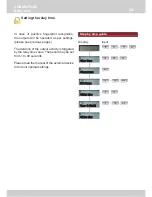
Страница 17: ...isplay Input You can log off the system menu whenever your current task is completed by pressing the key In case that you cannot finish your job or if you get distracted the system will log off after...

Страница 18: ...ivated as explained in the right side 1 Enables the alarm function 2 Disables the alarm function After activating the alarm function you may select one of the three modes 1 Upon alarm event output 1 w...

Страница 19: ...accordingly Please check the installation guide for proper installation The door contact is disabled by default You may enable as explained herein 1 Enables the door contact 2 Disables the door conta...

Страница 20: ...d In case of exchanging the reader the system will not work The units are paired by factory settings Un der normal conditions it is not necessary to change the ID Anyhow if you like to change the syst...

Страница 21: ...ned on the next page You will find the specification of the outputs in chapter Techni cal Data Specification on page 30 If operated as DC supplier the ports can work as open current or closed current...

Страница 22: ...t 2 works similar to output 1 You will find a detailed explanation on the previous page The factory setting for output 2 is DC mode and operating current in normal mode With out any modification you c...

Страница 23: ...The system can distinguish between short 3 sec and long 3 sec finger contact For your sup port the reader will signal by pulse sound Available modes 1 Only output 1 is used Output 2 is free for alarm...

Страница 24: ...play Input Setting the relay time In case of positive fingerprint recognition the outputs will be operated as per settings please see previous pages The duration of the output activity is triggered by...

Страница 25: ...em is configured to work with a standard electric strike by factory default Usually the strike will be connected to output 1 since this port can be operated by touch sensor on the controller compare i...

Страница 26: ...nction will start a complete connector test and will check the fingerprint reader If the system ID is displayed correctly the reader is well connected Otherwise please check the link Afterwards the ou...

Страница 27: ...ary and updates will be provided only in case of com plex matters The access via PC USB to the biometric sys tem requires a special software Otherwise it is not possible to get access Don t use this f...

Страница 28: ...ep guide Display Input How to return to default values If some of your settings do not have the ex pected effect or if you lost the overview you may re set the system to default values Stored fingerpr...

Страница 29: ...troller 1 and reader 2 firmware version In case of trouble shooting please check all connectors and wiring first If it is still necessary to achieve technical help of our service team check and write...

Страница 30: ...x 170 x 33 mm Weight 300 g Operating temperature 20 70 C Power supply 9 27 V optimal 12 V Power consumption 9 mA Stand by max 100 mA Sensor technology Active capacitive hybrid Sensor type Flatbed sen...

Страница 31: ...pening devices Please check the Connectors settings The reader is not working Please check the RS 485 cable link between both units Please check that a unique system ID has been selected DIP switch on...

Страница 32: ...Printed in Korea Distributor IMC GmbH Carl Zeiss Str 7 22946 Trittau info imc multimedia com Version 01_20071129...

Отзывы: