background image

15

Sett

ENTER -> UP/DOWN

dISr


(Display reverse)

ENTER

dIS


(Display lighting)

ENTER -> UP/DOWN

on


(permanently on)

oFF


(off after approx. 75 

sec.)

dSIG


(operating mode in case of DMX signal interruption)

ENTER -> UP/DOWN

hOLd


(last command)

bLAC


(Blackout)

AUtO


(Auto mode)

Soun


(Music control mode)

MOtr


(Initialising the motors, approx. 40 sec.)

ENTER

rSet


(Reset to factory settings, approx. 20 sec.)

ENTER

verS


(display the version number)

ENTER

v1x

hour


(display the number of operating hours)

ENTER

xx

Confirm each change in the system by pressing ENTER, and press MODE to exit.

DE

Wenige Sekunden nach Anlegen der geeigneten Spannung ist der Effekt-Strahler betriebsbereit und die Betriebsart, die zuvor angewählt war, 

wird aktiviert.

BETRIEBSART EINSTELLEN

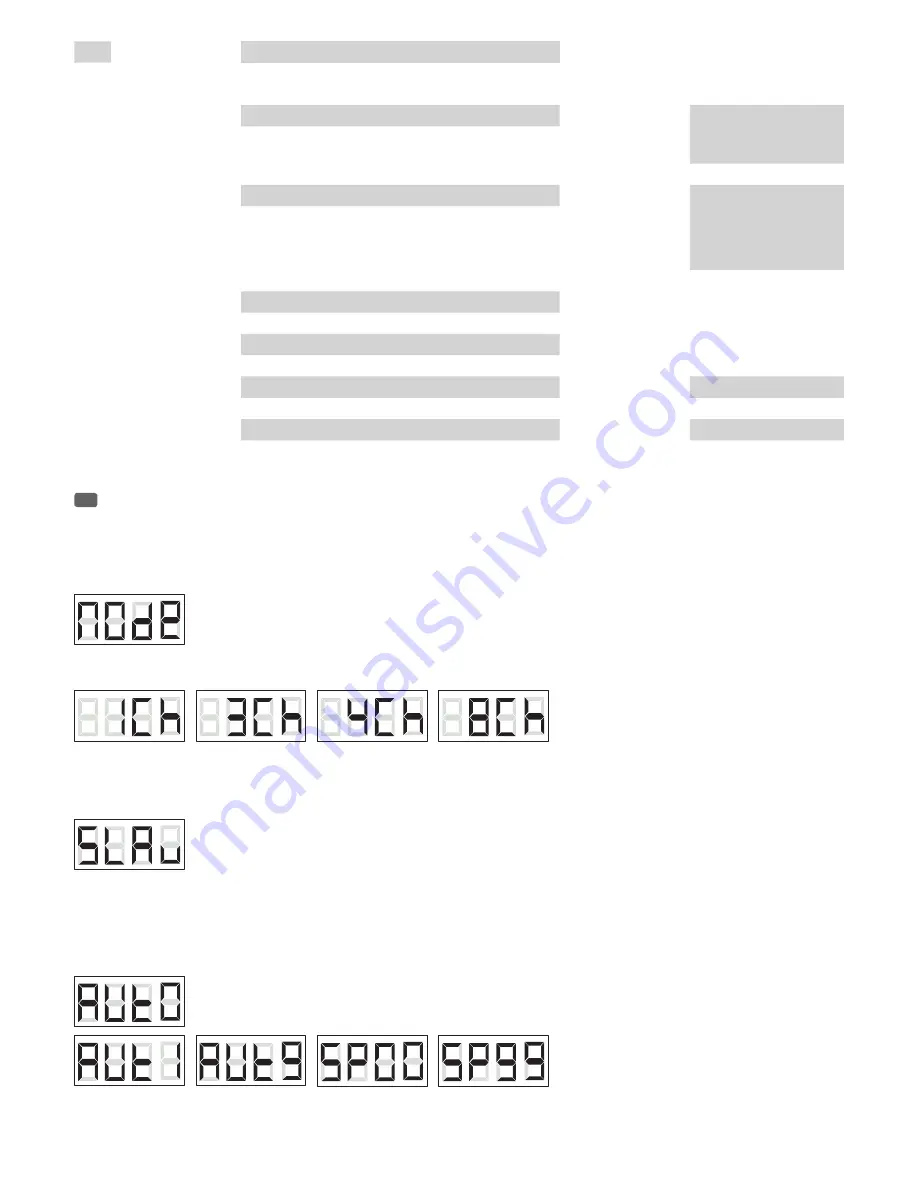
Drücken Sie die MODE-Taste so oft, bis im Display „MOde“ angezeigt wird und bestätigen die Eingabe durch Drücken auf ENTER. Wählen Sie nun die 

gewünschte Betriebsart mit Hilfe der Tasten UP und DOWN und bestätigen die Eingabe mit ENTER.

DMX-Betriebsarten 1-Kanal, 3-Kanal, 4-Kanal, 8-Kanal

 (Tabellen mit den Kanalbelegungen der verschiedenen DMX-Betriebsarten finden Sie 

auf den folgenden Seiten dieser Bedienungsanleitung):

SLAVE-Betriebsart

Sobald Sie die Slave- mit der Master-Einheit (gleiches Modell) mit Hilfe eines DMX-Kabels (Master = DMX OUT, Slave = DMX IN) verbunden haben 

und die Master-Einheit auf eine der Standalone Betriebsarten (automatische Steuerung bzw. Musiksteuerung) eingestellt haben, folgt die Slave-

Einheit der Master-Einheit. 

AUTO-Betriebsart

Sobald Sie die AUTO-Betriebsart ausgewählt und diese Auswahl mit ENTER bestätigt haben, wird das aktuell aktivierte Automatik-Programm im 

Display angezeigt (AUt1 - AUt9). Drücken Sie nochmals auf ENTER, um nun eines der 9 verschiedenen Programme auswählen zu können (Ziffern 

blinken, Auswahl mit UP und DOWN, bestätigen mit ENTER). Um die Laufgeschwindigkeit des aktivierten Programms einstellen zu können (SP00 - 

SP99), drücken Sie nun einmal auf UP oder DOWN, dann auf ENTER und stellen mit Hilfe der Tasten UP und DOWN die Geschwindigkeit ein (SP00 = 

minimale, SP99 = maximale Geschwindigkeit). Bestätigen Sie mit ENTER.

Содержание CLTWINSCAN20

Страница 1: ...1 USER S MANUAL BEDIENUNGSANLEITUNG MANUEL D UTILISATION MANUAL DE USUARIO INSTRUKCJA OBS UGI MANUALE D USO TWINSCAN 20 DUAL GOBO SCANNER WITH 2 X 10W CREE LEDS CLTWINSCAN20...

Страница 2: ...s Make certain that wall mounts are properly installed and secured Make certain that the equipment is installed securely and cannot fall down 7 During installation observ e the applicable safety regul...

Страница 3: ...levels SPL that can lead to irreversible hearing damage in performers employees and audience members For this reason avoid prolonged exposure to volumes in excess of 90 dB CAUTION IMPORTANT INFORMATIO...

Страница 4: ...ex Ger testecker entsperrt werden bevor er entfernt werden kann Das bedeutet aber auch dass das Ger t durch ein Ziehen am Netzkabel verrutschen und herunterfallen kann wodurch Personen verletzt werden...

Страница 5: ...re de la pi ce 24 Avant de relier l appareil la prise murale v rifiez que la valeur et la fr quence de tension secteur sur laquelle il est r gl correspondent bien la valeur et la fr quence de la tensi...

Страница 6: ...os recomendados por el fabricante 15 No abra el equipo ni intente modificarlo 16 Una vez conectado el equipo compruebe que en toda la longitud del cableado no hay peligro de que provoque una ca da por...

Страница 7: ...przestrzega zalece 4 Nale y przestrzega wszystkich wskaz wek ostrzegawczych Nie wolno usuwa wskaz wek bezpiecze stwa ani innych informacji znajduj cych si na urz dzeniu 5 U ywa urz dzenia wy cznie w...

Страница 8: ...nserwacyjne i naprawy mo e przeprowadza wy cznie wykwalifikowany personel serwisowy Tr jk t r wnoboczny z symbolem b yskawicy sygnalizuje nieizolowane niebezpieczne napi cie we wn trzu urz dzenia kt r...

Страница 9: ...bili esclusivamente con fusibili dello stesso tipo e valore Se un fusibile continua a saltare rivolgersi a un centro di assistenza autorizzato 29 Per staccare completamente il dispositivo dalla rete e...

Страница 10: ...ore par le beat musical Le bo tier m tallique noir robuste est quip de connecteurs XLR 3 points pour l entr e et la sortie DMX d une embase IEC avec fusible et d un afficheur LED dot de quatre touches...

Страница 11: ...rario enfoque cercano PL Soczewka do koncentrowania projekcji w r nych odleg o ciach obr t zgodnie z ruchem wskaz wek zegara zakres daleki obr t przeciwnie do ruchu wskaz wek zegara zakres bliski IT L...

Страница 12: ...adas en el equipo Si el fusible se fundiera continuamente p ngase en contacto con un servicio t cnico autorizado PL Gniazdo sieciowe IEC ze zintegrowan podstaw bezpiecznika W zestawie znajduje si odpo...

Страница 13: ...ji menu g wnego ENTER Wyb r pozycji w podmenu Potwierdzanie wyboru trybu pracy programu i zmiany warto ci UP i DOWN Wyb r trybu pracy programu i zmiana adresu DMX IT MODE selezione delle diverse voci...

Страница 14: ...the speed using the UP and DOWN buttons SP00 minimum speed SP99 maximum speed Confirm with ENTER Music control mode Once you have selected the Music control mode and confirmed the selection by pressin...

Страница 15: ...e Eingabe mit ENTER DMX Betriebsarten 1 Kanal 3 Kanal 4 Kanal 8 Kanal Tabellen mit den Kanalbelegungen der verschiedenen DMX Betriebsarten finden Sie auf den folgenden Seiten dieser Bedienungsanleitun...

Страница 16: ...tellungen vorzunehmen Einstellungen zur ckzusetzen die Motoren zu initialisieren und Systemdaten abzufragen dr cken Sie die MODE Taste so oft bis im Display Sett angezeigt wird und best tigen die Eing...

Страница 17: ...programme activ appara t dans l afficheur SOU1 SOU9 Appuyez sur ENTER puis choisissez l un des 9 programmes diff rents avec les touches UP et DOWN Les chiffres clignotent validez par ENTER Pour r gle...

Страница 18: ...en pantalla MOde y confirme pulsando ENTER A continuaci n con los botones UP y DOWN seleccione el modo deseado y confirme pulsando ENTER Los modos DMX 1 canal 3 canales 4 canales y 8 canales consulte...

Страница 19: ...o de control DMX como una mesa DMX configure los focos con la misma direcci n inicial DMX y con ctelos mediante cables DMX CONFIGURACI N DEL SISTEMA Para cambiar la configuraci n del sistema restablec...

Страница 20: ...ierdzi wprowadzone dane za pomoc przycisku ENTER Tryb pracy sterowania muzyk Po wybraniu trybu pracy steruj cego muzyk i potwierdzeniu wyboru przyciskiem ENTER na wy wietlaczu pojawi si aktualnie w cz...

Страница 21: ...TER Selezionare ora la modalit di funzio namento desiderata con l ausilio dei tasti UP e DOWN e confermare con ENTER Modalit DMX 1 canale 3 canali 4 canali 8 canali le tabelle con le configurazioni de...

Страница 22: ...odello tramite un dispositivo di comando DMX ad esempio un mixer DMX si ottiene impostando i proiettori su un indirizzo di avvio DMX identico e collegandoli con cavi DMX IMPOSTAZIONI DI SISTEMA Per es...

Страница 23: ...AUTO 8 speed slow fast 202 225 AUTO 9 speed slow fast 226 255 SOUND CONTROL sensitivity 0 100 3 CH Mode CH1 Dimmer 000 255 Master Dimmer 0 100 CH2 Strobe 000 009 Open 010 255 Stroboscope Speed 1 20Hz...

Страница 24: ...ite 038 044 Gobo 6 Blue 045 050 Gobo 7 Orange 051 056 Gobo 8 GreenYellow 057 063 Gobo 9 Blue Green 064 070 Spot shake effect 071 076 Gobo 1 shake effect 077 082 Gobo 2 shake effect 083 089 Gobo 3 shak...

Страница 25: ...15 120 Gobo 8 shake effect 121 127 Gobo 9 shake effect 128 189 Gobo change clockwise slow fast 190 193 Stop 194 255 Gobo change counterclockwise slow fast CH6 Tilt2 000 255 Tilt 0 55 CH7 White2 000 25...

Страница 26: ...the first DMX device e g DMX Controller 2 Connect the female 3 pin XLR connector of the DMX cable connected to the first projector to the DMX input male 3 pin socket of the next DMX device In the same...

Страница 27: ...B DMX Controller 2 Verbinden Sie den weibliche XLR Stecker des an den ersten Scheinwerfer angeschlossenen DMX Kabels mit dem DMX Eingang m nnliche XLR Buchse des n chsten DMX Ger ts Verbinden Sie den...

Страница 28: ...r XLR m le de l appareil DMX suivant Reliez la sortie DMX de cet appareil selon le m me m thode l entr e DMX de l appareil DMX suivant et ainsi de suite Veillez ce que tous les appareils DMX soient re...

Страница 29: ...embra del cable DMX del primer foco a la entrada DMX del equipo siguiente conector de chasis macho Conecte la salida DMX de este ltimo equipo a la entrada DMX del equipo siguiente y as sucesivamente T...

Страница 30: ...sk wtyczk XLR kabla DMX pod czonego do pierwszego reflektora pod czy do wej cia DMX m skie gniazdo XLR nast pnego urz dzenia DMX Wyj cie DMX tego urz dzenia pod czy w taki sam spos b do wej cia DMX na...

Страница 31: ...o proiettore DMX con l ingresso DMX presa XLR maschio del successivo dispositivo DMX Analogamente collegare l uscita DMX di questo dispositivo con l ingresso DMX del dispositivo seguente e cos via Ten...

Страница 32: ...9 Colour Gobos open 2 x Focus manual DMX Protocol DMX512 DMX Input 3 pin XLR male DMX Output 3 pin XLR female DMX Mode 1 channel 3 channel 4 channel 8 channel DMX Functions Gobo colour wheel PAN Auto...

Страница 33: ...10 W Angle de D part 12 Gobos 9 gobos de couleurs ouverts 2 x Mise au point focus manuelle Protocole DMX DMX512 Entr e DMX XLR 3 points m le Sortie DMX XLR 3 points femelle Modes DMX 1 canaux 3 canau...

Страница 34: ...ro 2400 lux Consumo 35 W Fusible F3A 250V 5 x 20 mm Rango operativo de temperaturas 0 a 40 C Humedad relativa 85 sin condensaci n Material de la carcasa Metal Color de la carcasa Negro Refrigeraci n C...

Страница 35: ...uoco Manuale Protocollo DMX DMX512 Ingresso DMX XLR maschio a 3 poli Uscita DMX XLR femmina a 3 poli Modalit DMX 1 canale 3 canali 4 canali 8 canali Funzioni DMX Gobo ruota colori PAN programma Auto 1...

Страница 36: ...anderen gewerblichen Abf llen entsorgt werden FR GARANTIE FABRICANT LIMITATION DE RESPONSABILIT Nos conditions actuelles de garantie et de limitation de responsabilit sont disponibles l adresse suiva...

Страница 37: ...ewentualne sprawdzenie uzgodnionych umownie warunk w utylizacji urz dze Niniejszy produkt nie mo e by utylizowany razem z innymi odpadami przemys owymi IT MANUFACTURER S WARRANTY LIMITATION OF LIABILI...

Страница 38: ...38...

Страница 39: ...39...

Страница 40: ...40 WWW CAMEOLIGHT COM Adam Hall GmbH Daimlerstrasse 9 61267 Neu Anspach Germany Tel 49 0 6081 9419 0 Fax 49 0 6081 9419 1000 web www adamhall com e mail mail adamhall com REV 01...

Отзывы: