Chapter 5: Installation
259
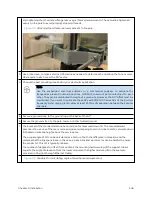
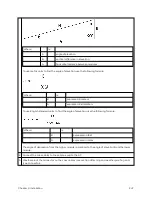
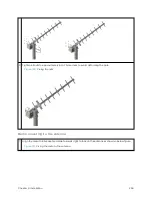
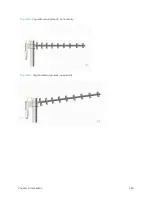
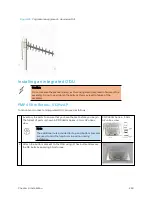
Figure 125 :
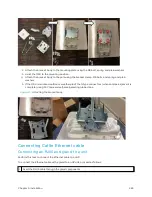
Yagi antenna alignment - downward tilt
Inst alling an int eg rat ed ODU
Caution
Do not reverse the bracket clamp, as this arrangement may lead to failure of the
assembly. Do not over-tighten the bolts as this may lead to failure of the
assembly.
PMP 4 50 m Ser ies – 5 GHz A P
To mount and connect an integrated ODU, proceed as follows:
1
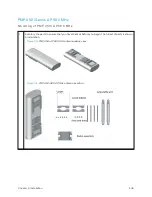
Inventory the parts to ensure that you have them all before you begin.
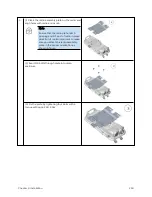
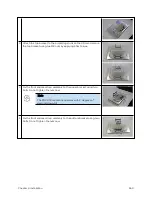
The full set of parts is shown in PMP 450m Series - 5 GHz AP unbox
view.
Note
The additional nuts provided for top and bottom brackets
are used to hold the long bolts in position during
installation.
PMP 450m Series - 5 GHz
AP unbox view
2
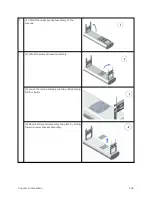
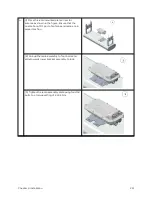
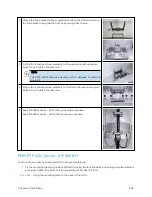
Attach the bottom bracket to the ODU using (2) hex bolts and secure
the M8 bolts by applying 5 Nm torque.
Содержание PMP 450 Series
Страница 92: ...Chapter 2 System hardware 92 Figure 29 MicroPoP Omni antenna implementation pattern Vertical...
Страница 134: ...Chapter 3 System planning 134 Figure 51 Mast or tower installation...
Страница 135: ...Chapter 3 System planning 135 Figure 52 Wall installation...
Страница 136: ...Chapter 3 System planning 136 Figure 53 Roof installation...
Страница 137: ...Chapter 3 System planning 137 Figure 54 GPS receiver wall installation...
Страница 158: ...Chapter 3 System planning 158 Figure 61 cnMedusa Antenna...
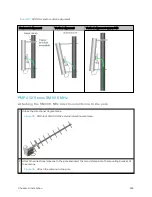
Страница 258: ...Chapter 5 Installation 258 Figure 123 Yagi antenna alignment horizontally Figure 124 Yagi antenna alignment upward tilt...


