Gebrauchsanweisung
Seite 2
Einbauanweisung
Seite 11
Operating instructions
Page 20
Installation instructions
Page 29
Mode d‘emploi
Page 38
Instructions de montage
Page 47
Istruzioni per l‘uso
Pagina 56
Istruzioni di montaggio
Pagina 65
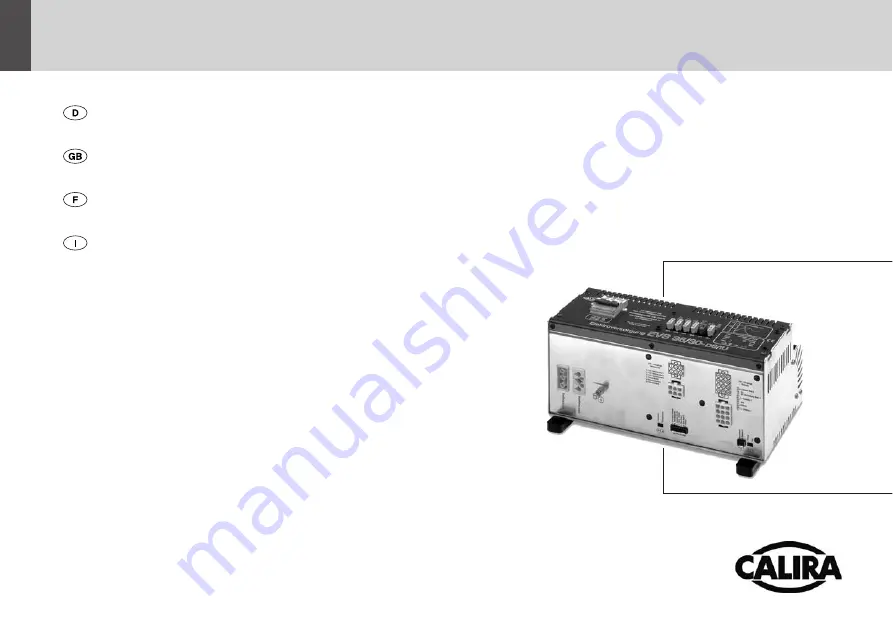
Elektroversorgung
EVS 36/20-DS/IU / 36/30-DS/IU


