background image

S

T

S

8. To set your phone as the default

device, select the device name on
the touch screen, and then select
the Default button on the touch
screen.

Using Your Bluetooth Phone

1. Press the AUX button on the radio

to enter the Bluetooth Phone
screen.

2. Select the Bluetooth button on the

touch screen.

3. Use the touch screen keypad or

your phone keypad to enter a
phone number. You can also select
a number from the vehicle’s
phone book.

4. Select the Phone button on the

touch screen to dial the number.

5. To disconnect the call, press the

Phone button on the touch screen.

For information on how to use the
Bluetooth phone interface, see the
Navigation manual.

MULTIPLE-DISC CD PLAYER
(if equipped)

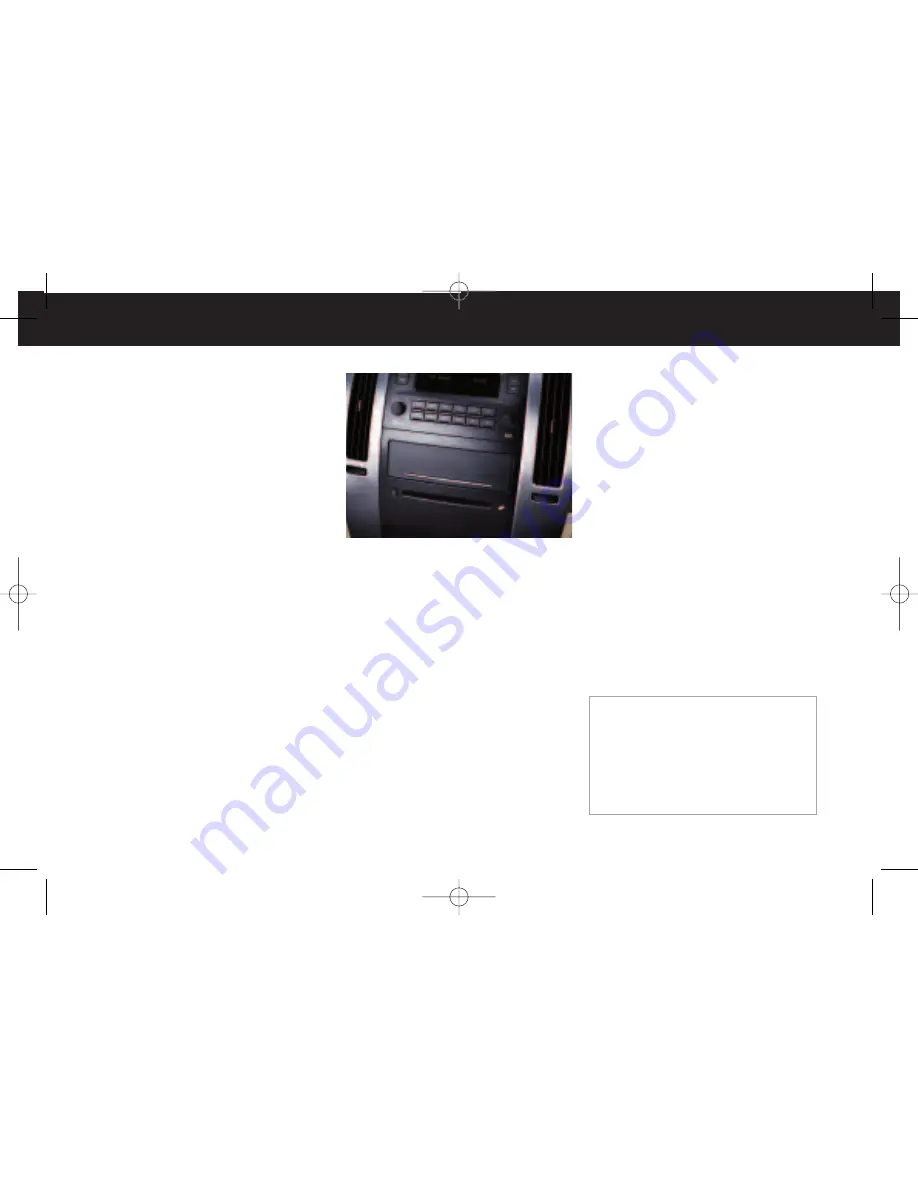
With the in-dash 6-Disc CD Player,
note that you cannot directly load a

CD as in single-play systems. CDs
can be loaded or ejected with the
audio system on or off.

Loading CD(s)

• To load a single CD, press and

release the Load button. Wait for
the display prompt to load the CD.

• To load multiple CDs, press and

hold the Load button for two
seconds. Follow the display
prompts to load each CD.

If the audio system is on, the last
CD loaded will begin playing
automatically.

Playing a CD

F1 CD

(Down):

Press this button to

go to the previous CD.

F2 CD

(Up):

Press this button to go

to the next CD.

F3 CD REV << (Reverse):

Press this

button to go to the previous track.
Press and hold the button to reverse
quickly within a track.

F4 CD FWD >> (Forward):

Press this

button to go to the next track. Press
and hold the button to advance
quickly within a track.

F5 MODE:

Press this button to select

from Normal, Repeat Track, Repeat
CD, Random Track, and Random
All CDs.

F6 DISPLAY:

Press this button to

display the time of the track.

Ejecting a CD

(Eject):

Press this button to eject

the CD that is currently playing. Press

and hold the button to eject all CDs.

Note:

If you add any label to a CD, insert

more than one CD into the slot at a time, or

attempt to play scratched or damaged CDs,

you could damage the CD player. When

using the CD player, use only CDs in good

condition without any labels, load one CD at

a time, and keep the CD player and the

loading slot free of foreign materials, liquids

or debris.

76880_08a_STS_GTK:STS 2007 A  5/11/07  4:15 PM  Page 16

Содержание STS 2008

Страница 1: ...CUSTO M E R CO NVE N I E N C E PE RS O NA LIZATI O N GU I D E 76880_08a_STS_GTK STS 2007 A 5 11 07 4 14 PM Page 1 ...

Страница 2: ...omatic Headlamps 9 Adaptive Cruise Control 9 Power Mirrors and Curb View Assist 11 VEHICLE PERSONALIZATION Vehicle Personalization Settings 11 Memory Settings 12 ENTERTAINMENT Radio and CD Controls 13 Bluetooth Phone Interface 13 Multiple Disc CD Player 14 DVD Navigation Radio System 15 PERFORMANCE MAINTENANCE StabiliTrak Stability Control System 16 Oil Life System 16 Premium Fuel 16 OWNER PRIVILE...

Страница 3: ...io System 7 Adaptive Cruise Control Voice Recognition and Heated Steering Wheel Controls if equipped 8 Horn 9 Audio Steering Wheel Controls 10 Start Button on instrument panel 11 Dual Zone Climate Control System 12 Shift Lever 13 Glove Box INSTRUMENT PANEL 1 3 4 5 6 7 9 10 8 2 11 13 12 Driver Information Safety Security Convenience Vehicle Personalization Entertainment Performance Maintenance Owne...

Страница 4: ...ight 13 Low Tire Pressure Warning Light 14 Antilock Brake System Warning Light 15 Traction Control Off Light 1 2 3 4 15 14 11 9 8 7 10 12 13 6 5 Note The instrument panel cluster is designed to let you know about many important aspects of your vehicle s operation It is important to read your Owner Manual and become familiar with the information being relayed to you by the lights gages and indicato...

Страница 5: ...k to zero Reset Press this button to reset certain DIC features as well as to acknowledge and clear DIC warning messages from the display EM Press this button to change the display from English to Metric DIC Controls with HUD Uplevel DIC systems include Head Up Display HUD controls see Head Up Display along with the following DIC controls Vehicle Information Press this button to scroll through the...

Страница 6: ...nd navigation features The HUD controls are located on the left side of the instrument panel Up Down Adjustment Press this button A to adjust the up down position of the HUD image on the windshield It cannot be adjusted side to side Press the up arrow to move the HUD image up and the down arrow to move the HUD image down Brightness Use this knob B to adjust the brightness of the HUD image as well ...

Страница 7: ...s this button when all doors are closed to immediately lock all the doors Press and hold this button to express close all of the open windows in the vehicle Unlock Press this button to unlock the driver s door Press it again within 5 seconds to unlock all remaining doors Remote Start This feature can be used to start the engine from outside the vehicle see Adaptive Remote Start Remote Trunk Releas...

Страница 8: ...rter panels may be blocked by mud ice snow or water Clean the rear quarter panel and or the sensors with water spray This message may also appear while driving in open areas with no objects to detect You may choose to turn off the system in the Navigation system until you are no longer in wide open areas LANE DEPARTURE WARNING if equipped This feature uses a camera located between the rearview mir...

Страница 9: ...ehicle will turn off ADAPTIVE REMOTE START This feature allows you to start the engine from outside the vehicle by using the Keyless Access System transmitter Normal transmitter range is within approximately 200 feet of the vehicle You can also set the system to activate the automatic climate control rear window defogger or seat temperature control see Vehicle Personalization Settings The engine w...

Страница 10: ...time expires VOICE RECOGNITION if equipped This feature allows for hands free operation of your navigation and audio system It can be used when the ignition is in the On or Accessory position The system is programmed for the English language only Using Voice Recognition 1 Press the Talk button on the steering wheel until a beep sounds Voice recognition is active when the microphone symbol is displ...

Страница 11: ...the instrument panel cluster when the high beam headlights are on Turning Off IntelliBeam Press the On Off button on the inside rearview mirror The indicator light will turn off Push or pull the multifunction lever when IntelliBeam has turned on the high beam headlights to turn off the system The indicator light on the inside rearview mirror will turn off ADAPTIVE CRUISE CONTROL if equipped Adapti...

Страница 12: ...op of the GAP button to increase the follow distance Decrease Follow Distance Press the bottom of the GAP button to decrease the follow distance The Vehicle Ahead symbol on the Head Up Display will illuminate when a vehicle is detected in your path Adaptive Cruise Control will adjust your speed to follow the vehicle at the selected follow distance Adaptive Cruise Control Alert If driver action is ...

Страница 13: ...itter to identify yourself 3 Turn on the radio 4 Press the CNFG Configure button or the Tune Select knob on the radio to enter the radio s main menu 5 Use the Tune Select knob to scroll to SETUP and then press the knob to enter the menu 6 Use the Tune Select knob to scroll to PERSONAL SETTINGS MENU and then press the knob to enter the menu A list of personalization features will appear 7 Use the T...

Страница 14: ...ourself 3 Turn on the radio 4 Press the CNFG Configure button to enter the radio s main menu 5 Use the Tune Select knob to scroll to SETUP and then press the knob to enter the menu 6 Use the Tune Select knob to scroll to DRIVER SELECTION and then press the knob to enter the menu 7 Adjust the driver s seat outside rearview mirrors and steering column to a comfortable position 8 Set the climate cont...

Страница 15: ...xt or previous radio station or when a CD is playing to the next or previous track or MP3 file Radio Data System When you tune to a Radio Data System RDS station the station name and call letters will appear on the display RDS stations may also provide the time of day a program type for current programming and the name of the program being broadcast RDS features are available for use only on FM st...

Страница 16: ...he Load button for two seconds Follow the display prompts to load each CD If the audio system is on the last CD loaded will begin playing automatically Playing a CD F1 CD Down Press this button to go to the previous CD F2 CD Up Press this button to go to the next CD F3 CD REV Reverse Press this button to go to the previous track Press and hold the button to reverse quickly within a track F4 CD FWD...

Страница 17: ... key K CNFG Configure key L Navigation Voice Prompt Repeat key M Seek Scan key N BAND key O AUX Auxiliary key P ROUTE key Q Map key R Tuner knob Loading a Disc 1 Press the CD DVD Load hard key D 2 Press the numbered touch screen key of the slot you will be loading the disc into 1 6 at the bottom of the CD DVD display screen 3 Wait for the display prompt to load the disc Playing a Disc You can sele...

Страница 18: ...our Navigation manual for additional operating instructions Performance Maintenance STABILITRAK STABILITY CONTROL SYSTEM StabiliTrak is an advanced computer controlled vehicle stability enhancement system that assists with directional control of the vehicle in difficult driving conditions It turns on automatically every time you start your vehicle To turn off the system press and hold the TRACTION...

Страница 19: ...our exact location so you get the help you need Roadside Service is also available to Cadillac customers beyond the warranty period for a charge CUSTOMER ASSISTANCE 1 800 458 8006 Should you need to ask a question make a comment or request additional information the Cadillac Customer Assistance Center is staffed around the clock with professionals to serve you When you call Cadillac Roadside Servi...

Страница 20: ...15864569A 15864569A 76880_08a_STS_GTK STS 2007 A 5 11 07 4 15 PM Page 20 ...

Отзывы: