Quick Start Guide
700-485 Transcoder Installation Guide
8/12
6.
The G711 Delay field can be set to delay the G711 audio stream in relation to the outgoing
transcoded IPTV stream. This delay can be set to synchronise low latency audio system playout
with screens being fed from 780 or 782 units decoding the main transcoded stream. The units
specified are milli-seconds (mS).
7.
Set the
Resolution
field to determine the output resolution of the Transcoded stream. Set to Auto
to keep the outgoing picture resolution the same as the incoming one. If you set an output picture
resolution from the drop-down list, and the output picture will be scaled to that resolution,
regardless of the original incoming picture resolution. Ensure low resolution incoming pictures are
not scaled up too far, or
‘
grainy
’
pictures will result.
8.
Select the
Video Codec
to be used for the outgoing stream. H265 will only work with 782 Settops
and PC/MAC software players (
not 780 settops
) but does give a good quality pictures at low
bitrates.
9.
Set the average
Bitrate
for the outgoing transcoded stream (in Mbps). Higher bit rates give better
quality pictures but use more network bandwidth.
10.
Press the
Apply
button at the bottom of the page to start the transcoding process. After a few
seconds the output data rate on the right-hand side of the screen will be updated to show the full
bitrate of the transcoded stream. This will vary a little.
Clicking the download link on the right-hand side of the transcoder process will download a SDP (session
Description Protocol) file onto your PC. Some audio systems use this SDP file to tell them the IP address
of the G711 audio stream.
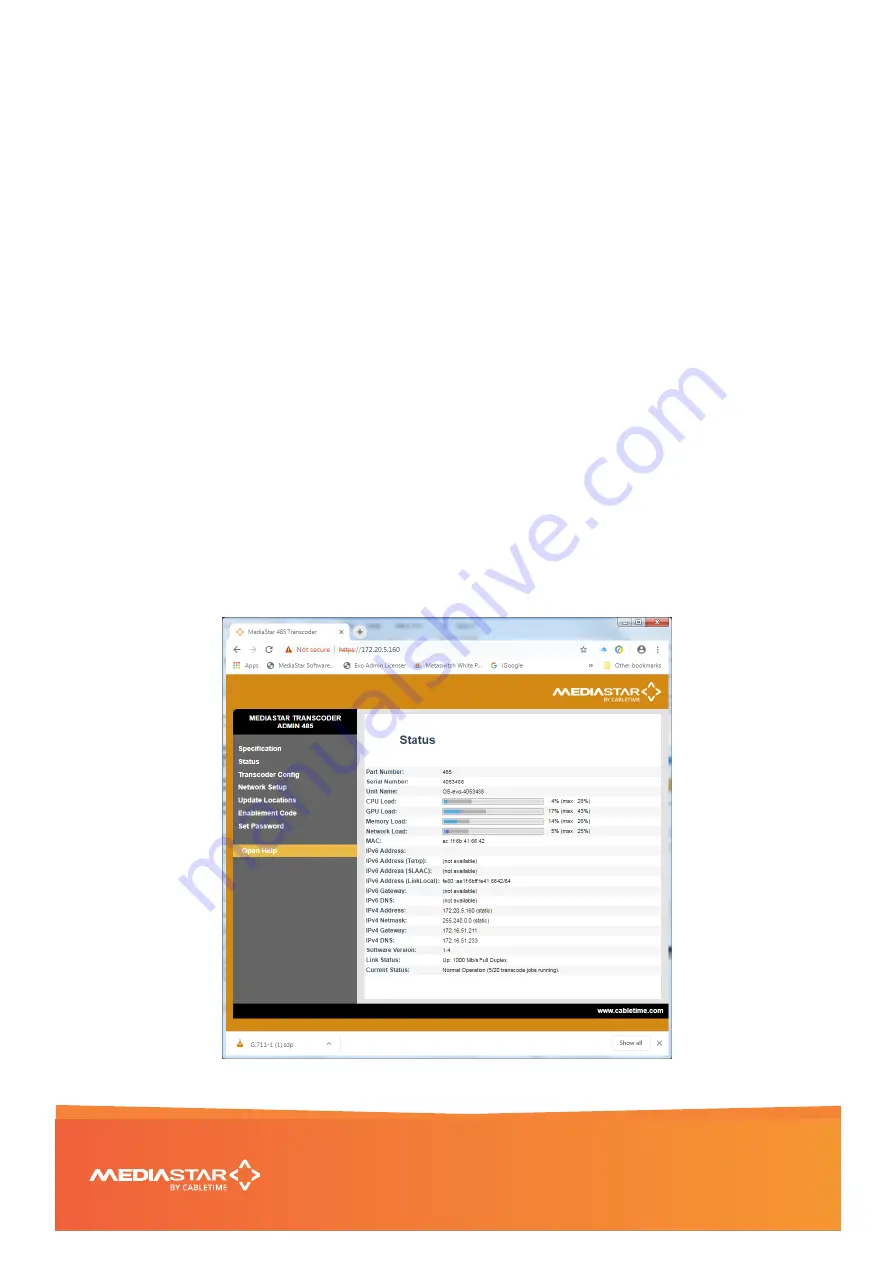
If you go to the
Status page
(left hand menu link) you will then see the processing load on the
transcoder and the total incoming and outgoing data rates in the indicator bars. The maximum recorded
levels can be reset using a checkbox action on the Enablement Code menu.


