background image

12

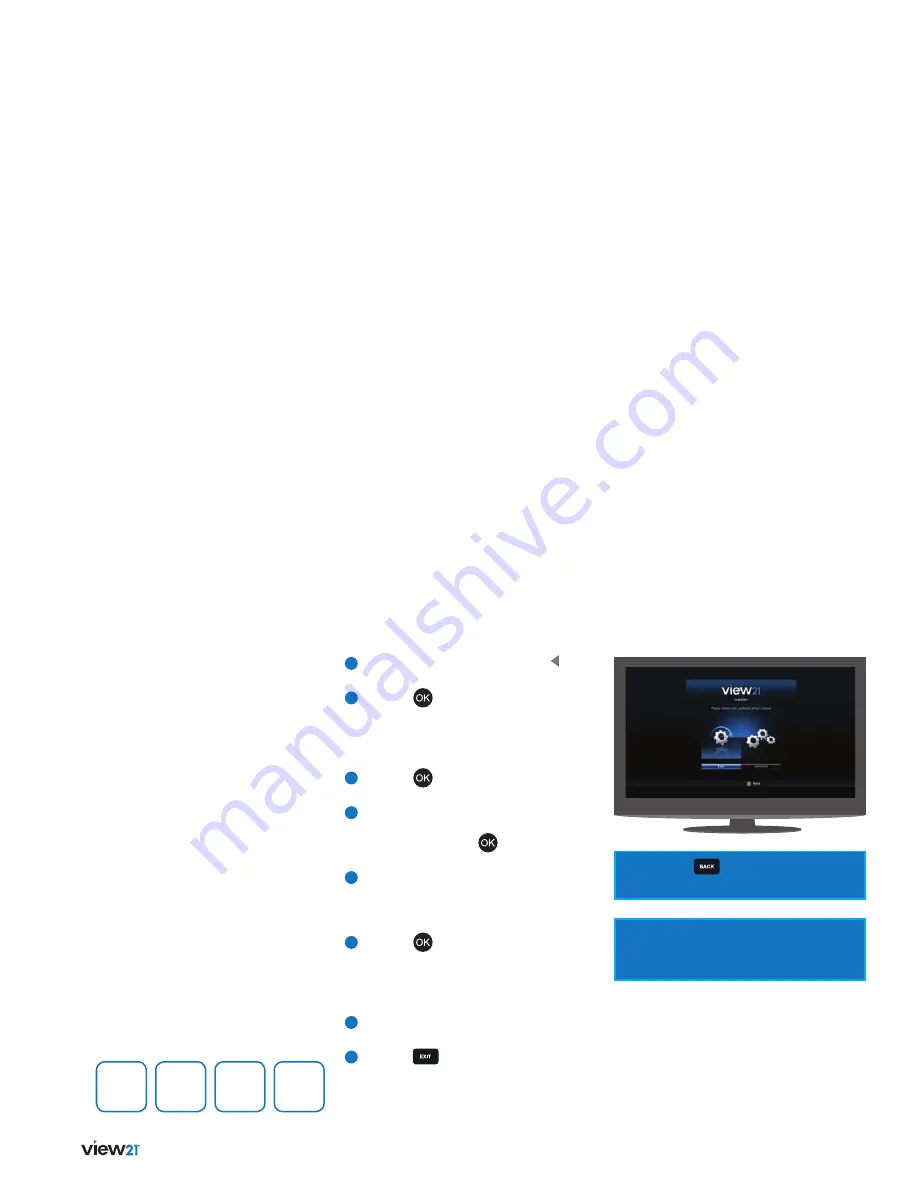
Easy install (recommended)

1


If ‘Easy’ is not already selected, press   button 
on your remote control to select it.

2


Press the 

 button to begin. The ‘Easy 

Setup’ screen will be displayed with the ‘TV  
Setup’ function selected. How your View21 
box is connected to your TV will also 
be shown.

3


Press the 

 button. The ‘Set PIN’ function 

will be selected.

4


You can choose a new PIN using the number 
keys, press OK to confirm your selection.  
Alternatively press the 

 button to skip 

this stage, the PIN can be set later.

5


The ‘Tuning’ function will be selected, 
showing the number of TV and Radio 
channels  currently stored in the View21 box. 
On your first setup, these will both be 0.

6


Press the 

 button. The system scans for TV 

and Radio channels and updates the number 
of channels found. During this time a progress 
bar advances until complete (100%). This step 
takes about 8 minutes.

7


When scanning has finished, the screen 
displays ‘Installation complete’.

8


Press the          button to begin watching 
the first TV channel stored.

When you first connect your View21 box 
to a TV and turn it on, the ‘First Time 
Installation’ screen will be displayed.

Easy install is the recommended option as 
it will attempt to find the optimal settings 
for your TV and View21 box.

‘First Time Installation’ will scan for TV 
and Radio channels and store the results 
on the View21 box. This process will take 
approximately 8-10 minutes to complete.

You can press          at any time to return 

to the previous step.

If multiple TV regions are available in your 
area, you will be prompted to choose a region 
during the installation process.

Tip:

  Remember to make a note of your PIN for later 

use. The default PIN setting is 0000, if you choose 
to skip the ‘Set PIN’ stage, this will remain the 
Parental PIN number until changed.


If you change your PIN, write it here.

Easy install may not always provide the optimum 
setting level for your TV. If you know the screen 
size (aspect ratio) of your display you can set this 
manually by following the Advanced install set 
up process.

Содержание BV21R050W

Страница 1: ...User Manual Smart Digital TV Recorder More than a digital TV recorder BV21R050W BV21R100W...

Страница 2: ...sy to use and brilliantly capable More than a digital TV recorder This product is capable of receiving and decoding Dolby Digital Plus Manufactured under license from Dolby Laboratories Dolby and the...

Страница 3: ...3 08 07 06 05 04 03 02 01 Getting set up Getting started Advanced box features Settings menu Software updates Troubleshooting Specifications Safety information...

Страница 4: ...he purchaser has under the Trade Practices Act and similar State and Territory laws Bush Australia Pty Ltd will at its option either repair or replace free of charge any part which is at its sole abso...

Страница 5: ...5 08 07 06 05 04 03 02 01...

Страница 6: ...23 03 Advanced box features Main Menu 24 Opening a function 24 Programme guide 24 Guide 24 Guide structure 25 Guide format options 25 Programme information 25 Set the default Guide format 26 Change th...

Страница 7: ...gs 37 Default recording mode 37 Series link mode 37 Timeshift amount 37 Add to end of recording 37 Skip forwards time 37 Skip backwards time 37 Automatic hard drive space management 37 Format hard dis...

Страница 8: ...er Guide To access online smart services You will also need Broadband connected router Connecting to the internet enables you to use smart services To use online apps and features like the View21 Play...

Страница 9: ...9 02 03 04 05 06 07 08 01 Your View21 box Power Standby RF IN Aerial Input RF OUT Aerial Output NETWORK USB HDMI S PDIF DC IN...

Страница 10: ...ormation Display information about programmes and recordings Menu Display the Main Menu Exit Exit the menu and return to live TV Power Switch the View21 box to standby Swap 1 Swap between previous and...

Страница 11: ...up Connecting via HDMI Internet connection via Ethernet cable 1 1 2 1 2 2 Connect the aerial cable between the RF IN socket on your View21 box and your external aerial wall socket Connect the HDMI ca...

Страница 12: ...isplays Installation complete 8 Press the button to begin watching the first TV channel stored When you first connect your View21 box to a TV and turn it on the First Time Installation screen will be...

Страница 13: ...nd buttons to select WiFi setup Connecting to the Internet via WiFi 7 Press the button 8 Use the and buttons to select your WiFi router from the displayed list of WiFi connections 9 Press the button 1...

Страница 14: ...select the specific aspect ratio or display resolution of your screen To perform an Advanced installation 1 If Advanced is not already selected press 4 Repeatedly press the button until the screen si...

Страница 15: ...e View21 box On your first setup these will both be 0 10 Press the button The system scans for TV and Radio channels and updates the number of channels found During this time a progress bar advances u...

Страница 16: ...Using the numerical keypad 1 Enter the channel number using the numerical keys on the remote control As they are entered they are displayed in the top right of the screen 2 To enter 13 for example ent...

Страница 17: ...ds x2 x4 x8 x16 x32 x64 Mute To turn off the sound 1 Press the button on the remote control The mute symbol will be displayed in the top right of the screen and the sound will be turned off 2 To resto...

Страница 18: ...ding will start to play from the beginning Using the Guide The Guide lets you view information about current and scheduled TV and Radio programmes Here you can select a programme to watch or listen to...

Страница 19: ...To remove the information before this time has elapsed Press the button a third time The information will be removed immediately Press the button while you are in the Guide or the Library to display...

Страница 20: ...ccess an application using the button 1 Press the button to display the App Bar 2 Use the and or navigation buttons to step along the App Bar and select the application 3 Press the button To access an...

Страница 21: ...es users to read text based posts up to 140 characters Posting new messages is not possible through your View21 box Once you access the Twitter application the minimal Home page is displayed single tw...

Страница 22: ...nnel list that can be dragged up and down 5 Four tabs are displayed along the bottom of the page My TV Guide Library Watch not always displayed Watch live TV Touch the Watch Here tab to view the progr...

Страница 23: ...The Guide will be displayed full screen 3 Scroll up or down to view channels and left or right to view programmes and their broadcast times 4 The top of the Guide shows information about the programme...

Страница 24: ...apps Apps Portal Guide Library Flickr YouTube Twitter Help Opening a function To select an option from the Main Menu bar 1 Press the button to display the Main Menu 2 Repeatedly press the or buttons u...

Страница 25: ...els and Radio stations are displayed in the Guide Radio When selected only radio stations are displayed Library Accesses the library of recorded programmes Genre When selected displays only those chan...

Страница 26: ...uide 1 Press the button to display the Guide in its default format 2 If necessary press the button to show the Footer panel 3 To step backward 2 hours press the button 4 To step forward 2 hours press...

Страница 27: ...current recording will stop and the record icon will be removed from the programme cell in the Guide Recording a future programme To record a scheduled programme 1 Press the button on the remote and...

Страница 28: ...to resolve the conflict a recording will be cancelled automatically A notification message will be displayed in the Conflict Management window Setting a reminder If you do not want to miss the start o...

Страница 29: ...on the bar you can sort by Date order Date Alphabetically A Z Channel number Channel Programmes set to be recorded Schedule The Library has three sections These are Header Provides information specifi...

Страница 30: ...4 Use the and buttons to select from Resume play or Play from start 5 Press the button to begin playback 6 Playback of the recording will now resume or start according to the option selected Play a r...

Страница 31: ...ns along the bottom of the screen and now shows playback at a speed of x2 An arrow indicates the direction for forward and for reverse 3 Press the or button repeatedly to reach the required playback s...

Страница 32: ...e button to display the Library SWAP If necessary press the button to show the Footer panel BLUE To invert the current sort order press the button RED To delete the currently selected recording press...

Страница 33: ...33 01 02 04 05 06 07 08 03...

Страница 34: ...e options are Mini Standard or Extended Default Library view This sets the default Library format The available options are List and Slideshow Menu transparency This allows you to set up the appearanc...

Страница 35: ...options are On or Off Lip sync Sometimes the soundtrack in a broadcast is out of sync with the video The Lip Sync option can be used to correct this To adjust this option select the Launch option and...

Страница 36: ...nter your new PIN again A message New PIN confirmed will be displayed briefly 4 The Parental PIN will now be set to your new number Before you can adjust these settings you must enter your parental co...

Страница 37: ...vailable options are 30 minutes 60 minutes 90 minutes and 120 minutes Add to end of recording This sets the time added to the end of a recording It is recommended that this is left set to Auto The ava...

Страница 38: ...gin 11 Scanning will start and the channel counter will increase incrementally for each channel found 12 The progress bar grows as the scanning proceeds until finished 100 and the total number of TV a...

Страница 39: ...mode to reduce power consumption after 3 hours The available options are Yes and No Network change notification When a network switch over event occurs a notification will be broadcast that informs y...

Страница 40: ...earch To perform a Manual tune carry out the following 1 Press the button to display the Main Menu 2 Repeatedly press the button or button to select Settings in the bar 3 Press the button 4 Repeatedly...

Страница 41: ...41 01 02 03 05 06 07 08 04...

Страница 42: ...browser on a computer with a USB port 2 Download the software update file from the Bush website www bushaustralia com au 3 Save the downloaded file to a USB stick that is fully formatted and empty i e...

Страница 43: ...43 01 02 03 04 06 07 08 05...

Страница 44: ...connected Volume is set to minimum or mute Check HDMI connections at both ends of the cable Check volume settings No response to remote control Digital box is switched off Remote control not aimed co...

Страница 45: ...k using an Ethernet cable WiFi Troubleshooting Problem Possible cause What to do Low signal Your Digital Box is either too far from your WiFi router or walls or metal objects between the Digital Box a...

Страница 46: ...MPEG 2 4 MPML 4 3 16 9 Switchable MPEG Layer I II 32 44 1 48KHz HDMI Connection Power Tuner Video Audio 12V Mains adapter Antenna input Twin HDMI Digital coaxial audio output Power supply Input volta...

Страница 47: ...47 01 02 03 04 05 06 08 07...

Страница 48: ...digital box before cleaning it Wipe dust off the cabinet of the digital box with a clean dry and soft cloth Do not place any objects on top of the digital box Avoid exposing your digital box directly...

Страница 49: ...re neither responsible nor liable for any customer service or support relating to these third party services and any enquires should be made directly to the respective third party service providers Yo...

Страница 50: ...ps Your privacy We do not collect or process any of your personal data using this product nor do we store or access any cookies on its hard drive However the third party services that you access using...

Страница 51: ...51 01 02 03 04 05 06 07 08...

Страница 52: ...ailure and for compensation for any other reasonably foreseeable loss or damage You are also entitled to have the goods repaired or replaced if the goods fail to be of acceptable quality and the failu...

Отзывы: